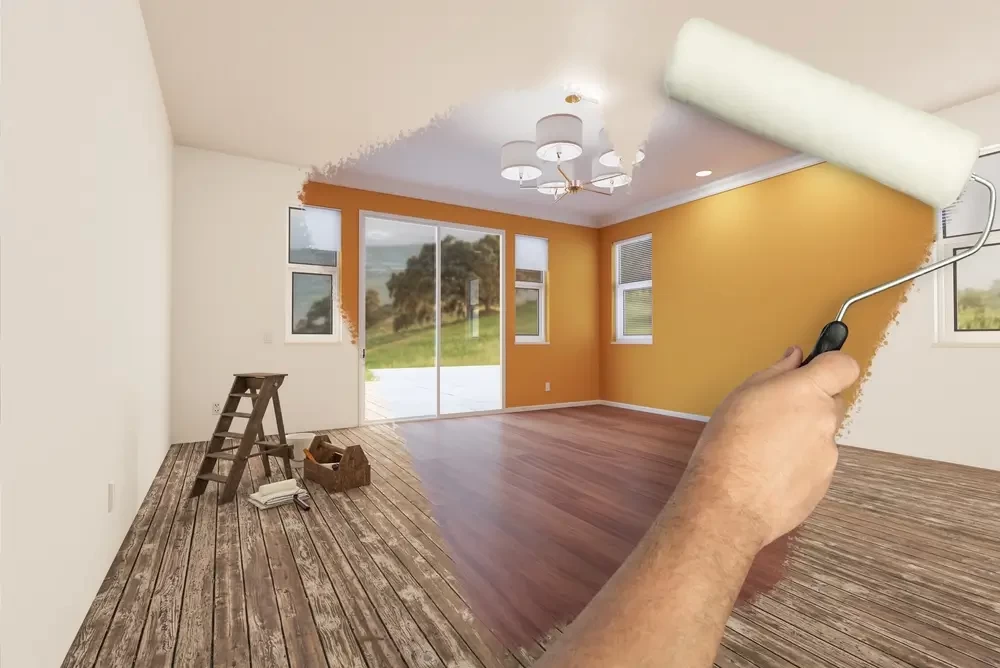
If you’re comparing the cost to paint the interior of a 1,200 sq. ft. home, you’re probably torn between two paths: roll up your sleeves and DIY—or bring in a professional crew. The price you’ll pay depends on factors like local labor rates, paint quality, number of coats, surface prep, and whether you’re including ceilings, trim, and doors along with the walls.
Nationally, credible sources put interior painting at about $2–$6 per square foot for typical projects, with project averages around $2,000–$6,000, before special conditions or premium finishes are added.
Because rates shift by region (materials, wages, demand, seasonality), always anchor estimates to the Kansas market. You’ll see how that plays into your total cost below—and where DIY really can (and can’t) save you.
For a broader, evergreen view, see our pillar explainer: Interior House Painting Costs Explained: What Affects Your Final Price, to explore what actual price affects the interior house painting.
Understanding the importance of interior painting
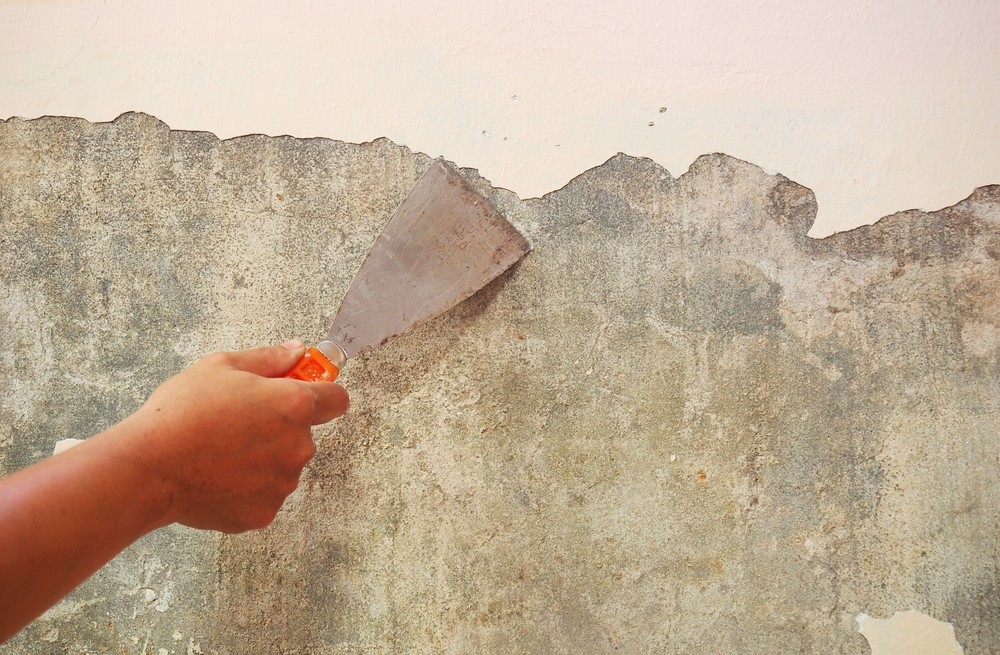
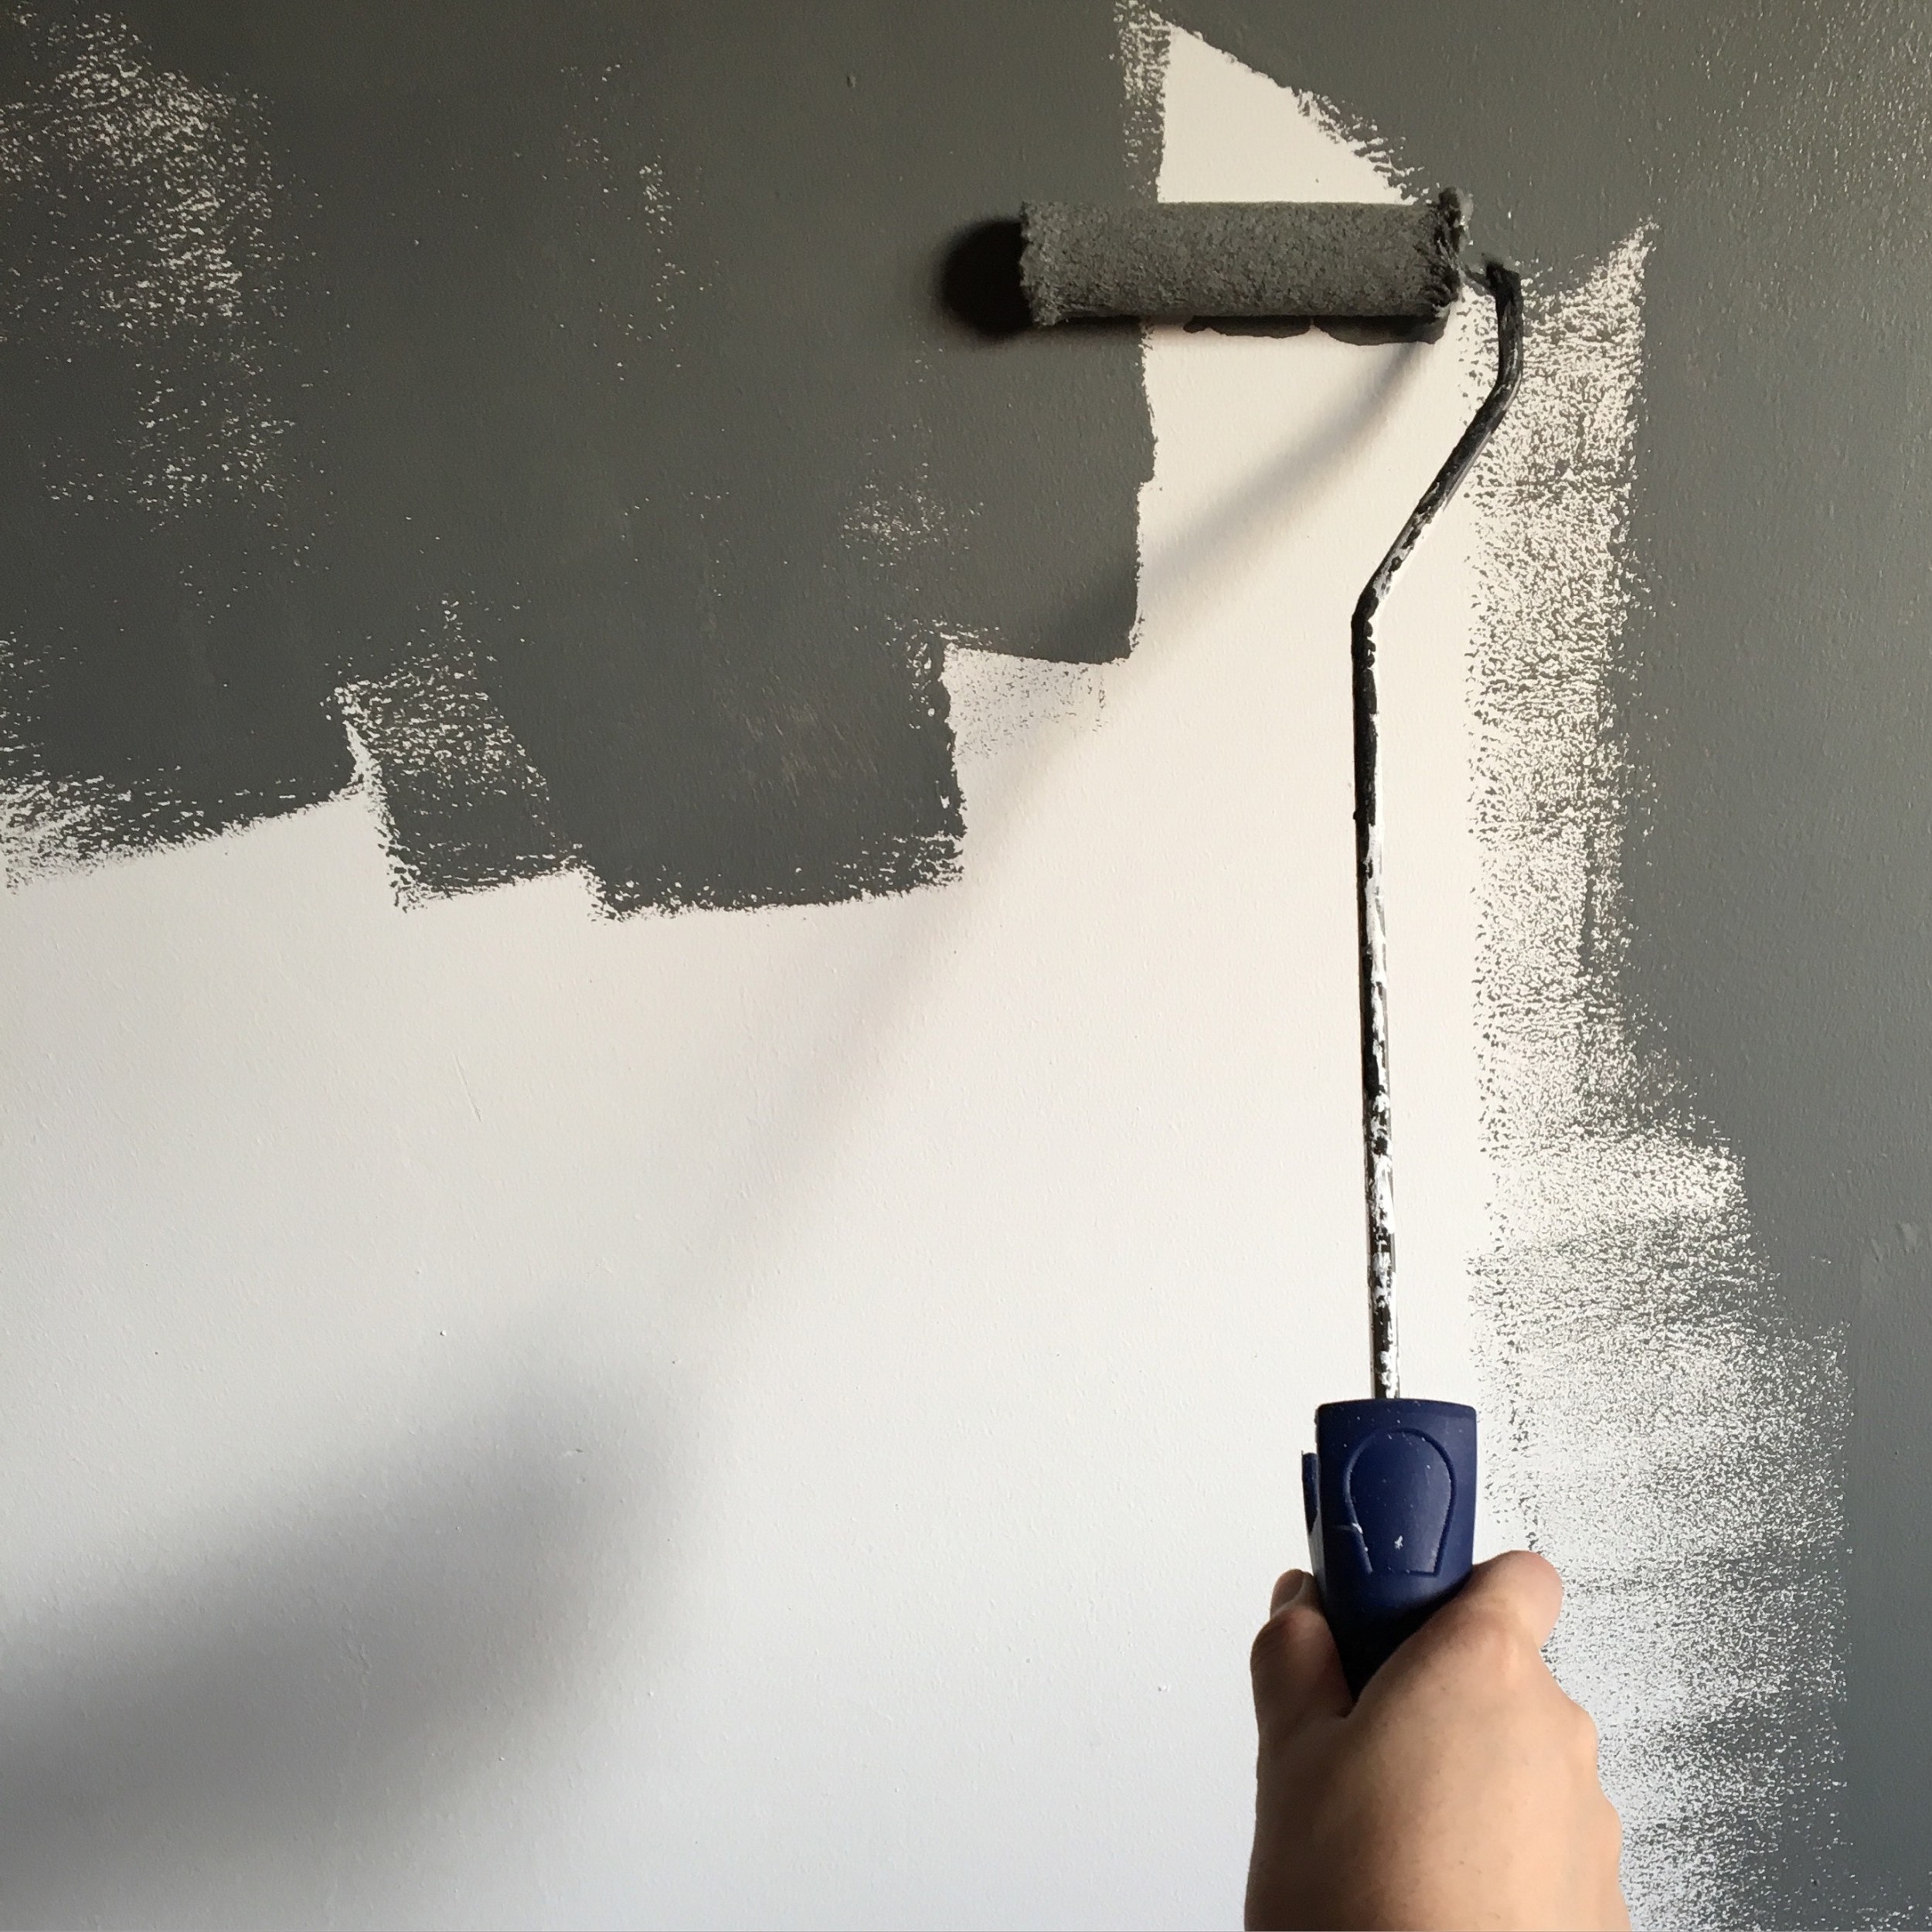
Interior painting is both protective and decorative. Good prep seals hairline cracks, addresses texture inconsistencies, and primes stains so the topcoat lays down evenly and lasts longer. Premium paints reduce scuffs, resist moisture in kitchens/baths, and clean up better—important in high-traffic areas.
Skimping on prep (sanding, caulking, patching, stain-blocking, priming) often produces flashing and early failure, which is why many national guides emphasize prep and materials as the biggest swing factors in the final price.
DIY Painting Costs
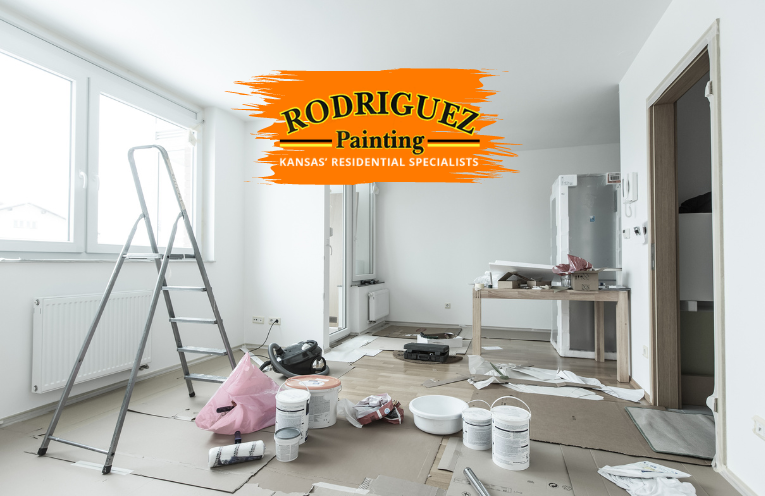
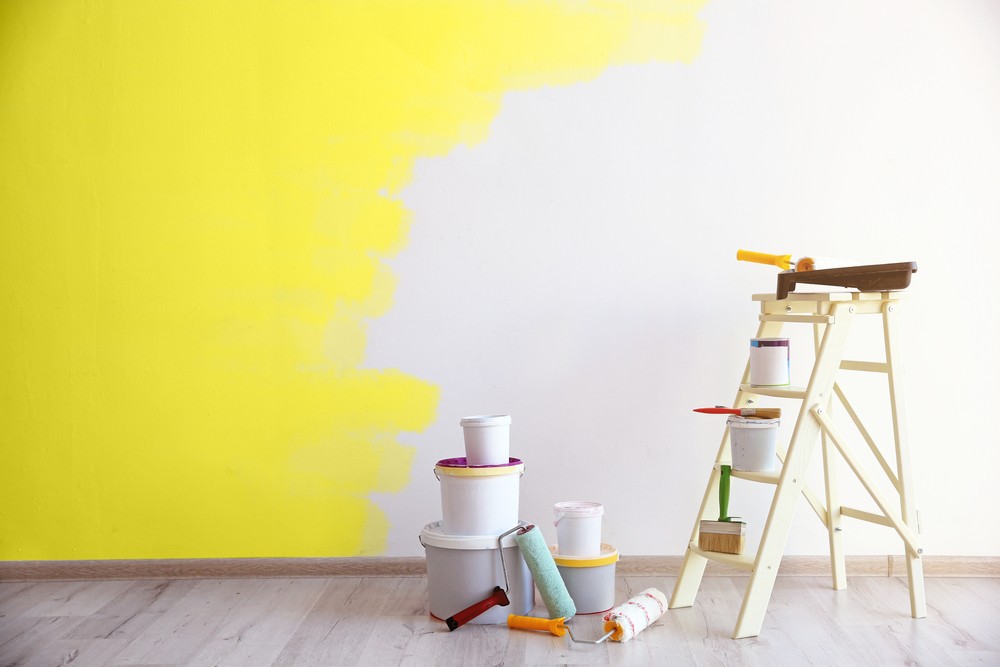
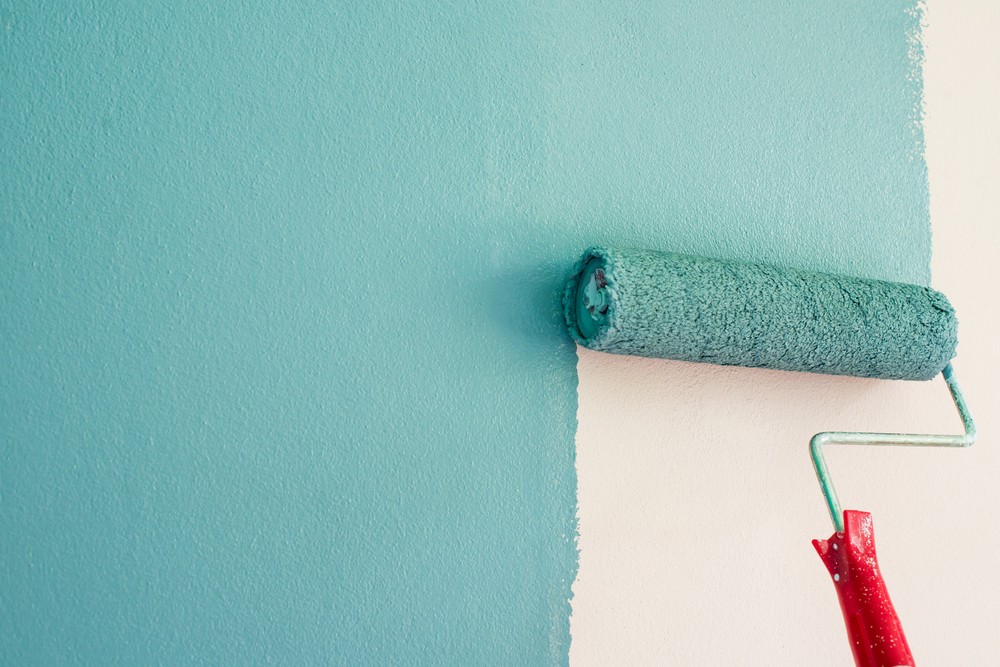
When most people price out a DIY paint job, they look at the can and call it a day. In reality, paint is only one slice of the bill. To budget well, think in three buckets: materials, time, and the cost of mistakes.
Materials you’ll actually need
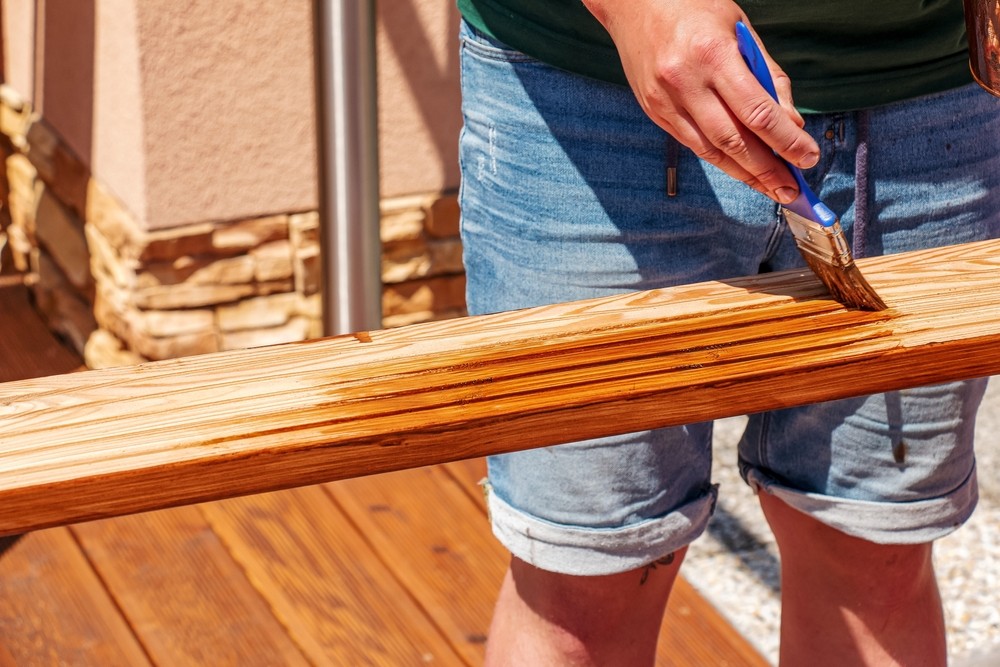
A couple of gallons of wall paint and a gallon of primer will often run $100–$300, but that’s just the start. You’ll also need solid applicators so the finish looks smooth: a few quality brushes, roller frames and sleeves, a paint tray and liners. Plan $50–$100 here, more if you opt for pro-grade.
Add $30–$50 for painter’s tape and drop cloths so you’re not taping with whatever’s in the junk drawer or painting over your floors. Then there’s prep: sandpaper, spackle/wood filler, a flexible putty knife, and caulk typically add $20–$50.
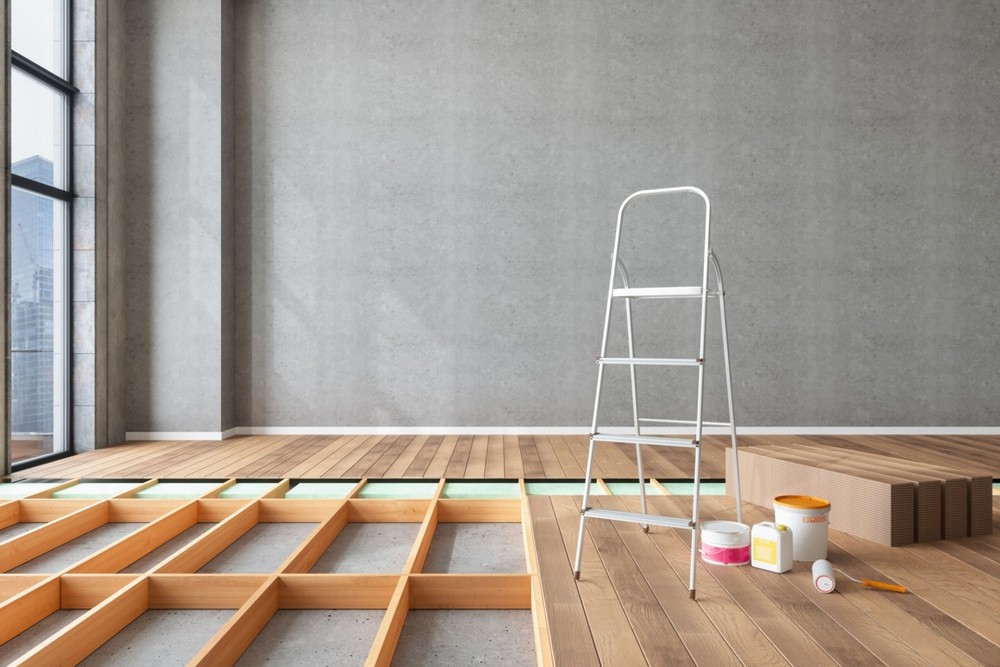
If your home has higher ceilings or stairwells, you’ll likely need gear you don’t already own. Short rentals can make sense, but they add up fast: $50–$150 for ladders or basic scaffolding, $50–$100 per day for a pressure washer (exterior only), and $70–$150 for a sprayer if you choose to spray.
Don’t forget basic safety: masks, goggles, and gloves usually add $20–$50. Small hand tools—scrapers, a sanding block, a caulk gun—can add another $25–$75 if you don’t have them.
For most interior rooms, expect DIY materials to fall around $200–$600 for a modest project with decent tools. Large homes, big color changes, or walls that need extra prep will push costs higher. If you decide to buy rather than rent equipment, the upfront spend rises quickly—worth it only if you’ll use that gear again soon.
Your time is part of the price
Paint jobs look simple until you map the hours. Prepping a typical set of lived-in rooms—moving and covering furniture, removing outlet covers, patching, sanding, and priming—can easily take 10–20 hours. Brushing and rolling two full coats on walls often takes 30–60 hours depending on your pace, the layout, and how many breaks you need. Add 5–10 hours for cleanup, touch-ups, and re-hanging fixtures. In total, many DIY projects land between 45–90 hours of actual work.
A professional crew compresses that timeline dramatically. What takes you several weeknights and weekends might be wrapped up in 3–5 working days with a few painters on site. If your calendar is tight, factor the “cost” of a month of evenings versus a single week of professional production.
The hidden cost of do-overs
DIY mistakes happen, even when you’re careful. Common issues—drips, roller lines, missing spots near trim, or flashing from poor priming—often mean buying more paint and spending more time to fix it. Skipping prep can lead to peeling or uneven sheen that shows every time light hits the wall. Spills or splatters on carpet, wood, or furniture can add professional cleaning or replacement to the bill.
A simple safety net is to build 10–15% extra into your DIY budget for surprises. It’s not pessimism—it’s permission to do the job right if something goes sideways.
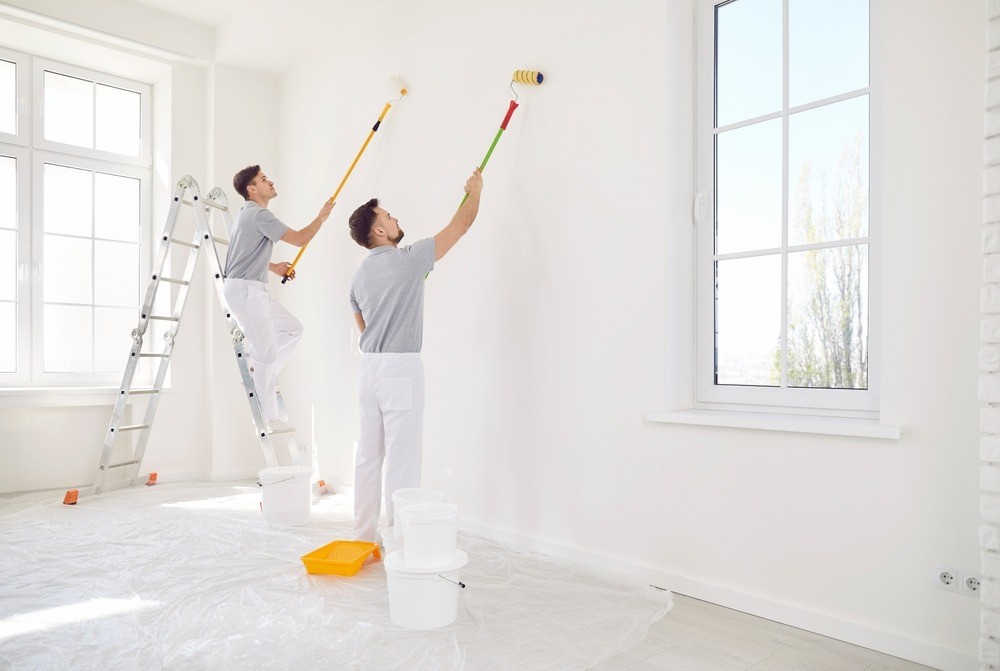
Professional Painting Costs
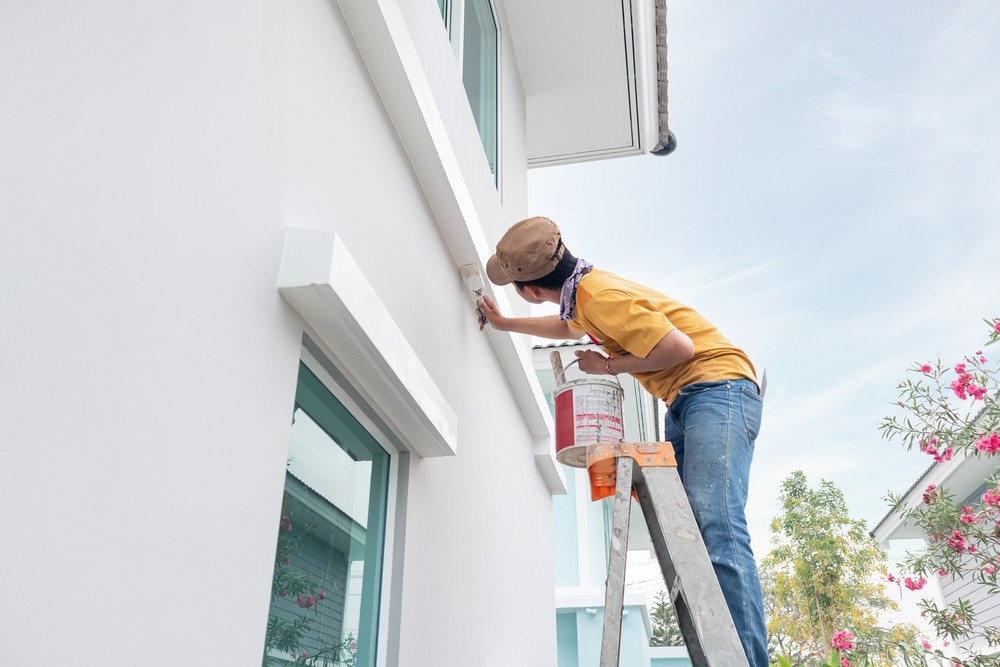
Hiring professionals isn’t just “paying someone to roll the walls.” You’re paying for production speed, consistent technique, surface repairs that last, and a finish that looks clean from every angle.
What a pro quote usually includes
Labor is the biggest line item. For interior work, hourly rates vary by market and scope, but what matters more than the hourly figure is what’s included in that time: moving and protecting furniture, covering floors, repairing nail pops and cracks, sanding glossy areas, caulking gaps, priming stains, and then applying the correct number of coats with the right sheen.
Materials are part of the bundle too—professional-grade paint (often low-VOC), primers, caulk, repair compounds, tapes, and plastic. Many pros also include cleanup, trash removal, and basic touch-ups at the end so you’re not left with detailing and disposal.
If a project needs specialized work—wallpaper removal, larger drywall repairs, or unusual access—those items are called out as separate line items. That transparency helps you compare apples to apples between bids.
Why the finish looks different
Experienced painters create smooth, even coverage without lap marks or shiners because they control film thickness and keep a wet edge from cut line to roll. They also know when a wall needs a bonding or stain-blocking primer so color lays down evenly. The result is a finish that looks good at noon light, lamplight, and every angle in between. You can achieve this as a DIYer, but it usually requires more time, more practice, and often more paint.
How pros typically price
There are three common approaches:
-
By square foot: Walls only often price lower than walls + ceilings + trim because trim and ceilings are slower per foot and require different products.
-
By room: Handy for standard bedrooms or baths with predictable scope.
-
Minimums/day rates: Small projects carry a minimum to cover setup, protection, and travel.
Those structures seem different, but they’re all trying to capture the same realities: how much surface will be coated, how much prep is needed, how many coats are required, and how complex the access is. Pros may also buy paint at contractor pricing, which can lower the material cost on your invoice compared with retail—especially if you’re choosing a premium brand and a durable finish.
DIY vs. Hiring a Pro for 1,200 sq. ft Painting Comparison
DIY cost drivers:
paint & primer, sundries (tape, plastic, paper, rollers, quality brushes), patch/repair materials, ladders, drop protection, and your time. The direct outlay can be lower—especially if walls are in great shape and colors aren’t changing dramatically. But two areas trip up DIY budgets: under-estimating prep and under-buying tools. If you end up re-coating due to roller texture, flashing, or poor color hide, you just erased your savings.
Pro cost drivers:
skilled labor, surface prep standards, insurance, warranty, and jobsite protection. The per-sq-ft rate is higher, but pros move faster, maintain consistent film thickness, and deliver cleaner lines. Several national guides point to significant variability in scope that affects whether walls only are included—or walls plus ceilings and trim—which is where pro quotes become easier to compare than DIY receipts.
|
Area / Room Type |
Average Cost Range |
Cost per Sq. Ft. |
Notes |
|---|---|---|---|
|
Bedroom (10×12) |
$300 – $700 |
$2.50 – $4.00 |
Includes ceiling & trim if specified; two coats typical. |
|
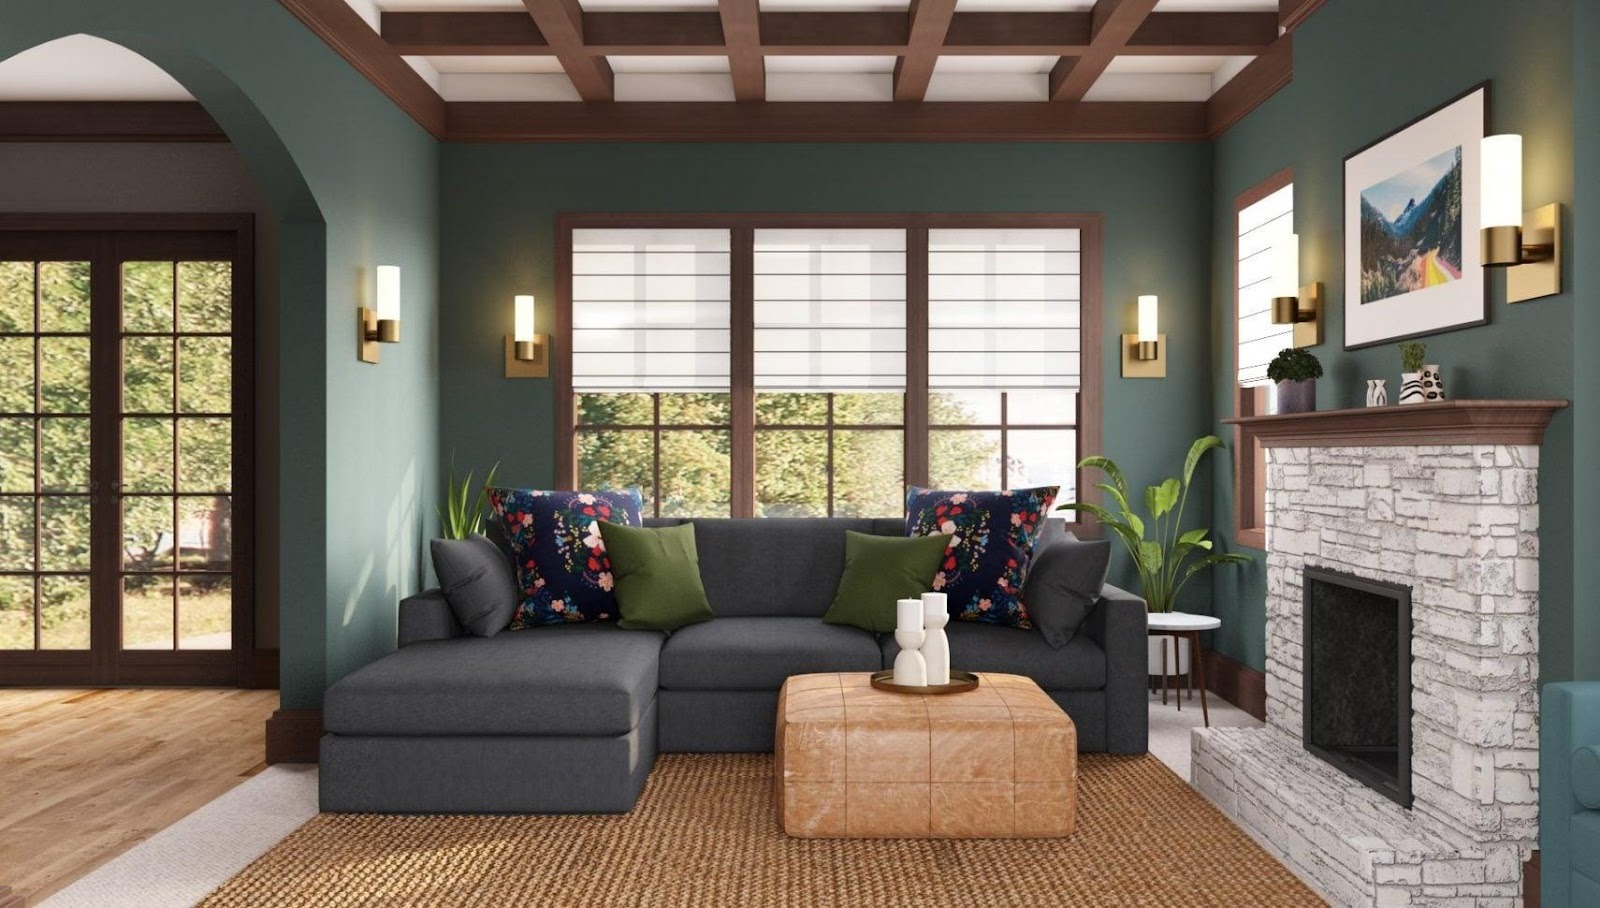
Living Room |
$600 – $1,200 |
$2.50 – $4.50 |
Tall walls/feature windows add time. |
|
Kitchen |
$400 – $800 |
$3.00 – $5.00 |
Extra degreasing/primer near cooktops. |
|
Bathroom |
$200 – $500 |
$2.00 – $3.50 |
Moisture-resistant topcoats recommended. |
|
Whole Home (1,500 sq. ft.) |
$2,500 – $4,000 |
$2.50 – $3.50 |
Typical “walls only” midrange. |
According to HomeAdvisor, the national average cost to paint a home interior ranges $2,000–$6,000.
What Really Changes?
Hiring a professional painting crew isn’t just about getting someone else to do the work. You’re paying for their experience, systems, and consistency. A seasoned team knows how to set up a job, protect your floors and furniture, cut in clean lines, and hit even coverage in fewer passes. You also get peace of mind: reputable companies back their work, so if something isn’t right, the warranty covers fixes without extra hassle.
The biggest difference shows up before a single coat goes on the wall. Proper surface preparation—cleaning, patching, sanding, caulking, and priming—accounts for the vast majority of a durable paint job. Pros give prep the time it needs, because they know it determines whether the finish looks smooth now and still looks great a year from now. DIY projects often rush this step, which can lead to flashing, peeling, or uneven sheen later.
How Project Size Tips the Decision
Scale matters. Painting a smaller space yourself—say, around 1,000 square feet—might cost roughly what you spend on paint and primer, often in the ballpark of a few hundred dollars. A professional quote for that same space could land in the low thousands, because you’re paying for labor, insurance, jobsite protection, and a guaranteed result.
For a single bedroom or bathroom, DIY can be manageable if you’re patient and detail-oriented. As the project grows in size or complexity, the advantages of hiring a crew become much clearer.
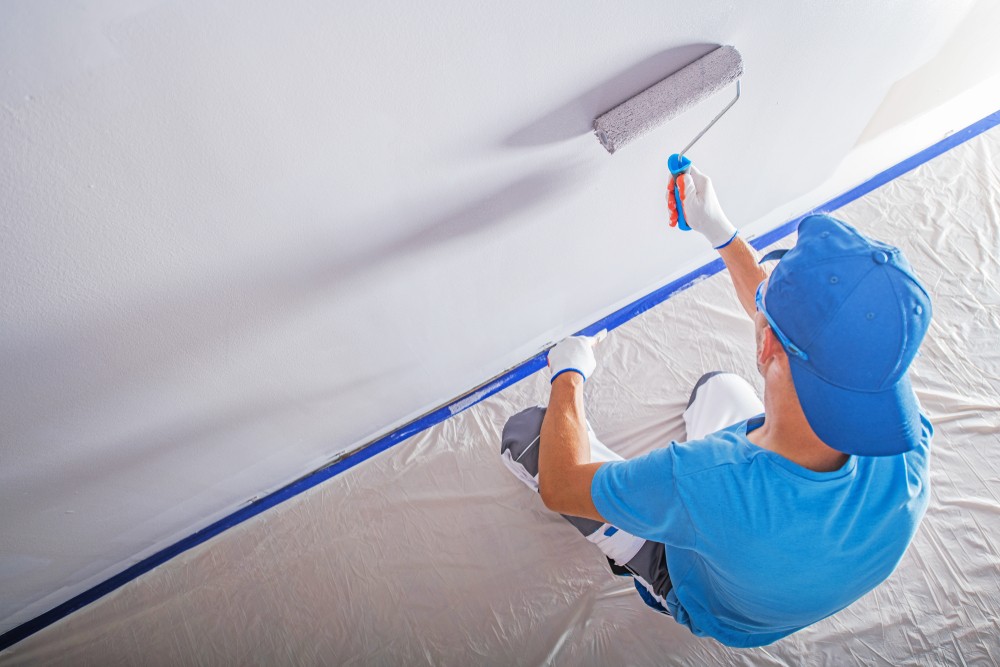
Professional companies typically send a team of three to six painters. With that manpower—and with the right tools like sprayers, extension poles, and dustless sanders—they can finish an average interior in three to four days, depending on layout and details.
Doing a 2,000–3,000 sq. ft. home solo can stretch most of a week, and that’s without surprises. High ceilings, intricate trim profiles, built-ins, and multiple color changes add hours quickly. A coordinated crew absorbs those complexities far more efficiently.
Think of it this way: professional house painters streamline the entire process. They arrive with a plan, divide the space, stage materials, and move through the home in a logical sequence—prep, prime, first coat, second coat, detail work—so the job advances steadily every day. That consistency is why a pro team often finishes in about half the time a DIY effort would take, with fewer do-overs.
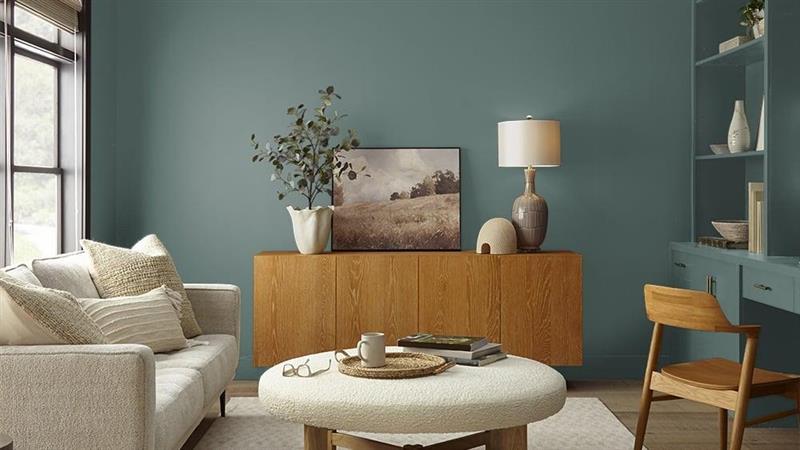
Beyond speed, there’s the finish quality and the return on your investment. A tight cut line, uniform sheen, and durable film build are hard to achieve without practice—and they make a real difference when you live with the results.
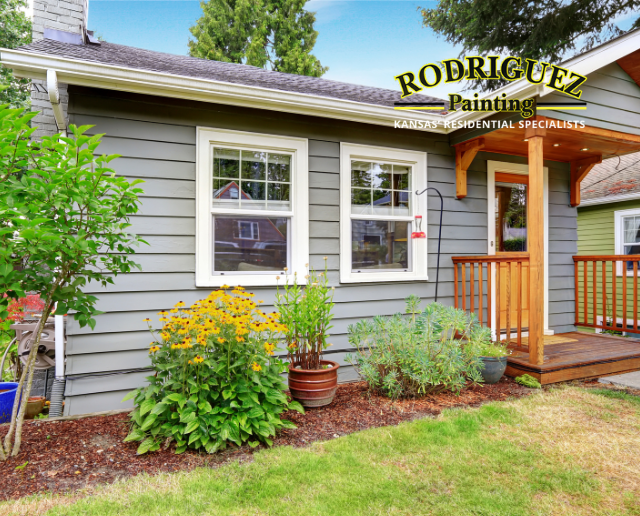
Professionally completed exterior jobs can deliver strong resale benefits, and interior repaints regularly recoup a large portion of their cost because fresh, neutral interiors photograph well and help buyers see the space clearly.
Companies like Rodriguez Painting Kansas illustrate how professional systems pay off. With specialized equipment, a trained team, and a repeatable workflow, they handle large projects without losing quality from room to room. That level of consistency is the hardest part to replicate on your own, especially when you’re balancing evenings and weekends against everything else on your schedule.
How to Choose Between DIY and Hiring a Pro
Picking between doing it yourself and bringing in a professional comes down to four things: your budget, your schedule, your skill level, and how complex the job really is. There isn’t a one-size-fits-all answer, but you can make a confident decision once you weigh these factors honestly.
Budget and Time: What you pay vs. what it costs you
DIY often looks cheaper at first glance because you’re not paying labor. But it isn’t “free.” You’ll still buy quality brushes and rollers, drop cloths, tape, primer, paint, patching compounds, and maybe rent ladders or a sprayer. If a mistake forces extra coats or a do-over, the cost rises quickly.
Time matters just as much. Prep alone—moving and covering furniture, repairing nail pops, sanding glossy areas, caulking gaps, taping edges—can take longer than expected. Add two careful coats, drying time, and cleanup, and what looked like a weekend project can turn into several. Professionals arrive with the right tools, a set process, and a crew. They move faster, keep a clean site, and finish on a predictable timeline so you can stick to your routine.
It’s also worth thinking about return on investment more broadly. A neat, durable, professionally finished interior can freshen the whole home, show better in photos, and reduce how soon you’ll need to repaint. That long-term value is part of the equation, not just the day-one price.
Skills and Finish: Be honest about the result you want
If you’re steady with a brush, patient with detail work, and comfortable repairing surfaces, you can get good DIY results—especially in smaller, simpler rooms. But a truly “professional” finish is harder than it looks. The most common DIY outcomes that disappoint are visible lap marks, roller texture, uneven sheen, and wavy cut lines along ceilings and trim.
Pros bring repetition and technique. They know when to spot-prime stains, how to sand between coats for a glassy trim finish, and which roller nap or tip will deliver the look you want. They’re also current on product choices—low-VOC paints for air quality, the right primer for dark-to-light color changes, and the best sheen for scrubbable walls. That experience shows up in the final surface and how long it lasts.
When it’s smarter to hire a professional
Some jobs are simply better—and safer—left to a crew:
-
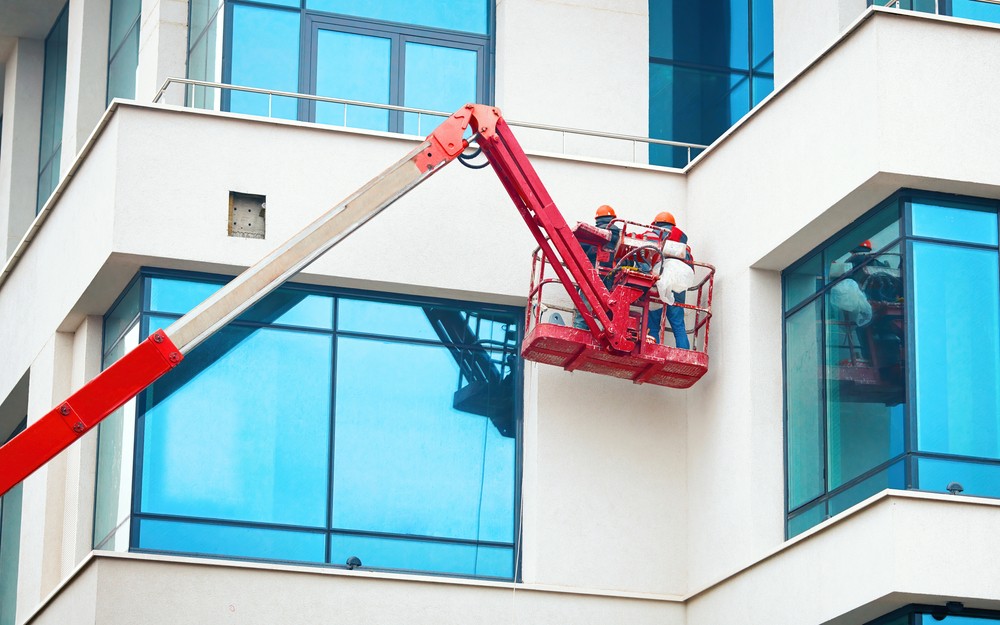
Height and access. Two-story walls, stairwells, and high ceilings require the right ladders or scaffolding, plus the skill to use them safely.
-
Heavy prep or repairs. Skim-coating rough areas, fixing settlement cracks, or dealing with stained or glossy surfaces calls for the right tools and primers.
-
Specialty finishes. Sprayed trim and doors, fine enamels, and decorative finishes demand practice to avoid runs, orange peel, or brush marks.
-
Hard deadlines. Selling a house, hosting an event, or moving in on a set date? A professional team can staff the job to meet the timeline without sacrificing quality.
If your goal is a flawless, long-lasting result—especially in high-visibility spaces like living rooms, kitchens, and hallways—professionals are usually the better value once you factor in durability, time saved, and a warranty on the work.
At Rodriguez Painting Kansas you can hire our professional painters for a quick scope review and timeline, or request a free estimate. Call us at 816-289-7239 and get a free quote today.
Conclusion:
If your walls are in excellent shape and you own the tools, DIY can be cheaper for walls-only work. But the moment you add ceilings, trim/doors, color changes, or repairs, a professional often becomes more cost-effective when you count the number of coats, time, quality, and the risk of redo. Either way, use the national guide rails and insist on a clear scope so your estimate reflects the real job.
For a broader, evergreen view, see our pillar explainer: Interior House Painting Costs Explained: What Affects Your Final Price, to explore what actual price affects the interior house painting.
Get a precise, local quote: Ready to price YOUR 1,200-sq-ft interior accurately?
Contact Rodriguez Painting Kansas or call 816-289-7239 for a free, line-item estimate today.
FAQs
What’s the typical cost to paint 1,200 sq. ft. walls only?
Mid-market projects commonly fall ~$2,400–$3,600 for walls only (two coats), varying with local rates and condition. Adding ceilings/trim increases cost.
Do painters charge by the room or by the square foot?
Both exist. Many pros price by sq. ft. for clarity, then adjust for ceilings/trim and complexity. Room-based pricing is also common for smaller jobs.
What’s the biggest hidden cost DIYers miss?
Prep time and extra coats—especially with color changes or stains. A bonding or stain-blocking primer often prevents “one-more-coat” surprises.
Which paint sheens should I use where?
Eggshell for general walls; satin/semi-gloss for kitchens, baths, trim/doors where durability and scrub-ability matter most.
What’s the smartest way to compare quotes?
Make sure each quote specifies brand/system, coats, scope (walls vs. trim/ceilings), repairs, and cleanup. That levels comparisons and prevents add-ons later.