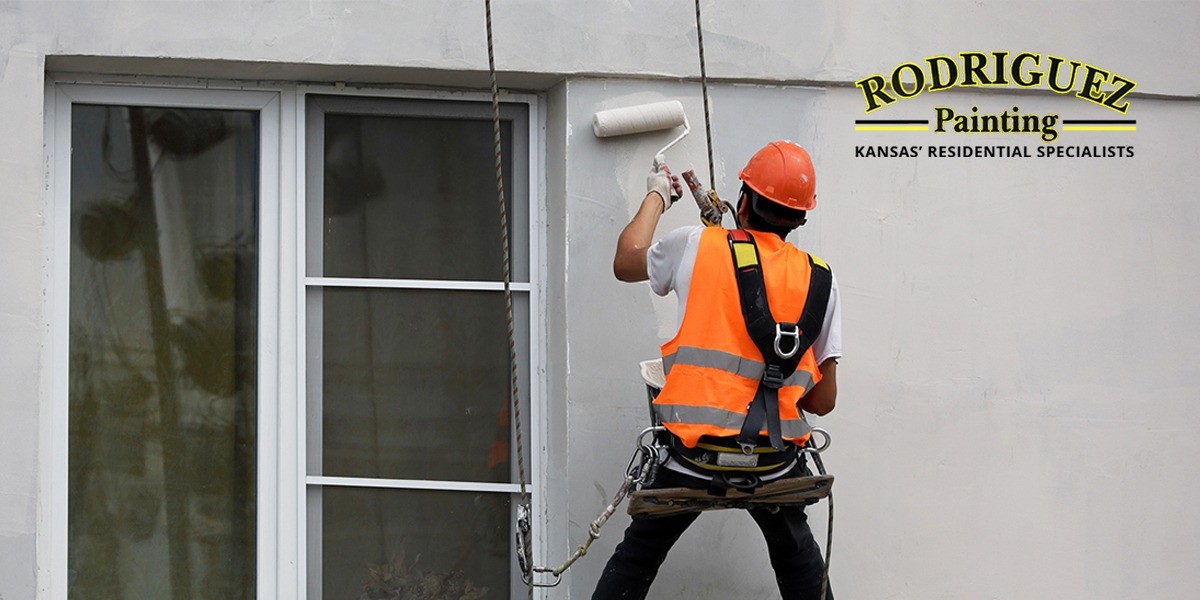
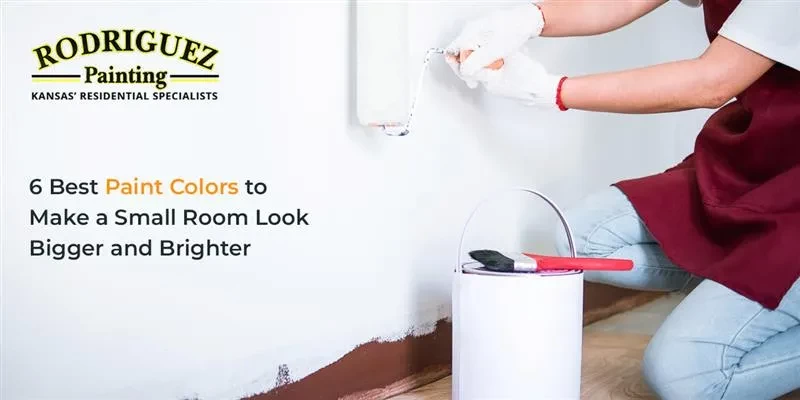
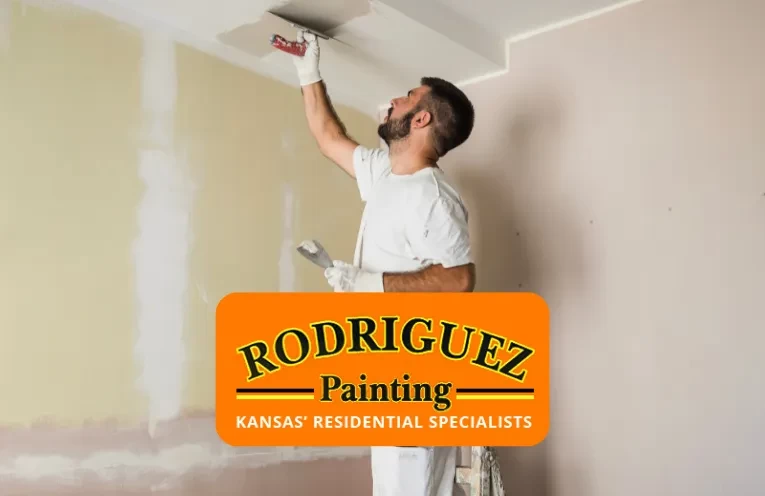
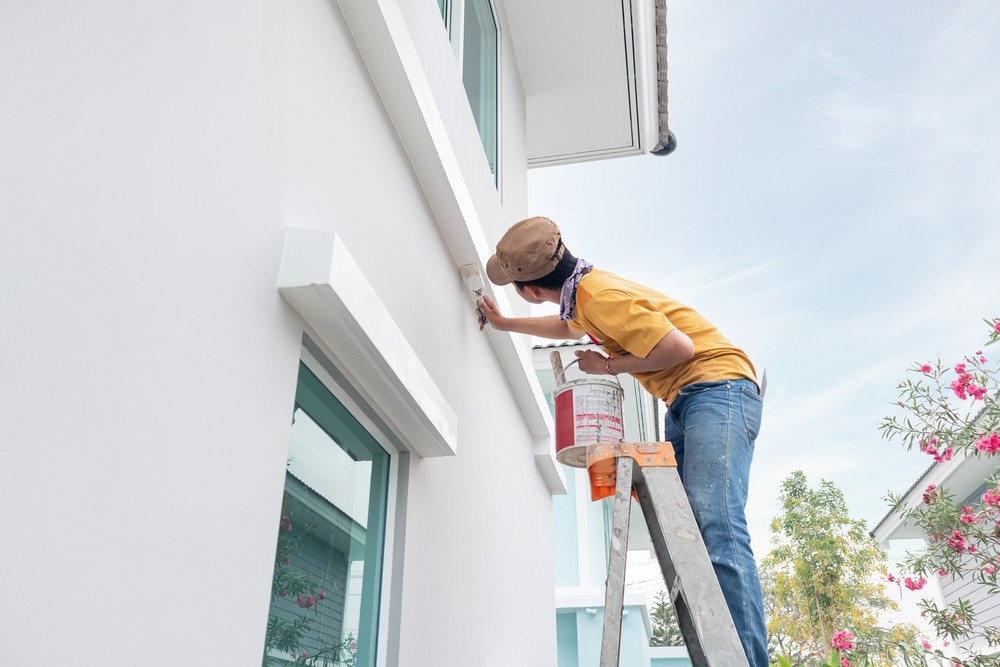
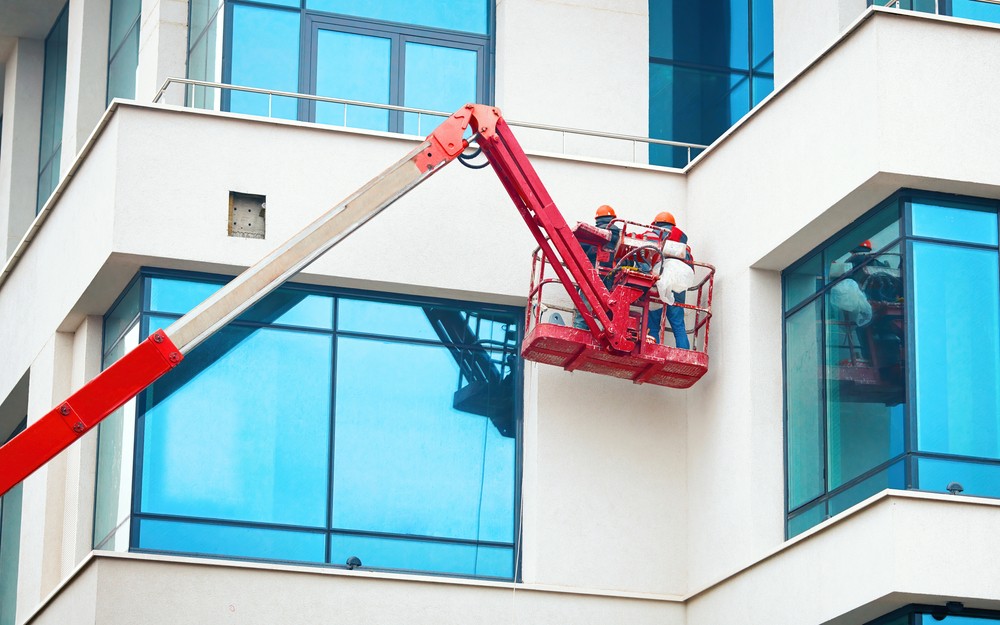
Have you decided to give your space a complete paint overhaul? If you have, then good for you! Having your space undergo transformation from time to time is an amazing way to ensure its longevity. If you own a commercial space, then it’s not a luxury but rather a necessity.
Commercial spaces endure a lot of wear and tear. They bear the brunt of bustling foot traffic, endless meetings, coffee spills, and who knows what else. Unless you revamp that protective paint coating, it's like sending a soldier into battle without armor – it won't hold up for much longer.
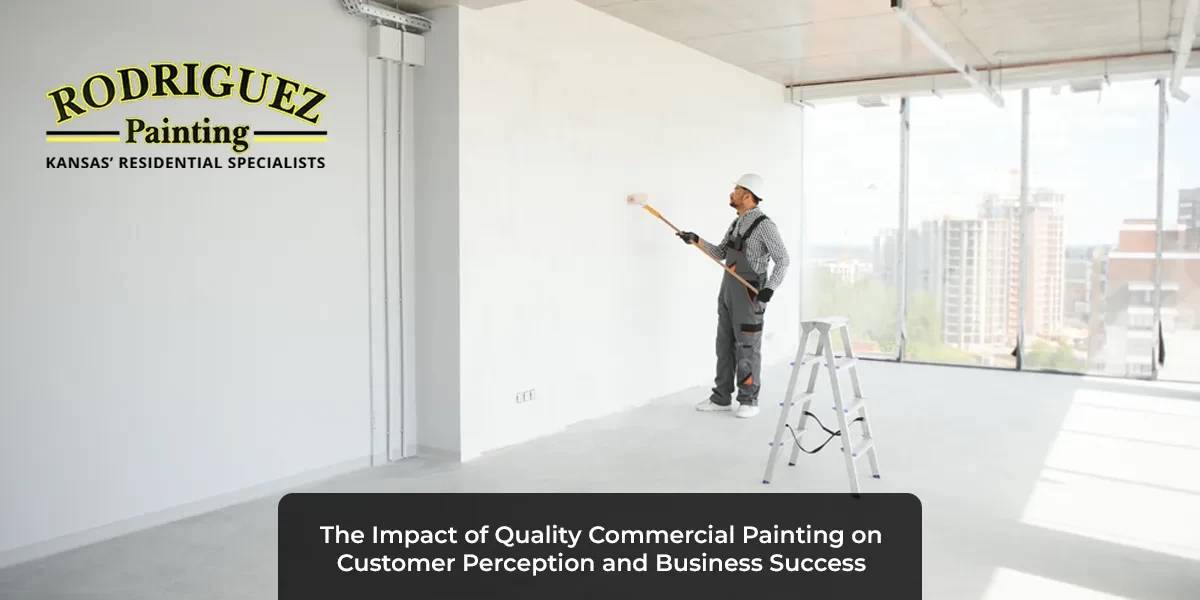
Preparing for a Commercial Painting Service: The Ultimate Guide
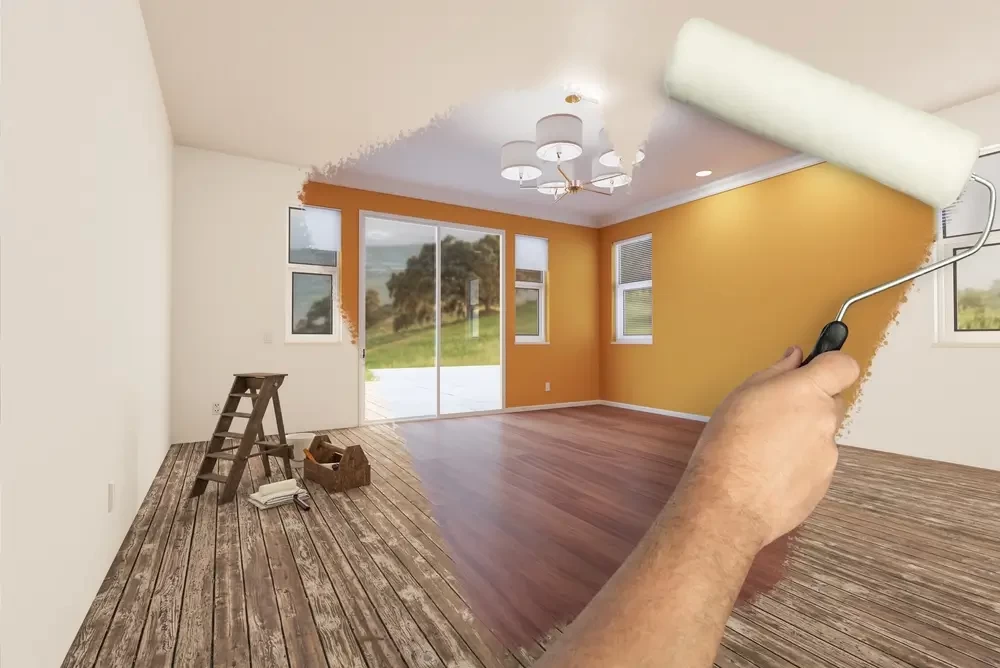
A fresh coat of paint can work wonders for your commercial space, boosting morale, attracting customers, and creating a more professional atmosphere. But before the painters arrive, there are some important steps you need to take to ensure the project runs smoothly and delivers the desired results. Here's a comprehensive guide on how to prepare your space for a commercial painting service:
1. Define Your Vision
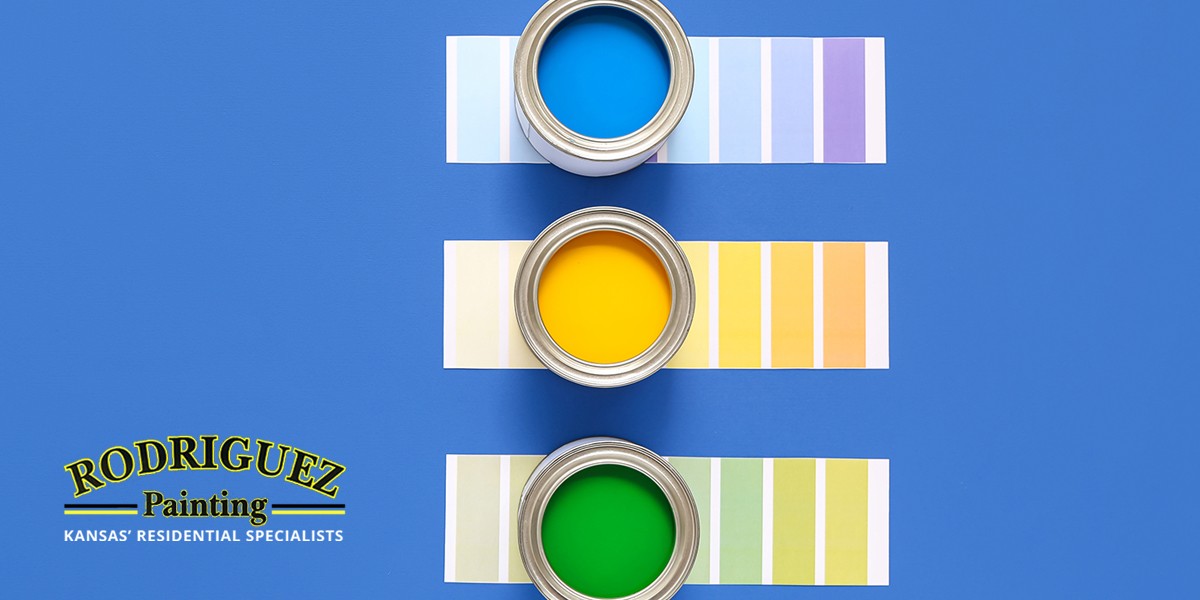
Dive right in and define the scope of your project. Picture your space in its future glory. What areas do you want to be painted? Consider the colors, finishes, and any specific needs you have, such as accent walls or custom designs.
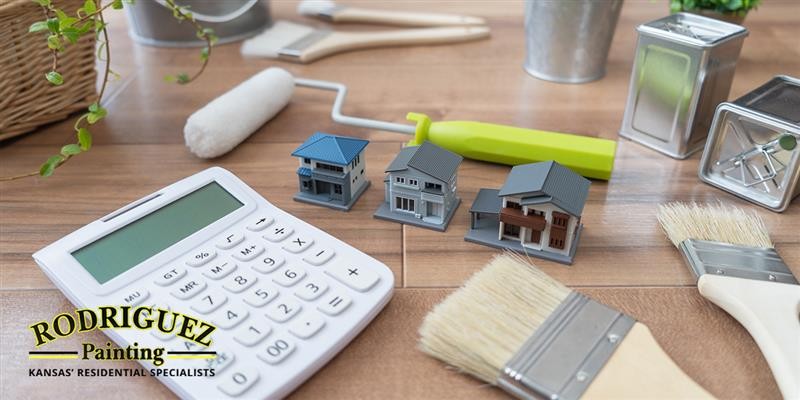
2. Set a Budget and Timeline
Reality check time! Discuss your budget with the painting service and establish a realistic timeline for the project. This will help you plan accordingly and avoid disruptions to your business operations. After all, you don't want your office to look like a canvas for too long.
3. Communicate with Stakeholders
Communication is key. Inform employees, customers, and other stakeholders about the upcoming painting project. It’s like sending out invitations to the most colorful party your space will ever host. Communicate the schedule, access restrictions, and any potential disruptions to minimize inconvenience.
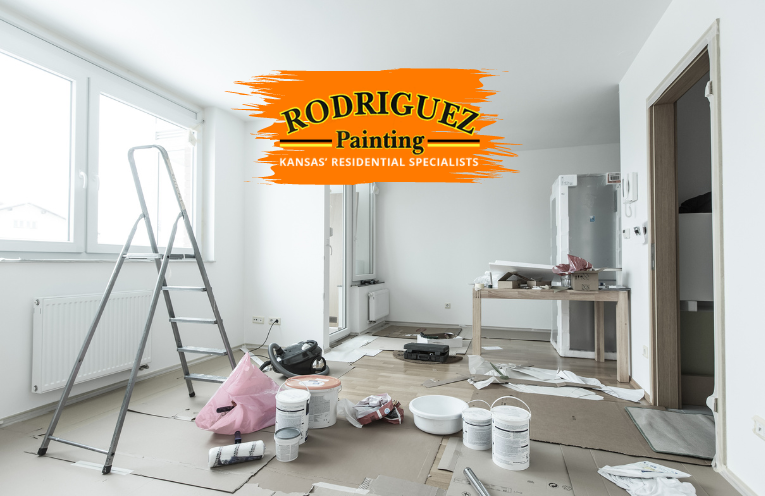
Furniture Removal and Protection
One of the first steps in preparing your commercial space for a painting service is to address the furniture. Your tables, chairs, and desks may have witnessed countless brainstorming sessions and coffee breaks, but now it's time for them to step aside and let the walls shine.
Move Furniture
Start by clearing the areas earmarked for a paint makeover. Remove furniture, equipment, and any other belongings that might get in the way of the painters. If possible, find a temporary storage area for these items or huddle them together at the room's center, allowing the painters the freedom to work their magic.
Protect Remaining Furniture
But what if moving everything isn't in the cards? No worries! Think of it as sending your furniture on a mini-vacation. Cover the remaining furniture like a protective cocoon using drop cloths or plastic sheeting. This simple step will shield your prized possessions from unexpected paint splatters and dust drifts.
Consider investing in quality drop cloths; they're like the red carpet for your furniture during this makeover event.
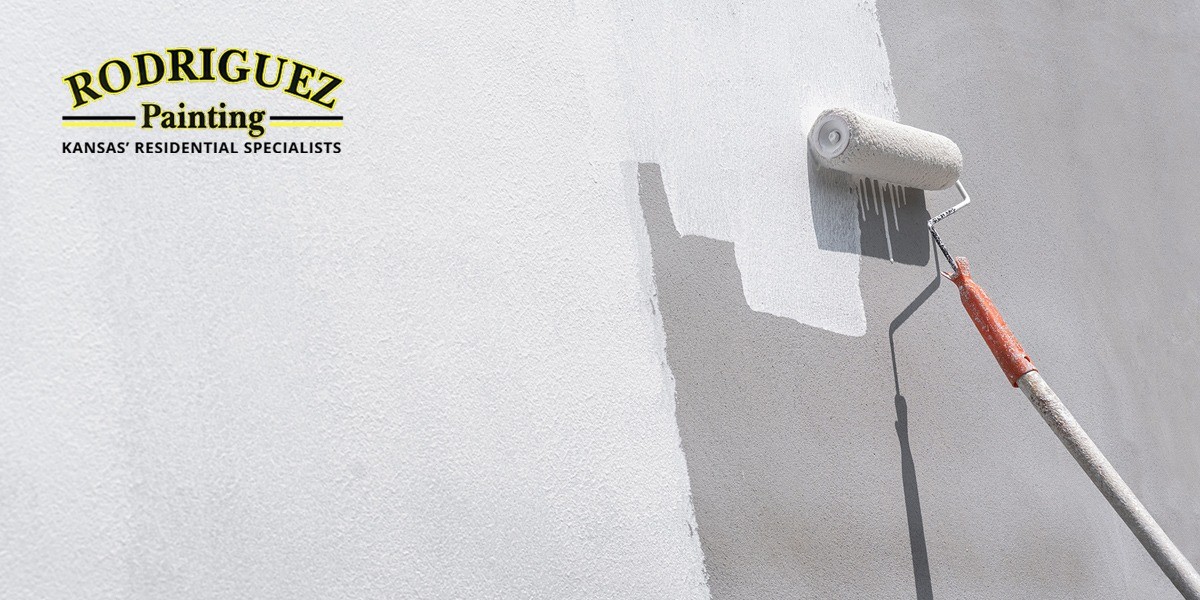
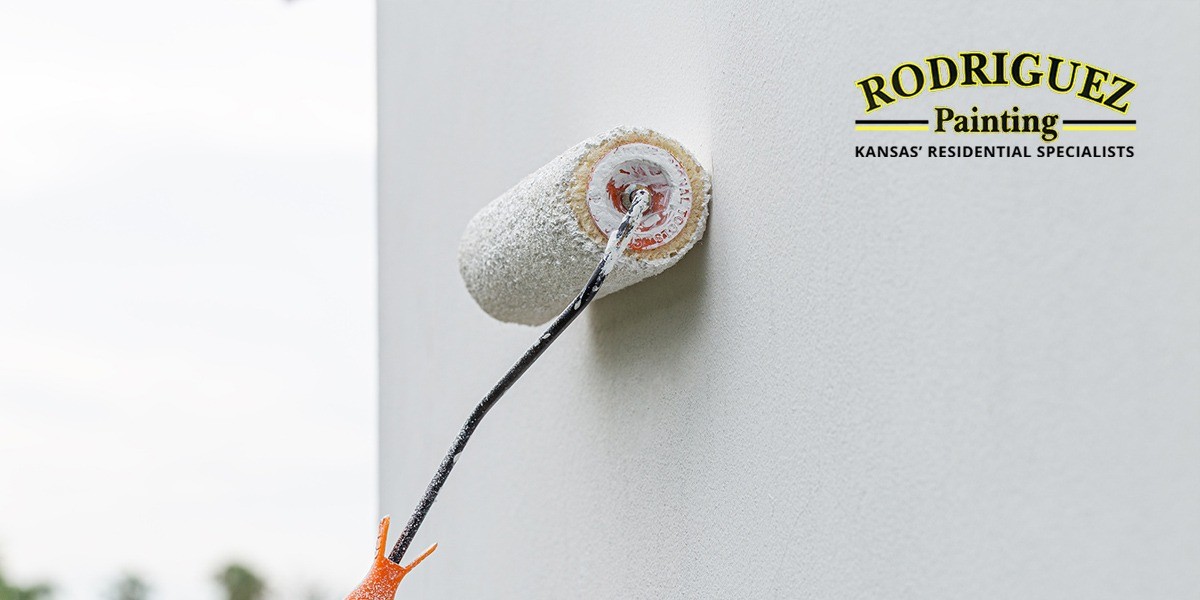
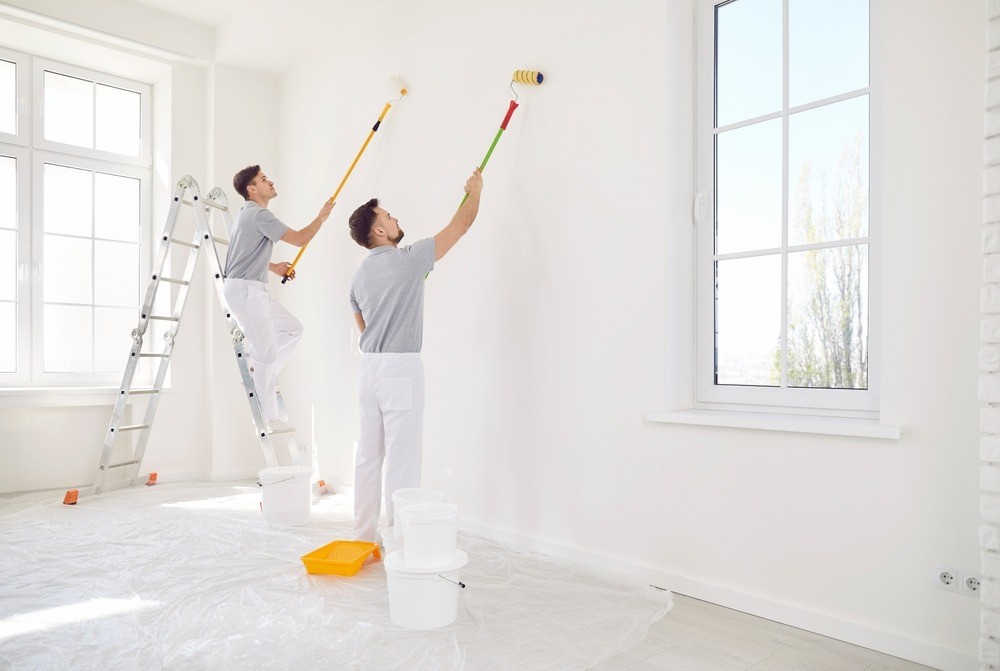
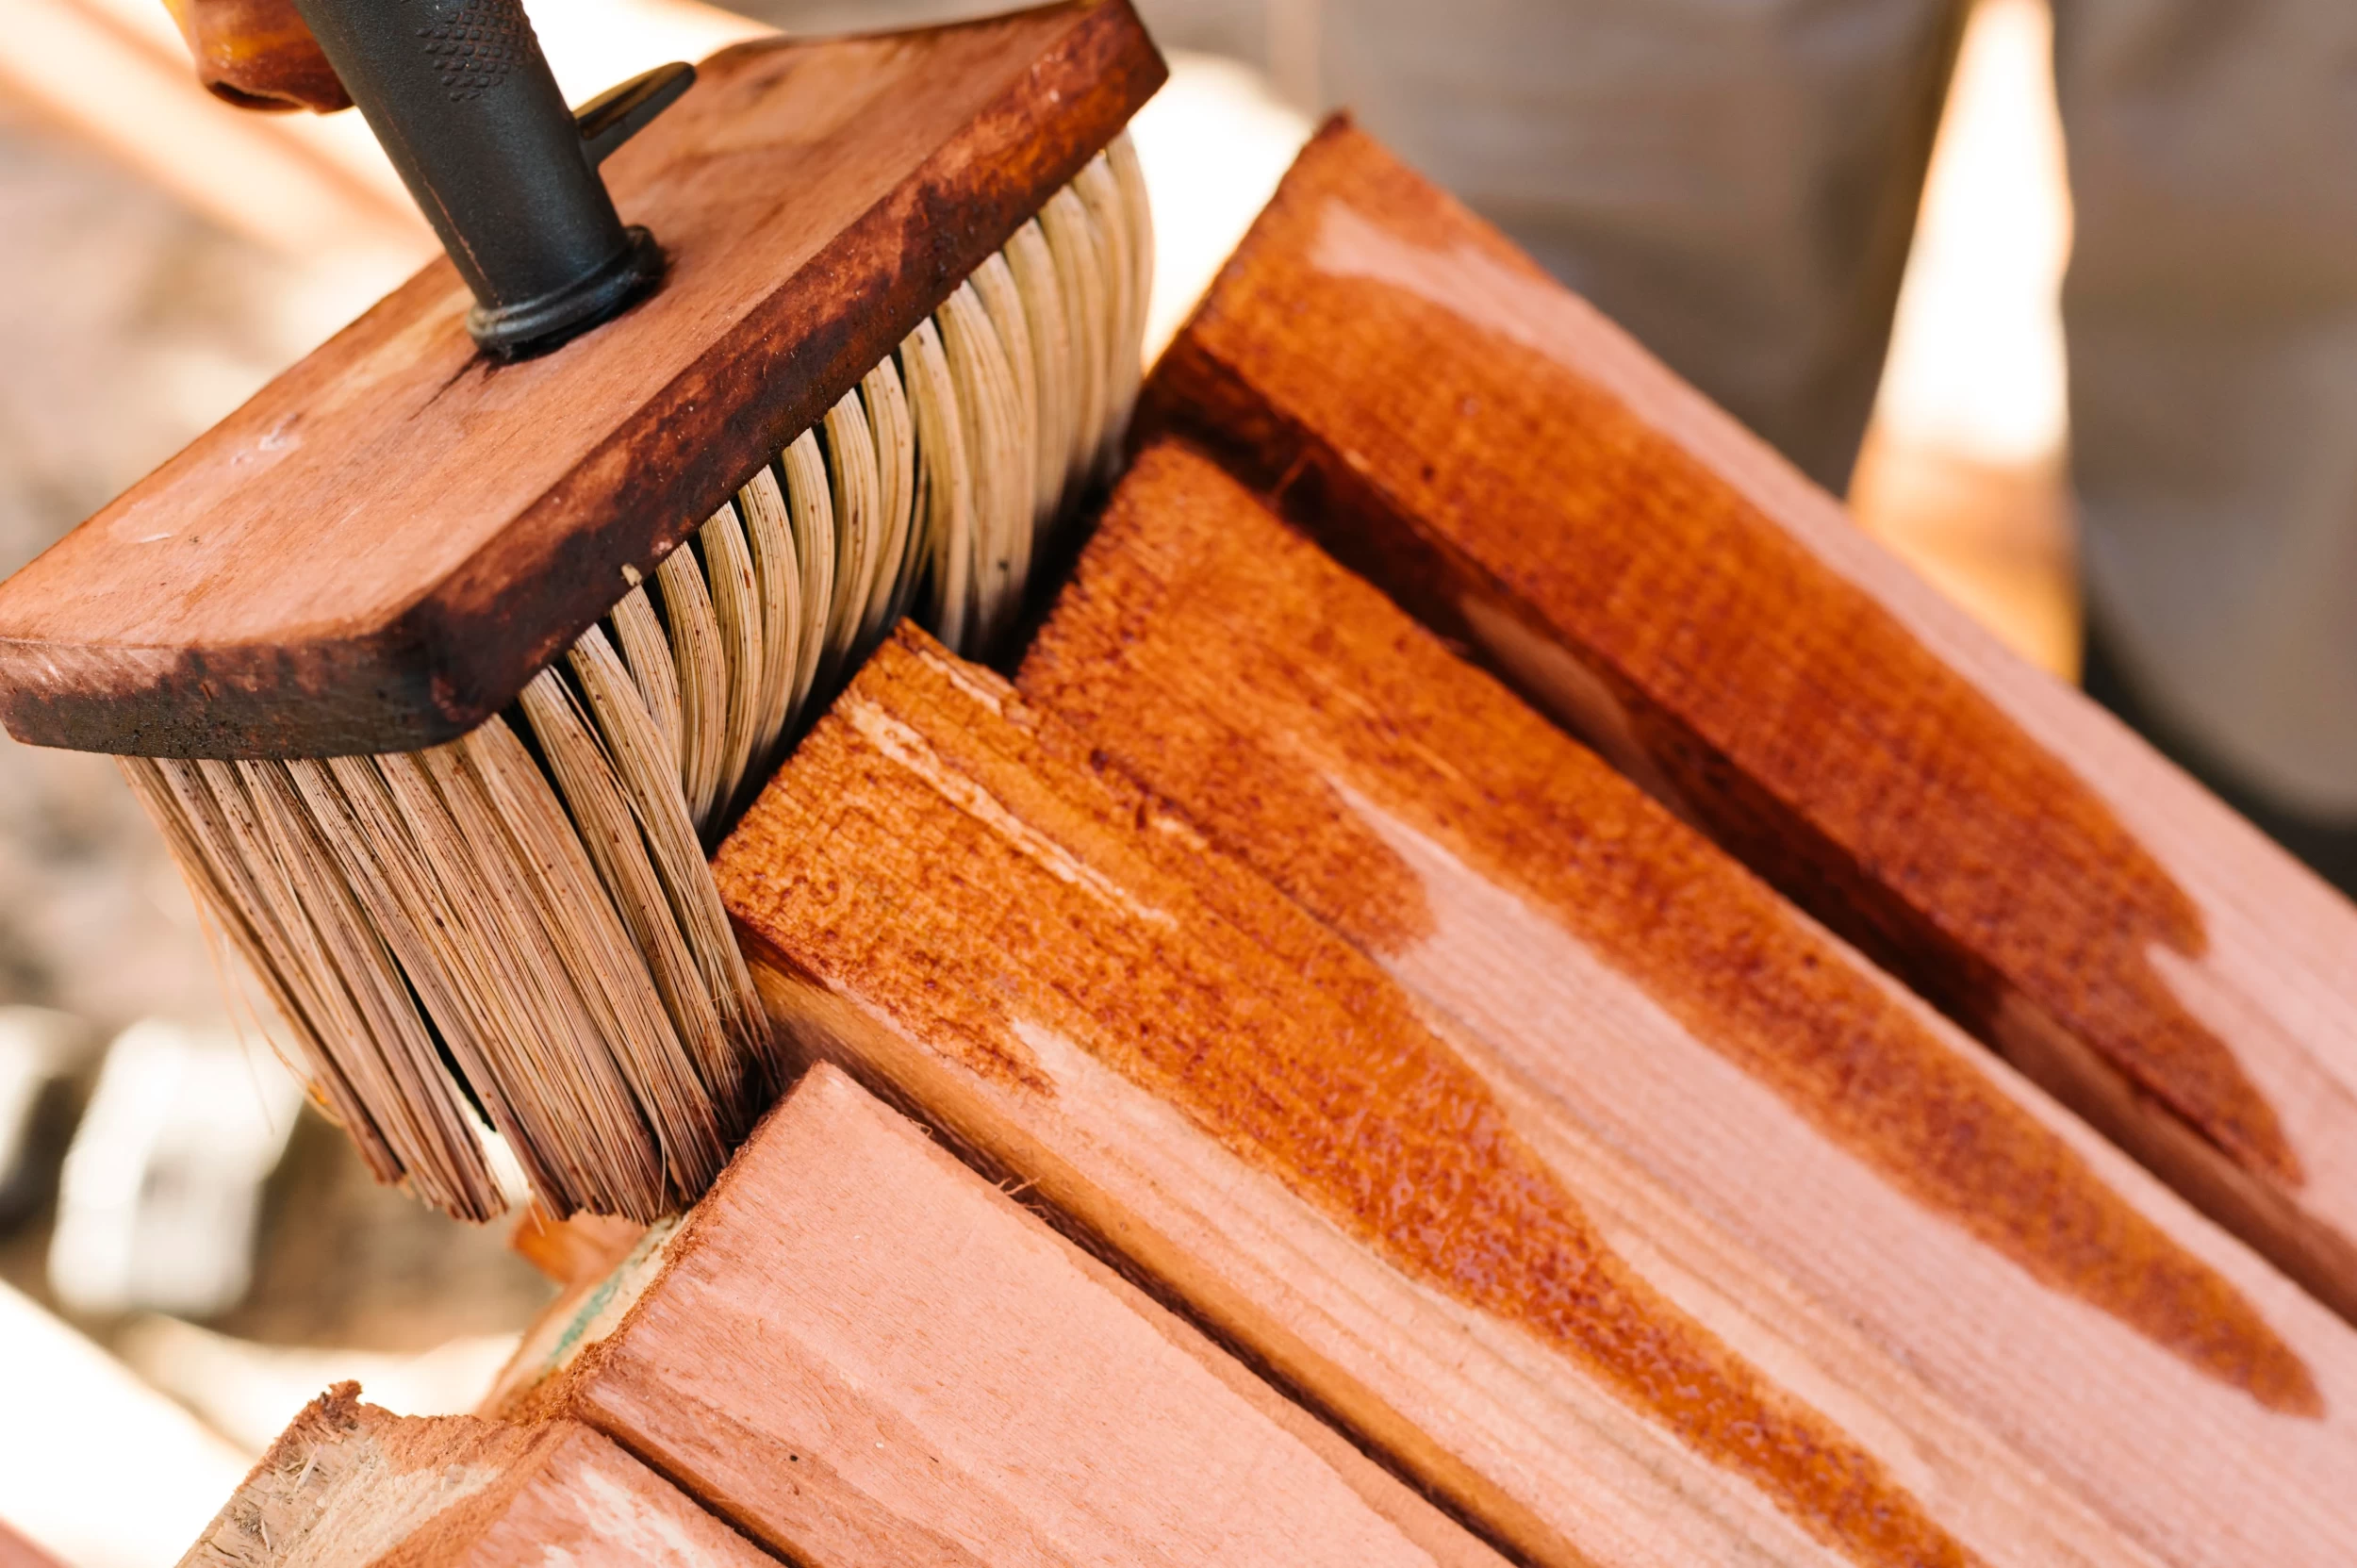
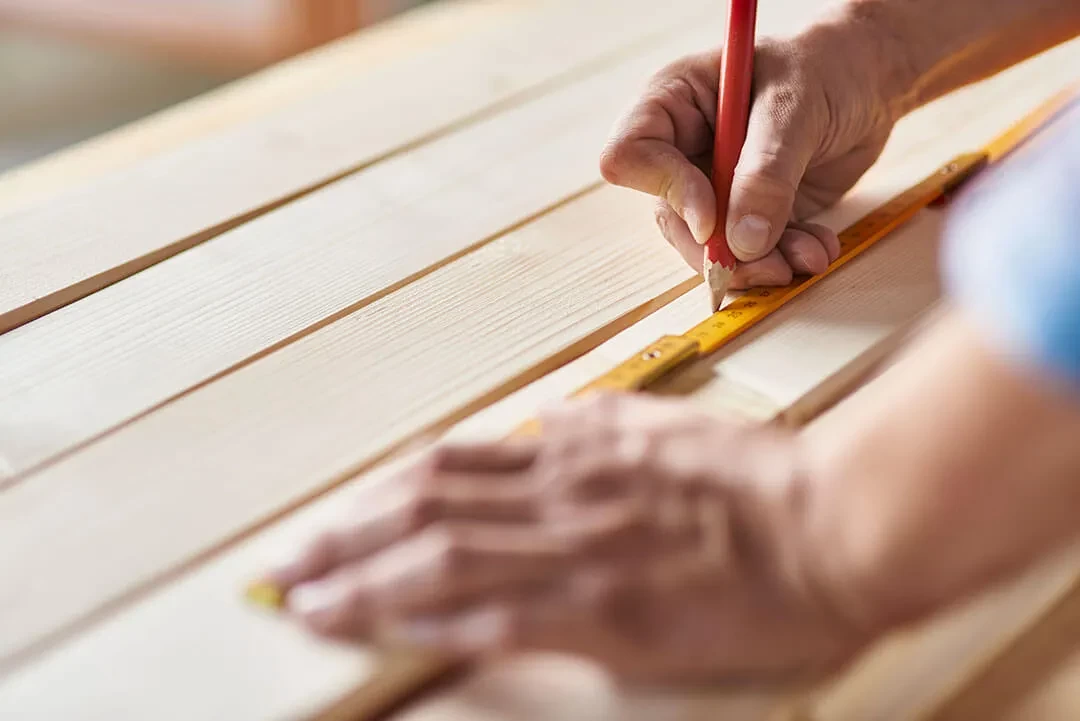
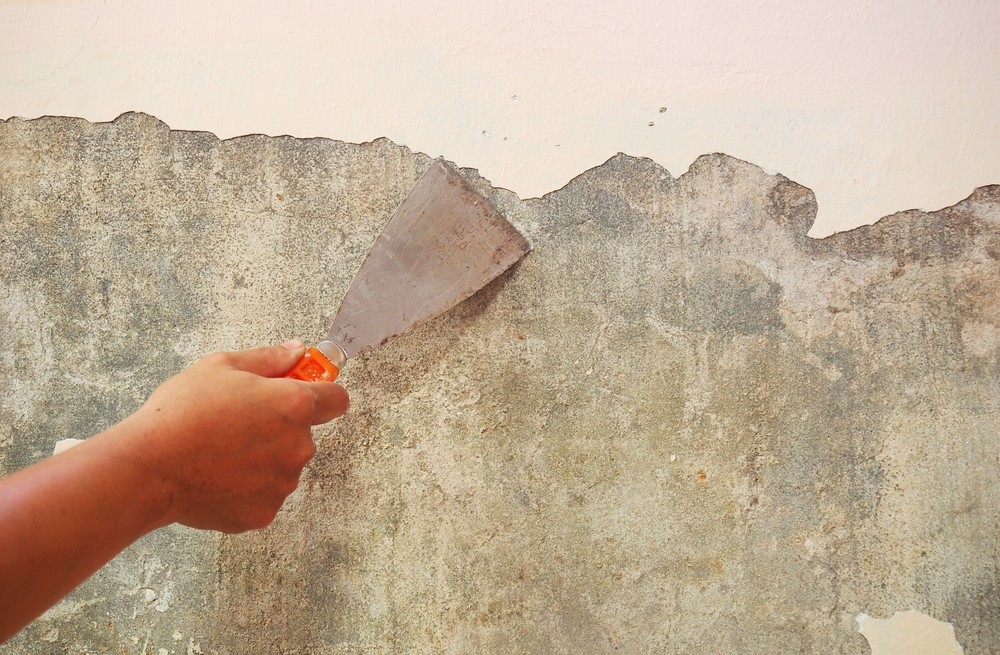
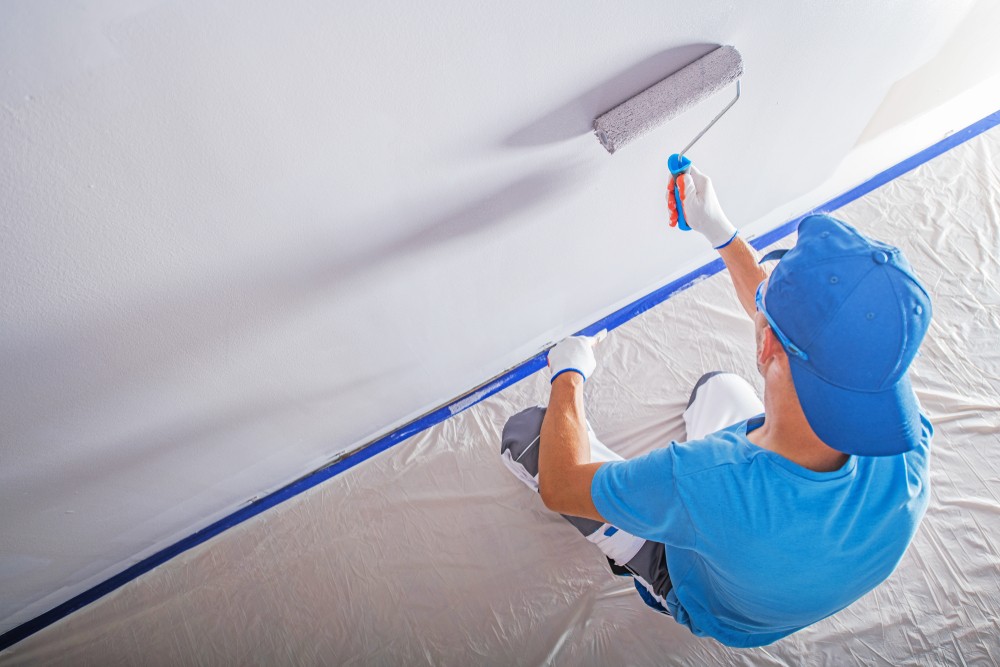
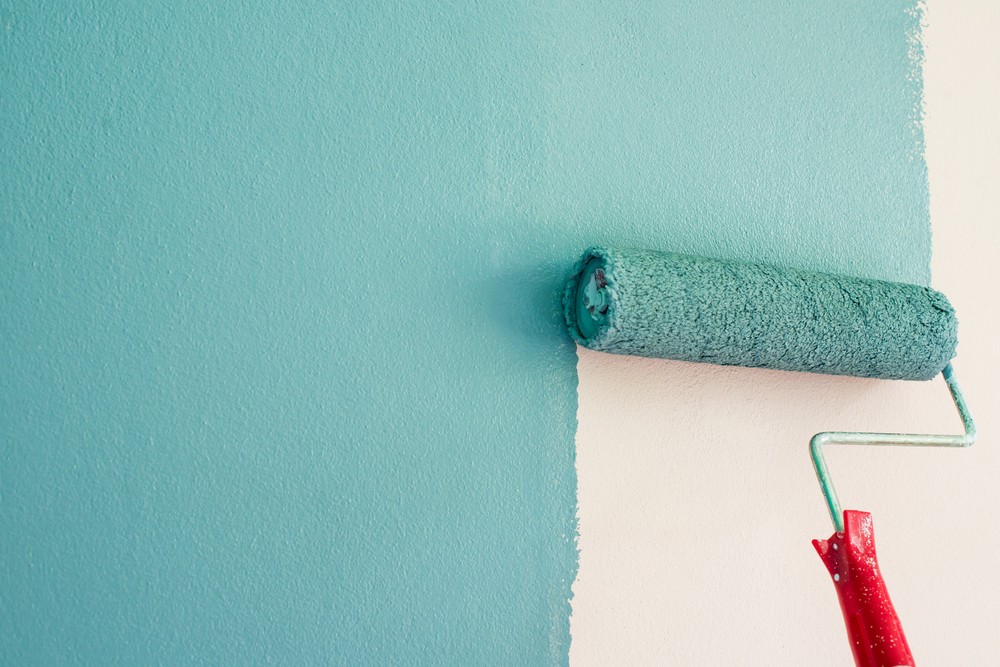
Surface Preparation
Now that your space is as empty as a fresh canvas, it's time to ensure that canvas is pristine. Surface preparation is crucial for a successful paint job that's smooth, long-lasting, and breathtaking.
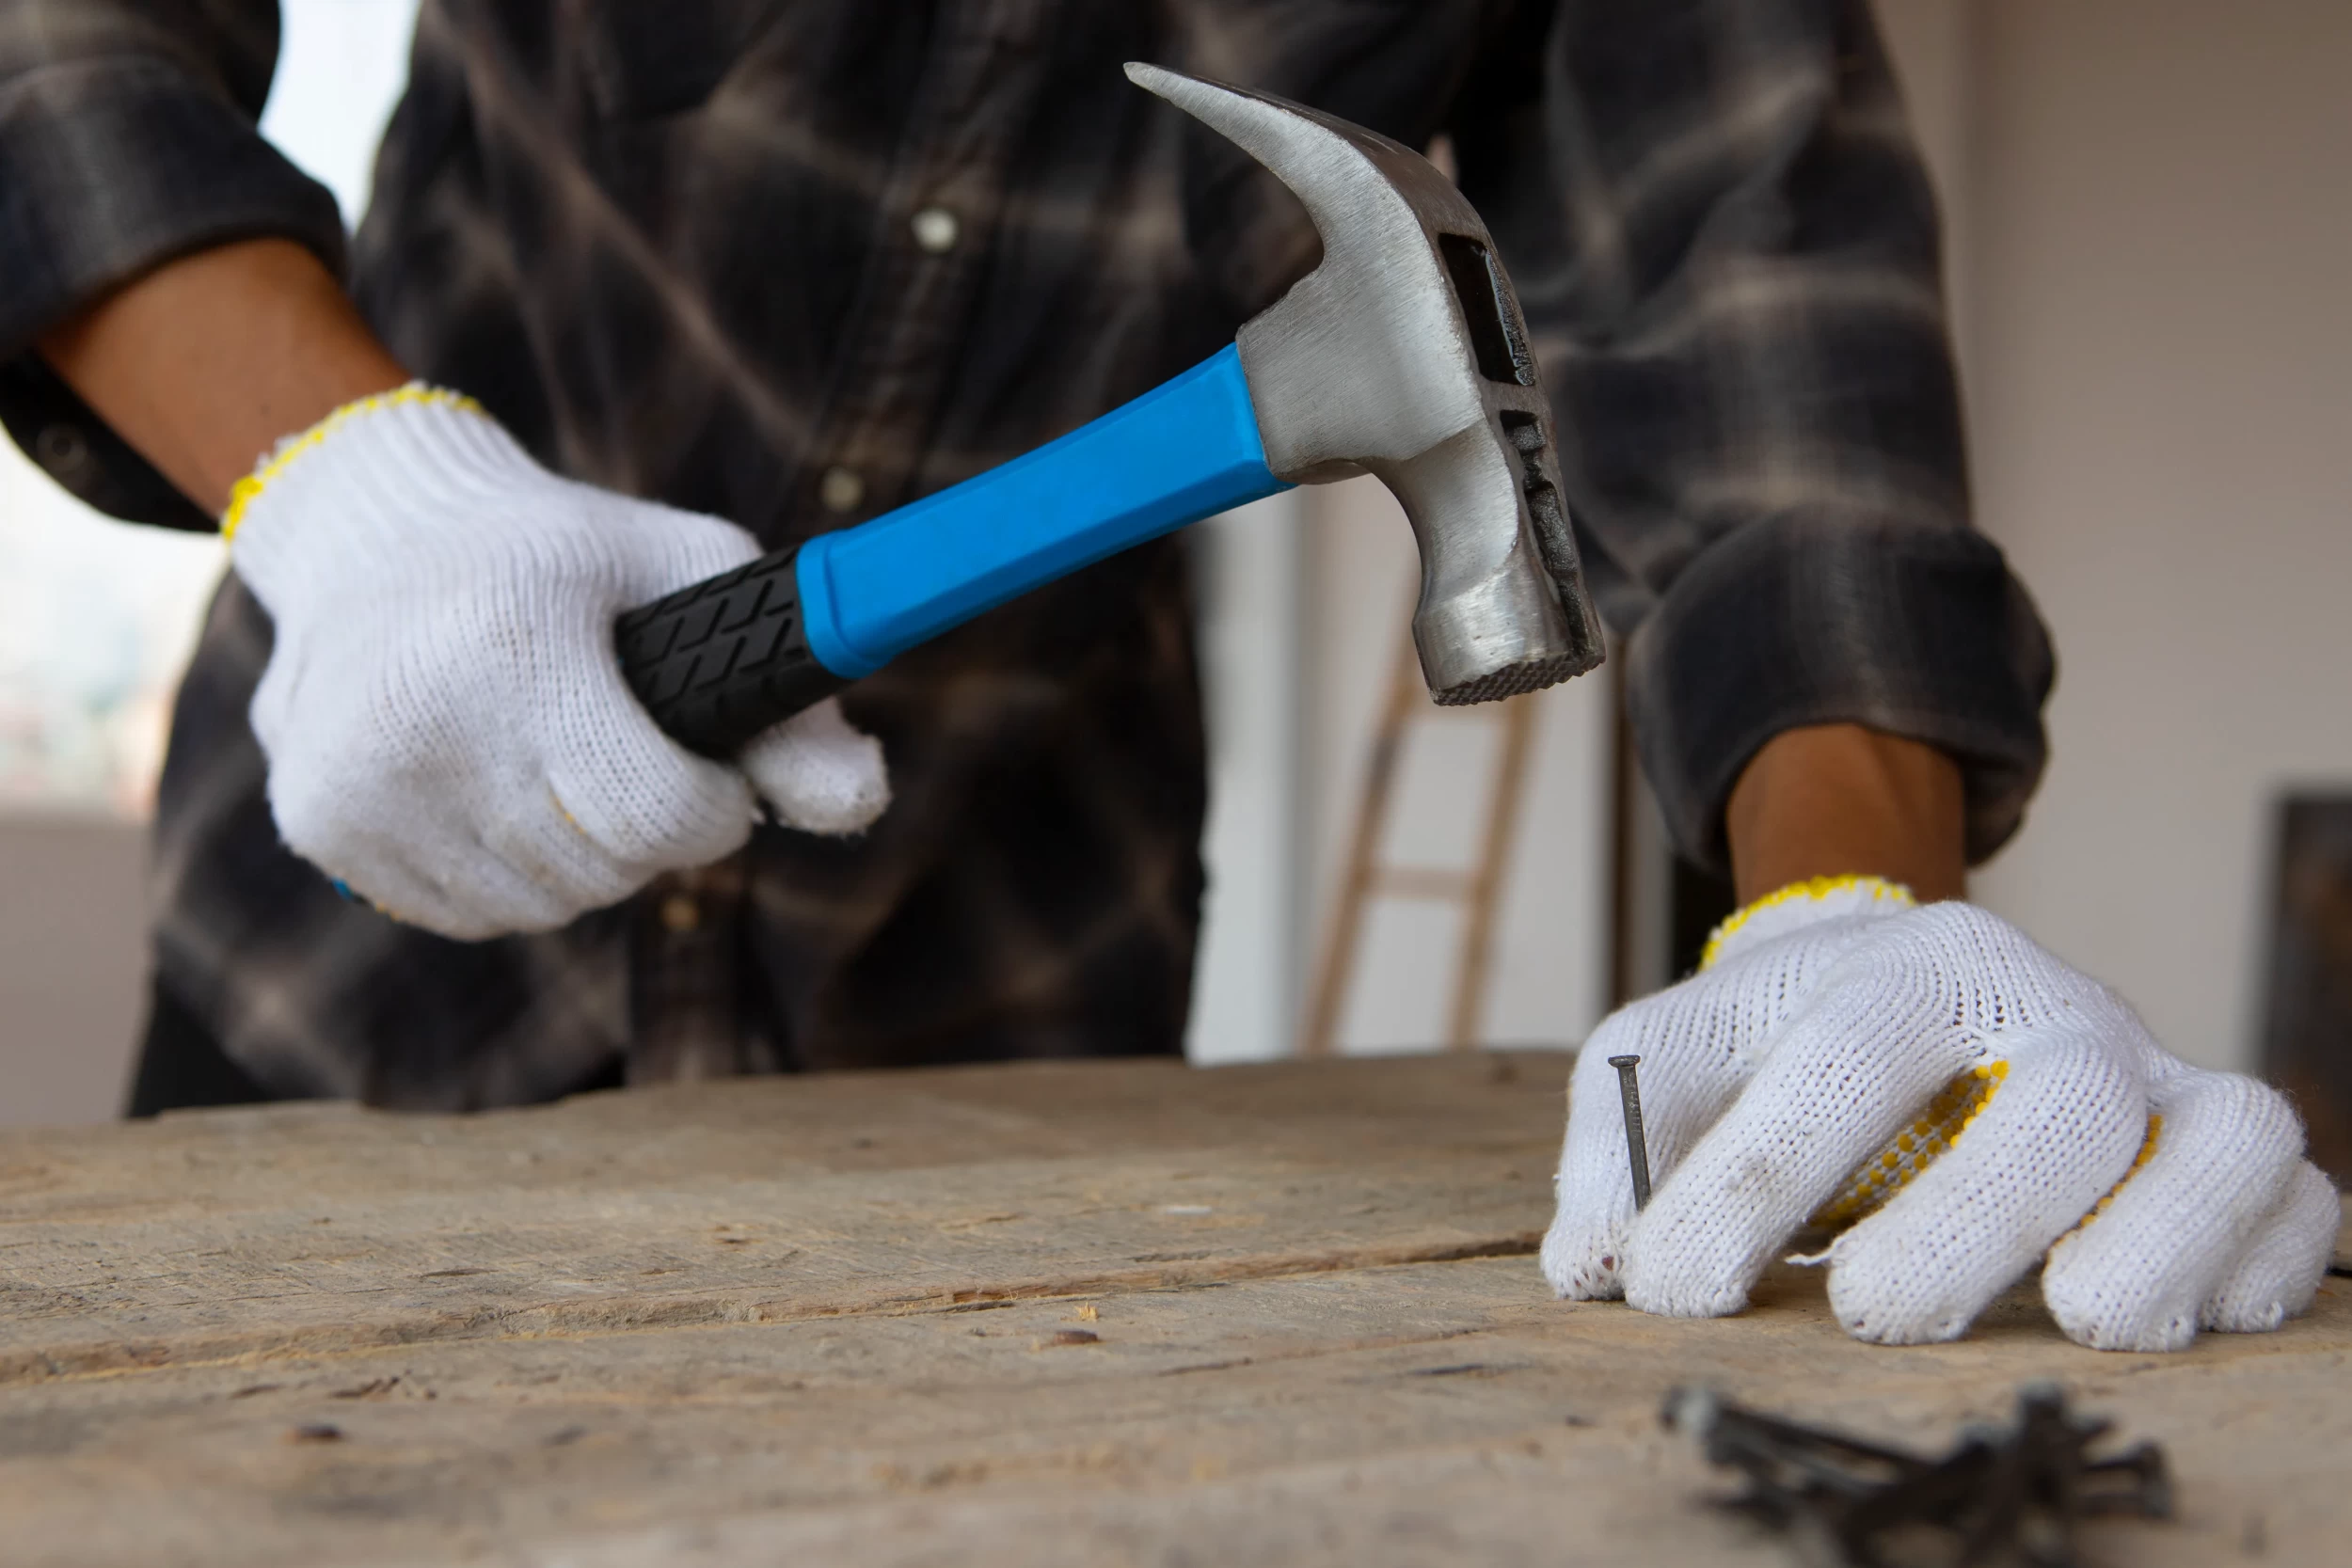
Repair and Patch Holes
Inspect your walls and ceilings like a detective on a case. Look for cracks, holes, or other imperfections that might mar the final result. If you spot any, fear not! Repair them using appropriate materials to create a surface that's as smooth as a jazz tune.
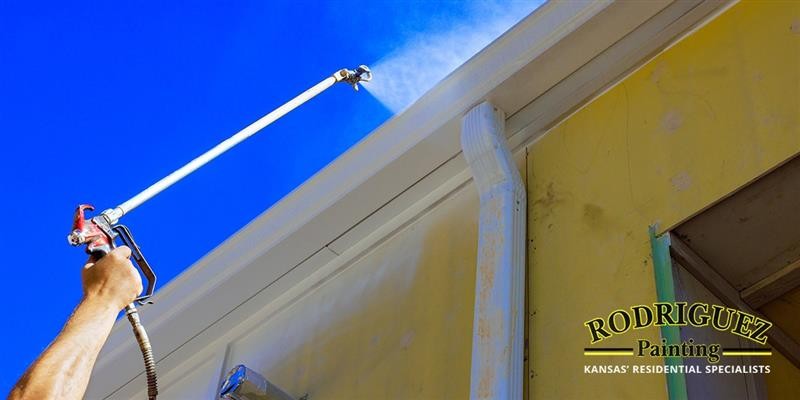
Clean the Walls and Ceilings
Dust, dirt, cobwebs, and the ghosts of long-forgotten memos – they've all taken residence on your walls and ceilings over time. But they're not invited to this painting party! Get rid of them by cleaning the surfaces to be painted. Removing any grease or grime is essential for proper paint adhesion and a finish that will leave everyone in awe.
Remove Wall Coverings
Now, if your walls are dressed in wallpaper or other wall coverings, it's time for them to make their exit. Bid them farewell and remove them completely before painting. This ensures a clean, even surface for the new paint to show off its true colors.
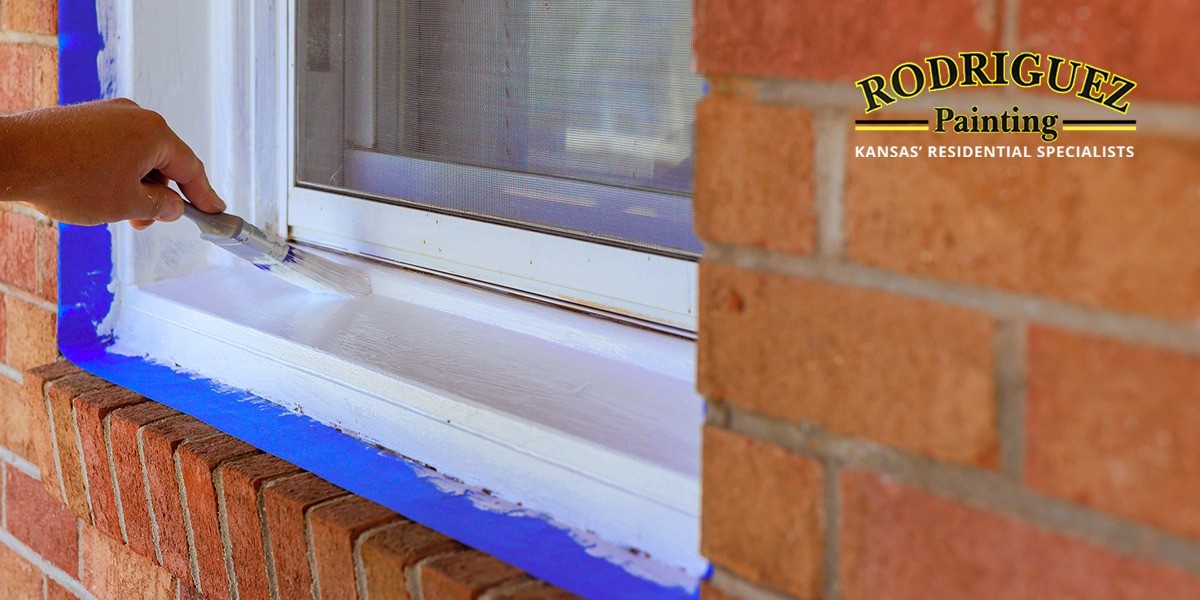
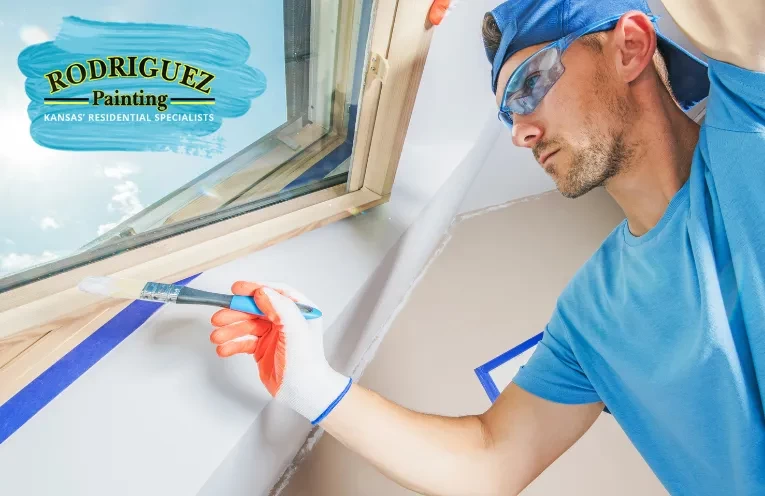
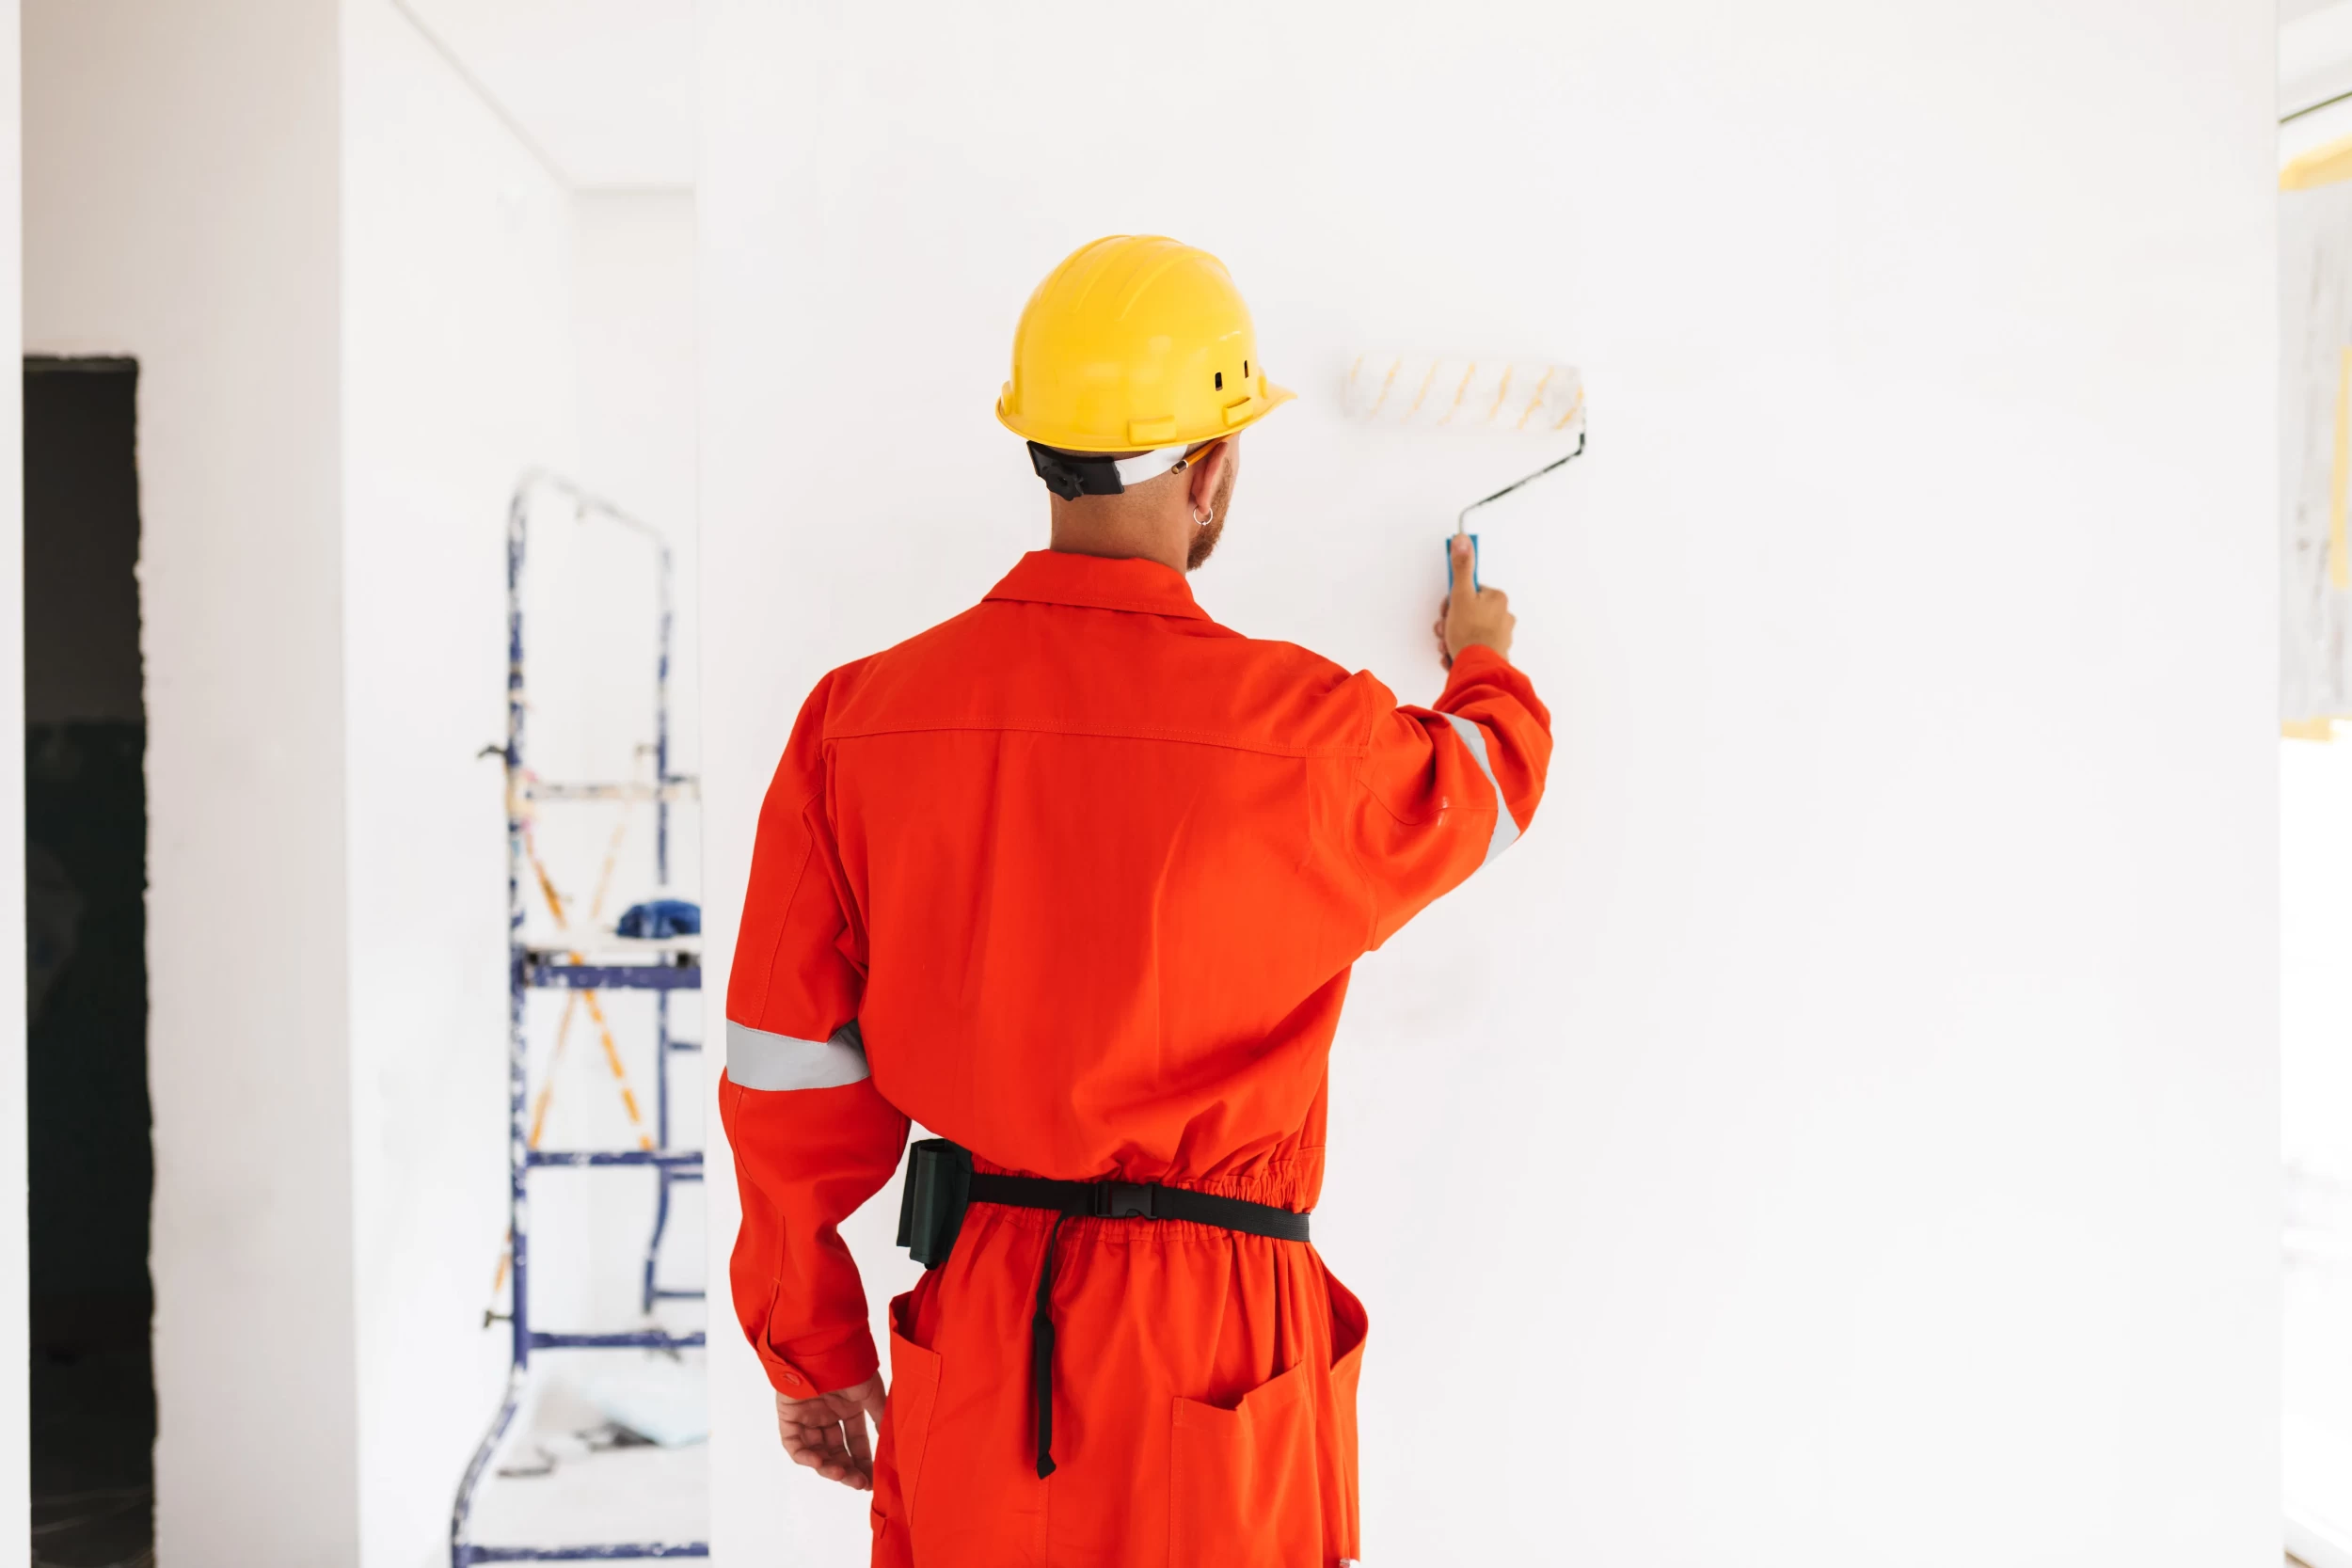
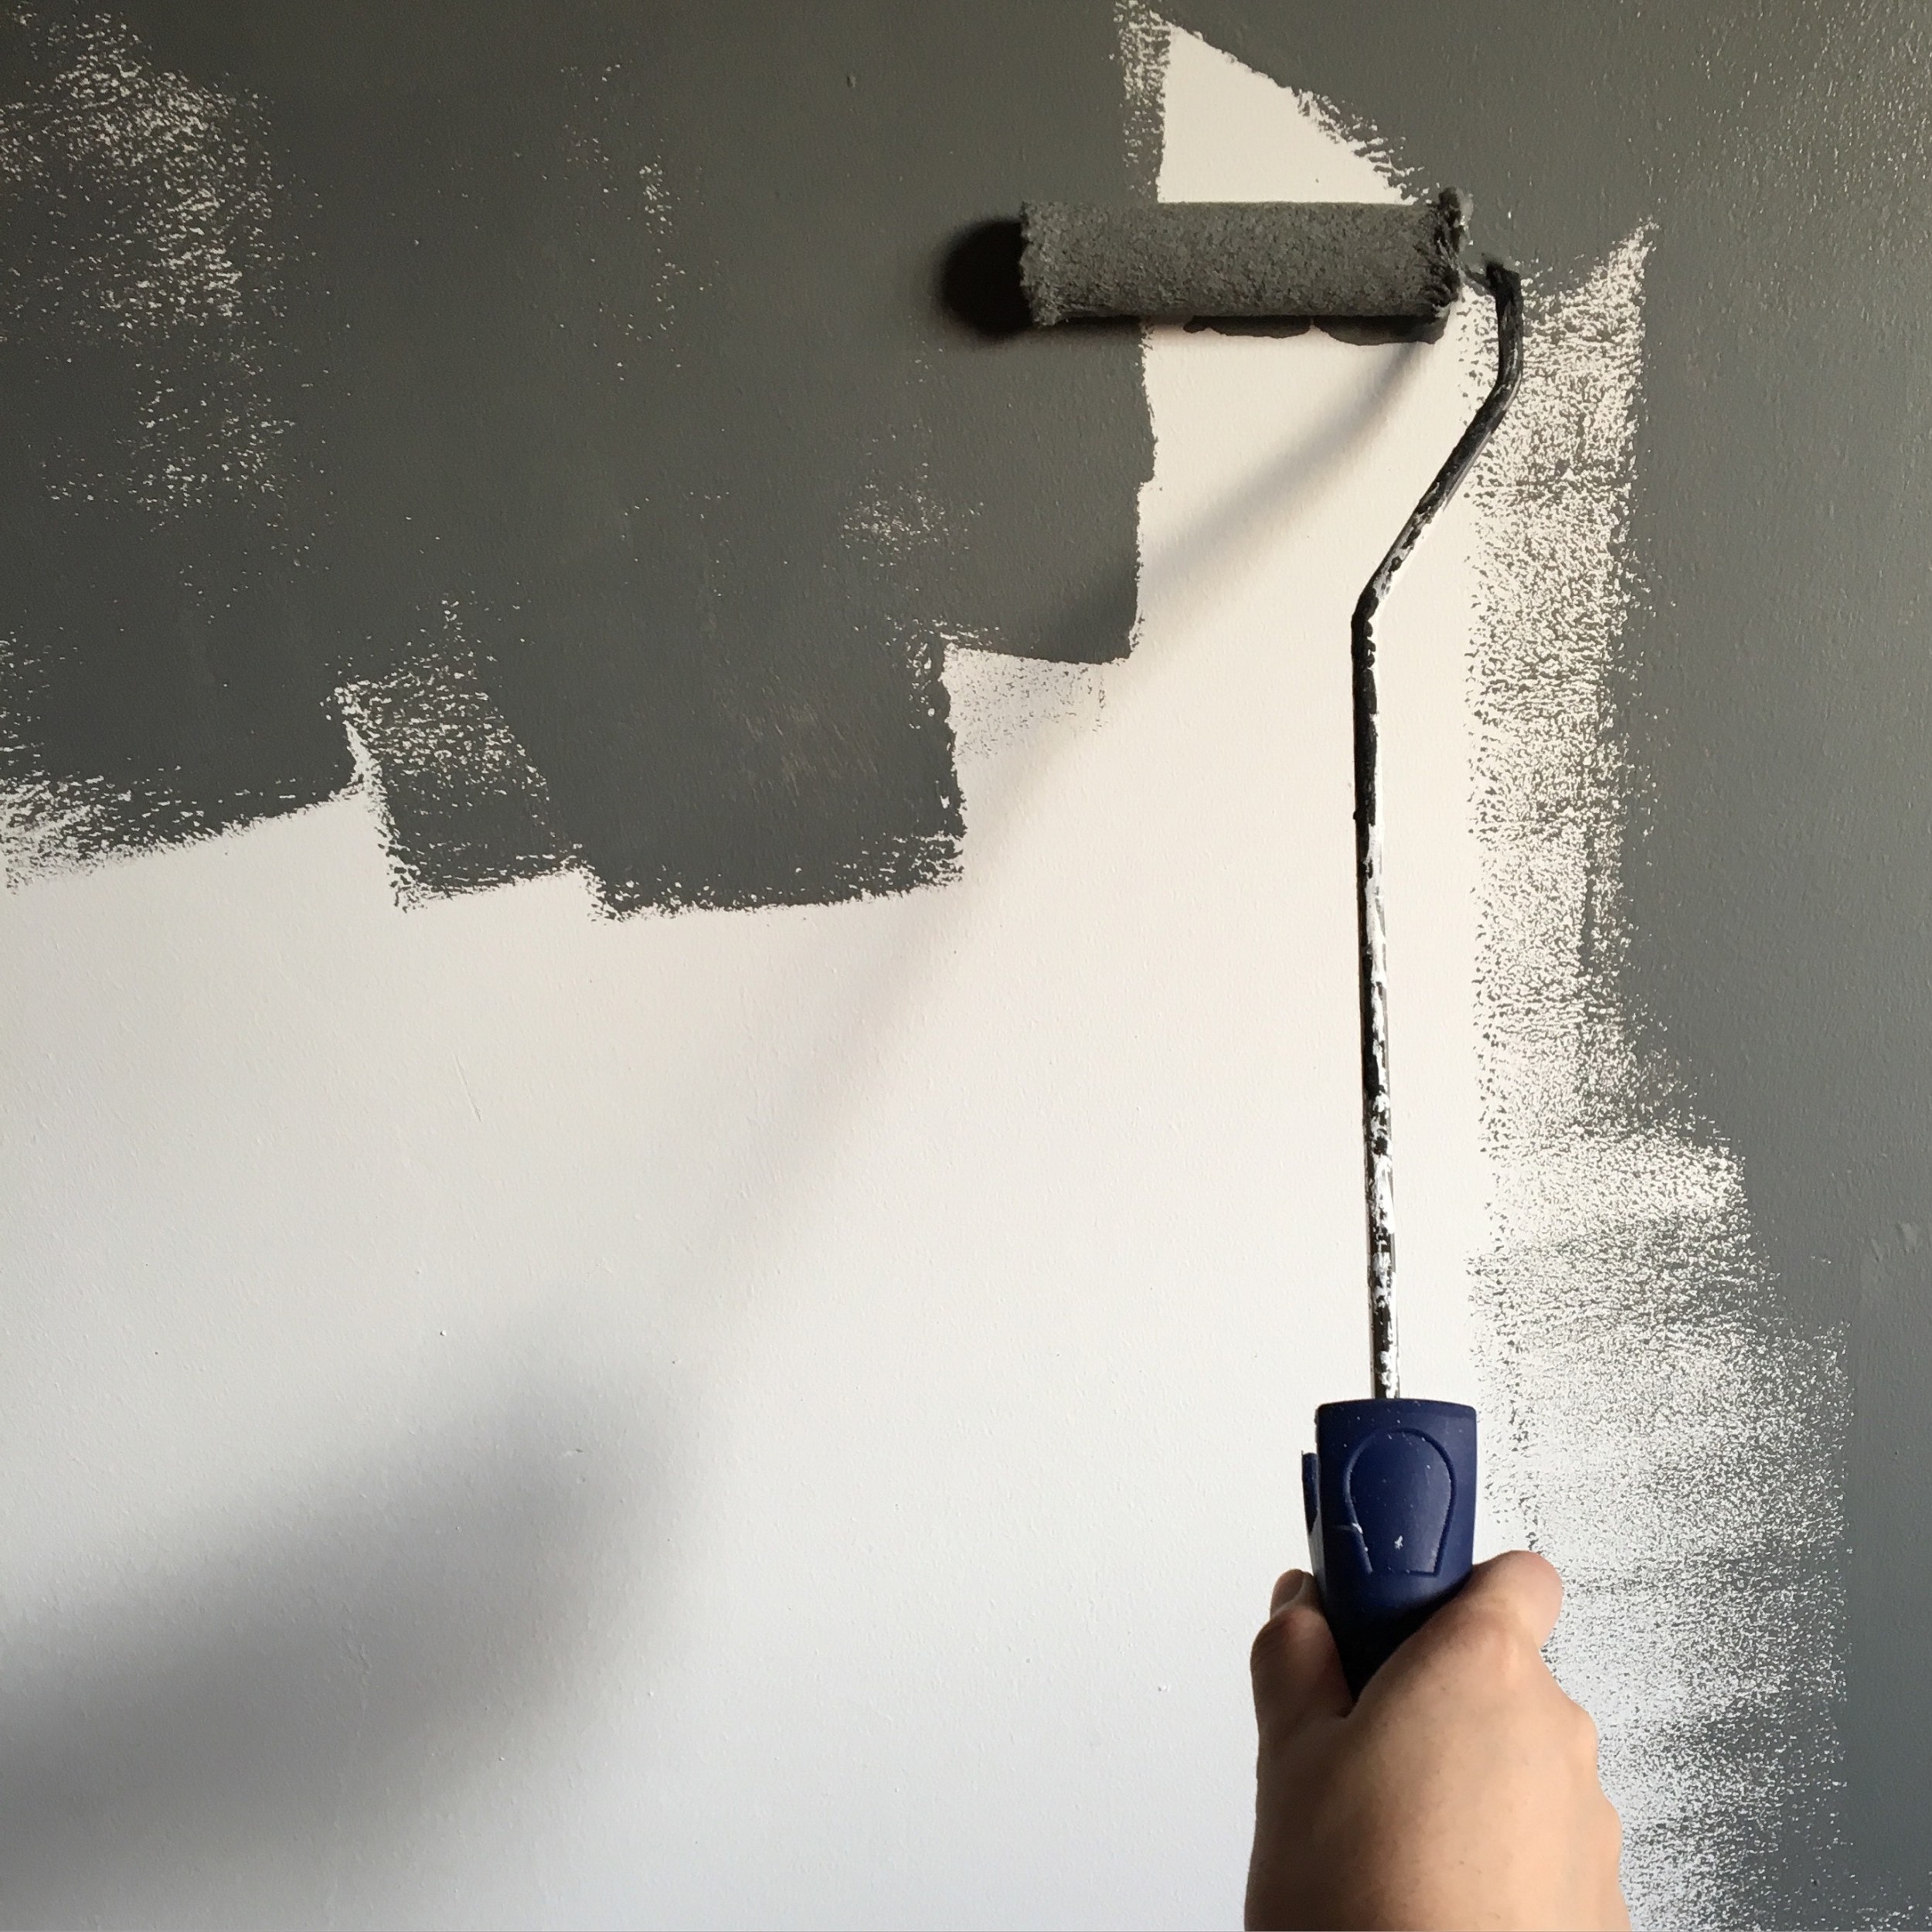
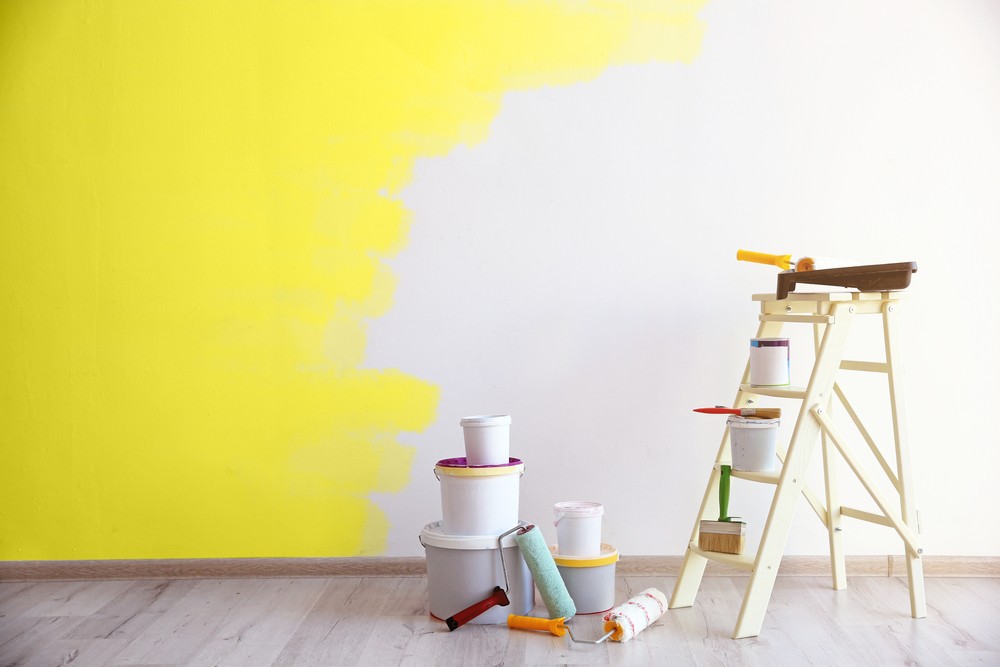
Masking and Taping
Now that your canvas is prepped and ready, it's time to bring out the painter's secret weapons: masking and taping. These techniques ensure that your paint job stays within the lines, delivering that polished, professional finish.
Protect Non-Painted Areas
Think of painter's tape as the guardian of your space's finer details. Use it to mask off areas that shouldn't be painted – trim, fixtures, windows, doors, and electrical outlets. This is your insurance policy for clean lines and that sleek, impeccable look.
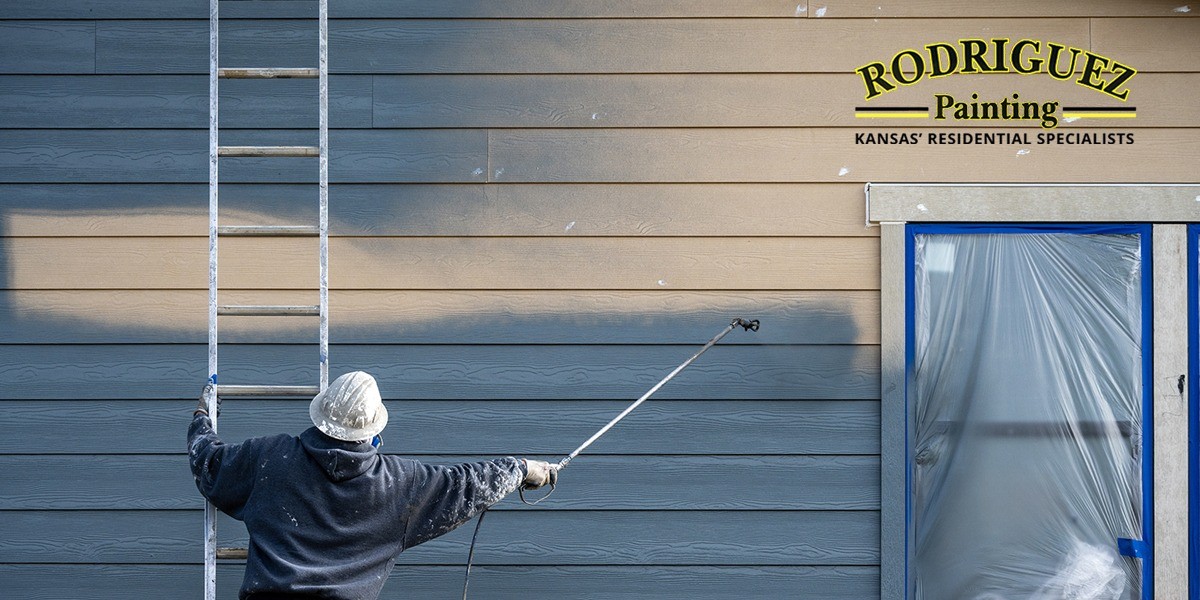
Cover Floors and Flooring
Remember that drop cloth you laid out earlier? It's your trusty sidekick in the battle against paint spills and splatters. Lay down drop cloths or tarps on the floors and any other surfaces that need protection. This way, your floors won't end up looking like they attended a modern art class.
Pro Tip: Invest in drop cloths with some personality. They're not just for protection; they can add a touch of style to your workspace.
Additional Considerations:
The devil is in the details, they say. So, let's dive into some additional considerations to ensure your painting project goes off without a hitch.
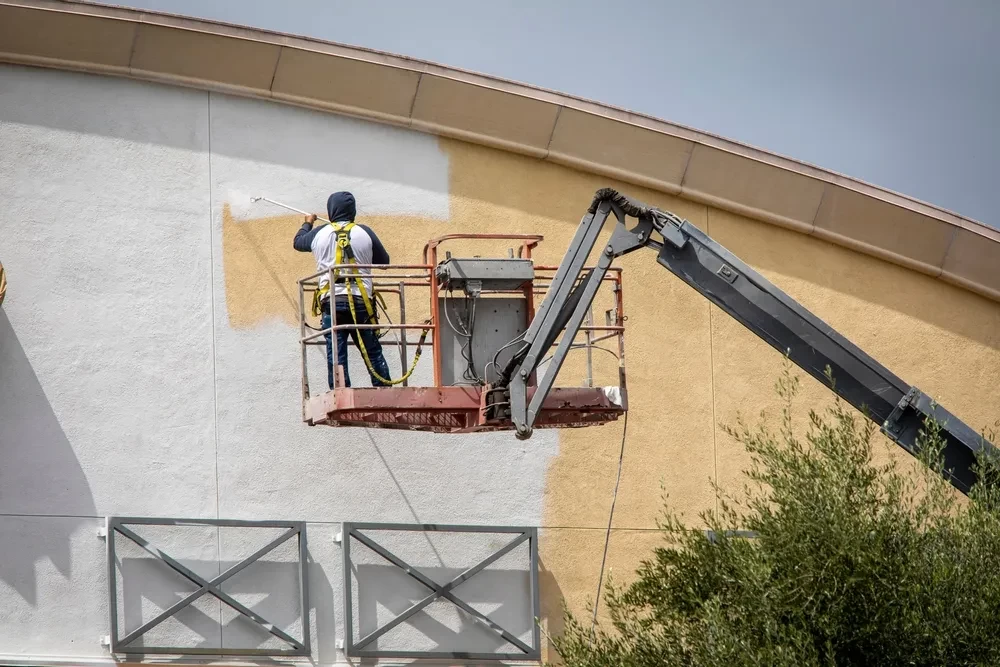
Ensure Proper Ventilation
Painting can be a bit like dancing; it's best done with some fresh air. Open windows and doors to provide adequate ventilation during the painting process. This not only helps the fumes dissipate but also keeps everyone breathing easy, preventing any potential health issues.
Turn Off Utilities
Safety first! If your painting project involves areas with electrical switches or appliances, consider turning off the utilities in those zones. It's like unplugging your gadgets before a thunderstorm – a precautionary measure to keep things safe.
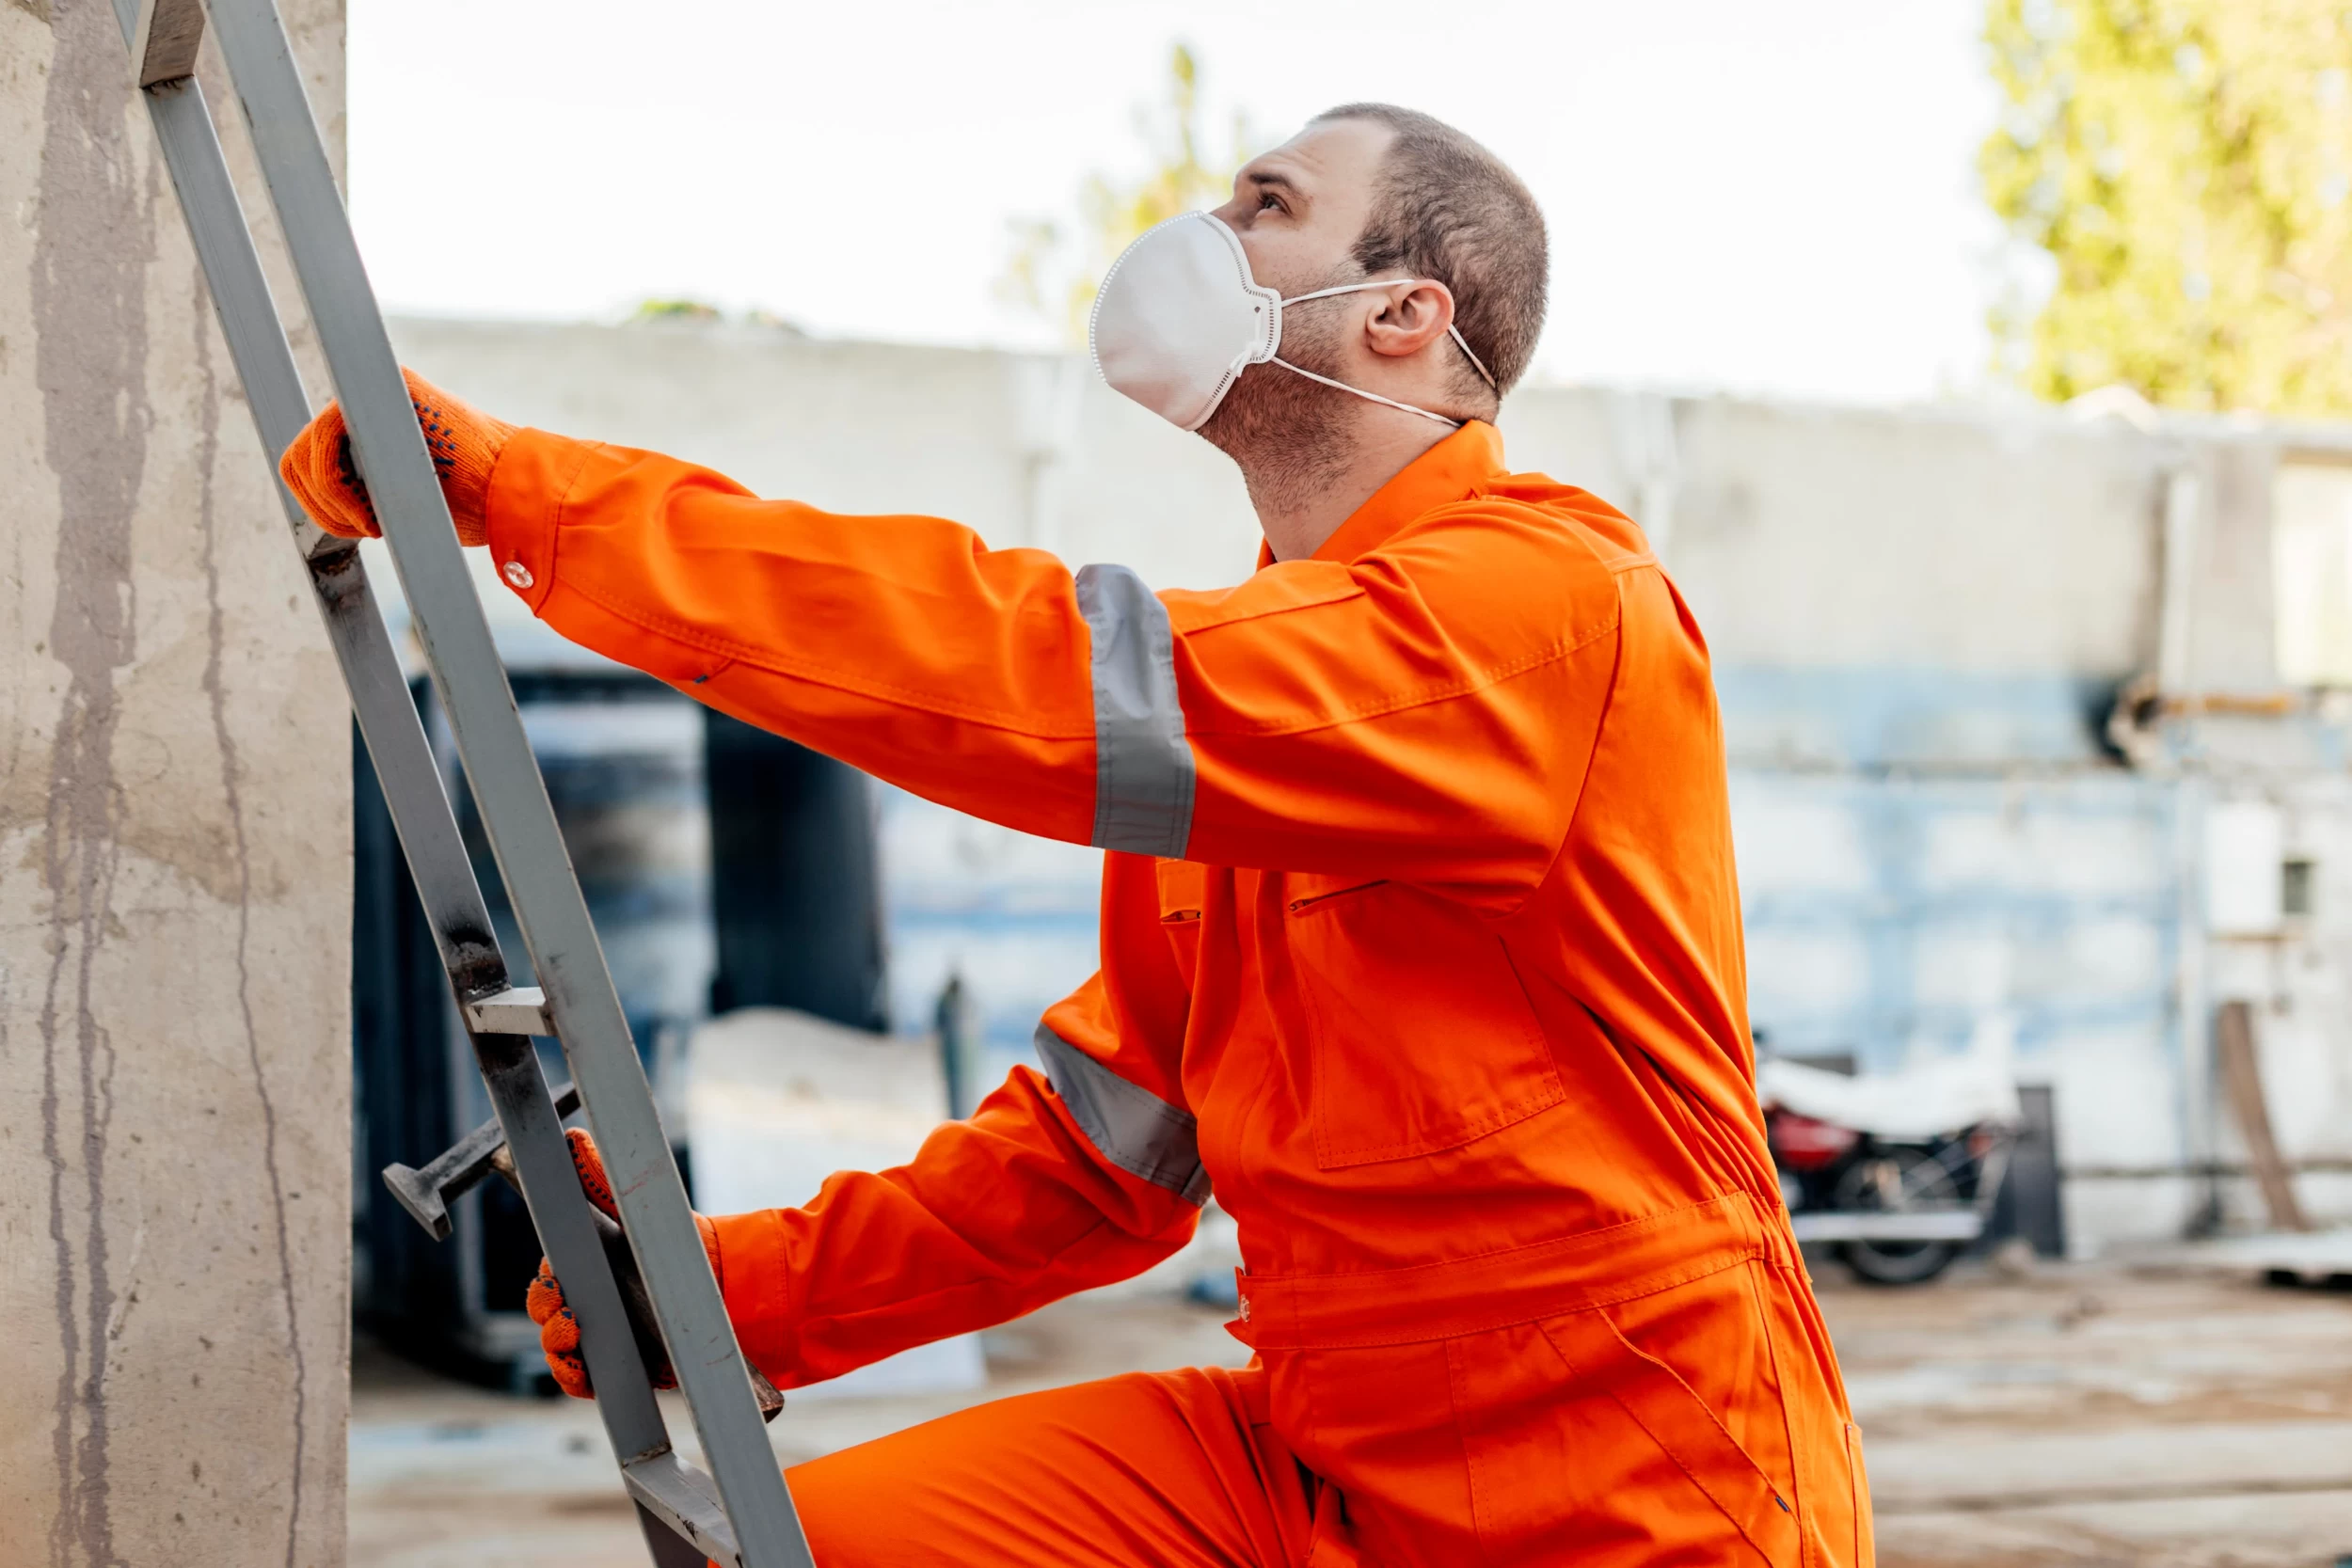
Secure the Area
Once the paintbrushes start their graceful dance, it's important to secure the stage. Lock up the premises and restrict access to unauthorized personnel. This helps prevent accidents and ensures the safety of your belongings. After all, you wouldn't want an inadvertent Picasso on your equipment.