Table of Content
- Introduction
- Choosing the Right Day for Deck Staining in Kansas City
- Understanding Your Deck Stain Options
- How to Apply Thin Coats of Stain?
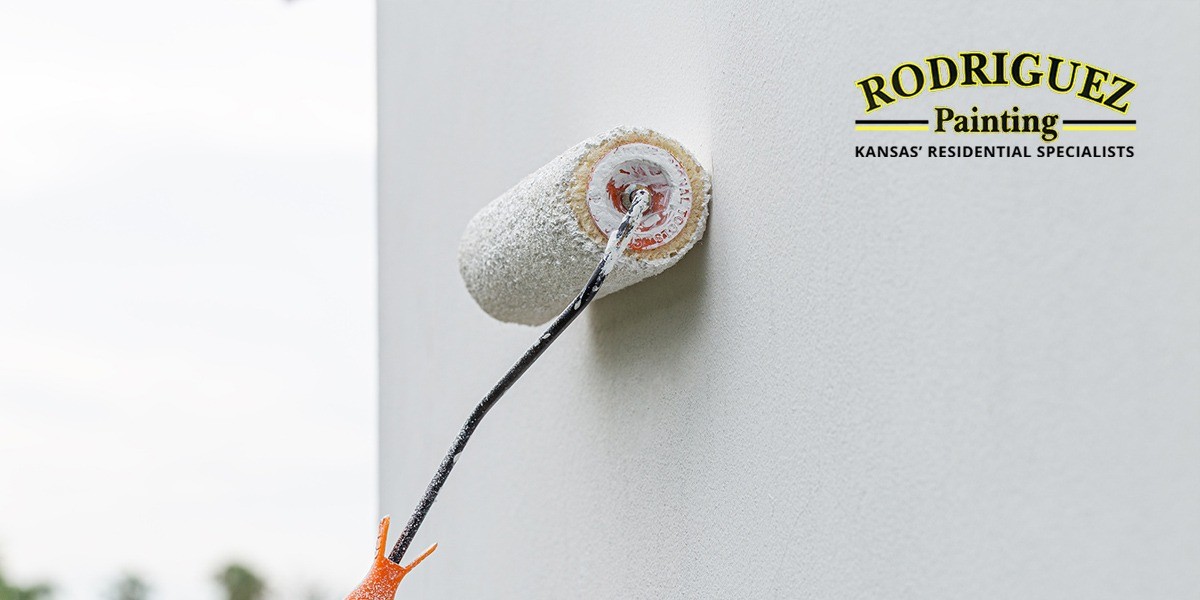
- Choosing the Right Tools: Brushes and Rollers
- Prepping Your Deck with a Soft Wash
- Repairing Imperfections on Your Deck
- Planning Your Staining Path
- Why Are Two Coats Better Than One?
- Testing the Stain Before Full Application
- Choosing a Stain with Protective Sealant
- Pros and Cons of DIY Deck Staining
- Hire Rodriguez Painting for Professional Deck Staining Services in Kansas City
- Conclusion
- FAQs
Summary
This blog helps homeowners with DIY deck staining projects in Kansas City. This guide explains how to choose the perfect moment for staining. It also covers which stains to use and how to apply them correctly. This blog shows readers that expert deck staining services are the best in Kansas City.
Introduction
Kansas City homeowners find that staining their decks has many rewards. It makes the decks more attractive and better protected. Deck-staining projects are tough when you need a professional finish. However, these results rely on careful attention and precise methods. This guide shows you how to maintain your Kansas City deck. It covers painting services and local painting contractors and deck staining services. These will give your deck a long-lasting, great look.
Choosing the Right Day for Deck Staining in Kansas City
When planning to stain your deck, weather conditions determine its success. You need to choose a dry day for deck staining in Kansas City because water makes stains stick poorly. Seek clear skies to stain your deck, but wait until after at least three straight days without rain. Stain your deck before the sun hits it. This prevents bolts from popping up in the summer heat. The best time to stain your deck is on low-humidity days in Kansas City. Do it when it's mild and not too sunny to ensure the best results from your deck painting service.
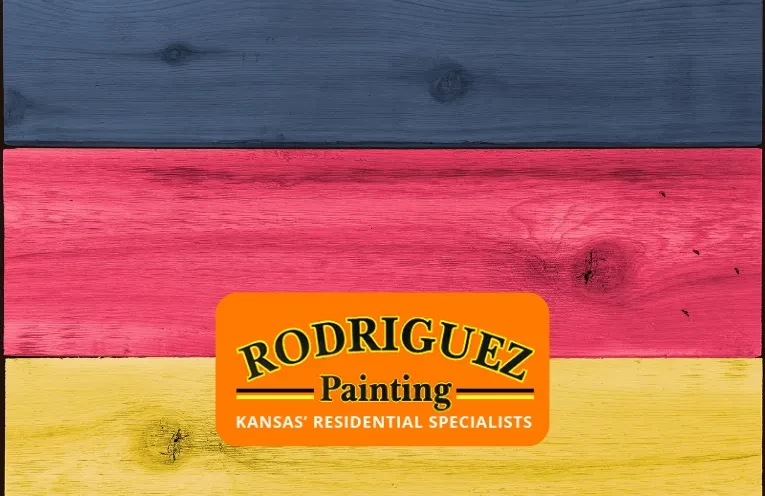
Understanding Your Deck Stain Options
Your selection of deck stain makes the biggest difference in the overall outcome. You should not place clear or semi-transparent stains on top of existing solid stains. The solid coating forms such a strong layer that it blocks out incoming lighter stains. To keep a uniform look, apply a fresh layer of solid stain to your existing stained surface. Knowing the types of deck stains will help you. It will help you pick the best product to protect your deck and get the look you want.
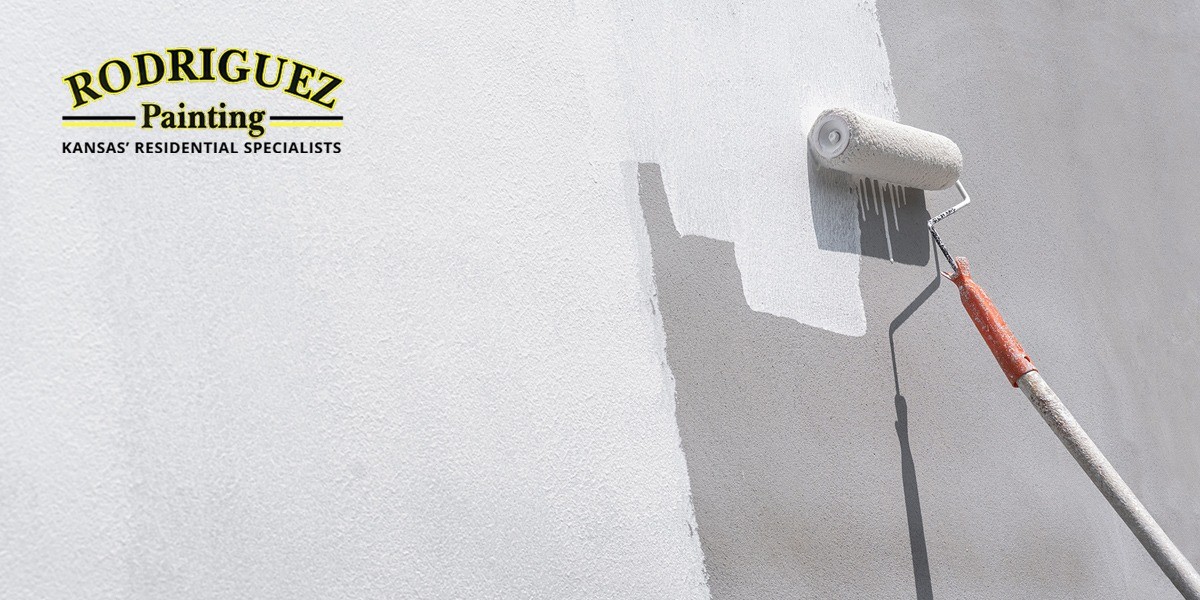
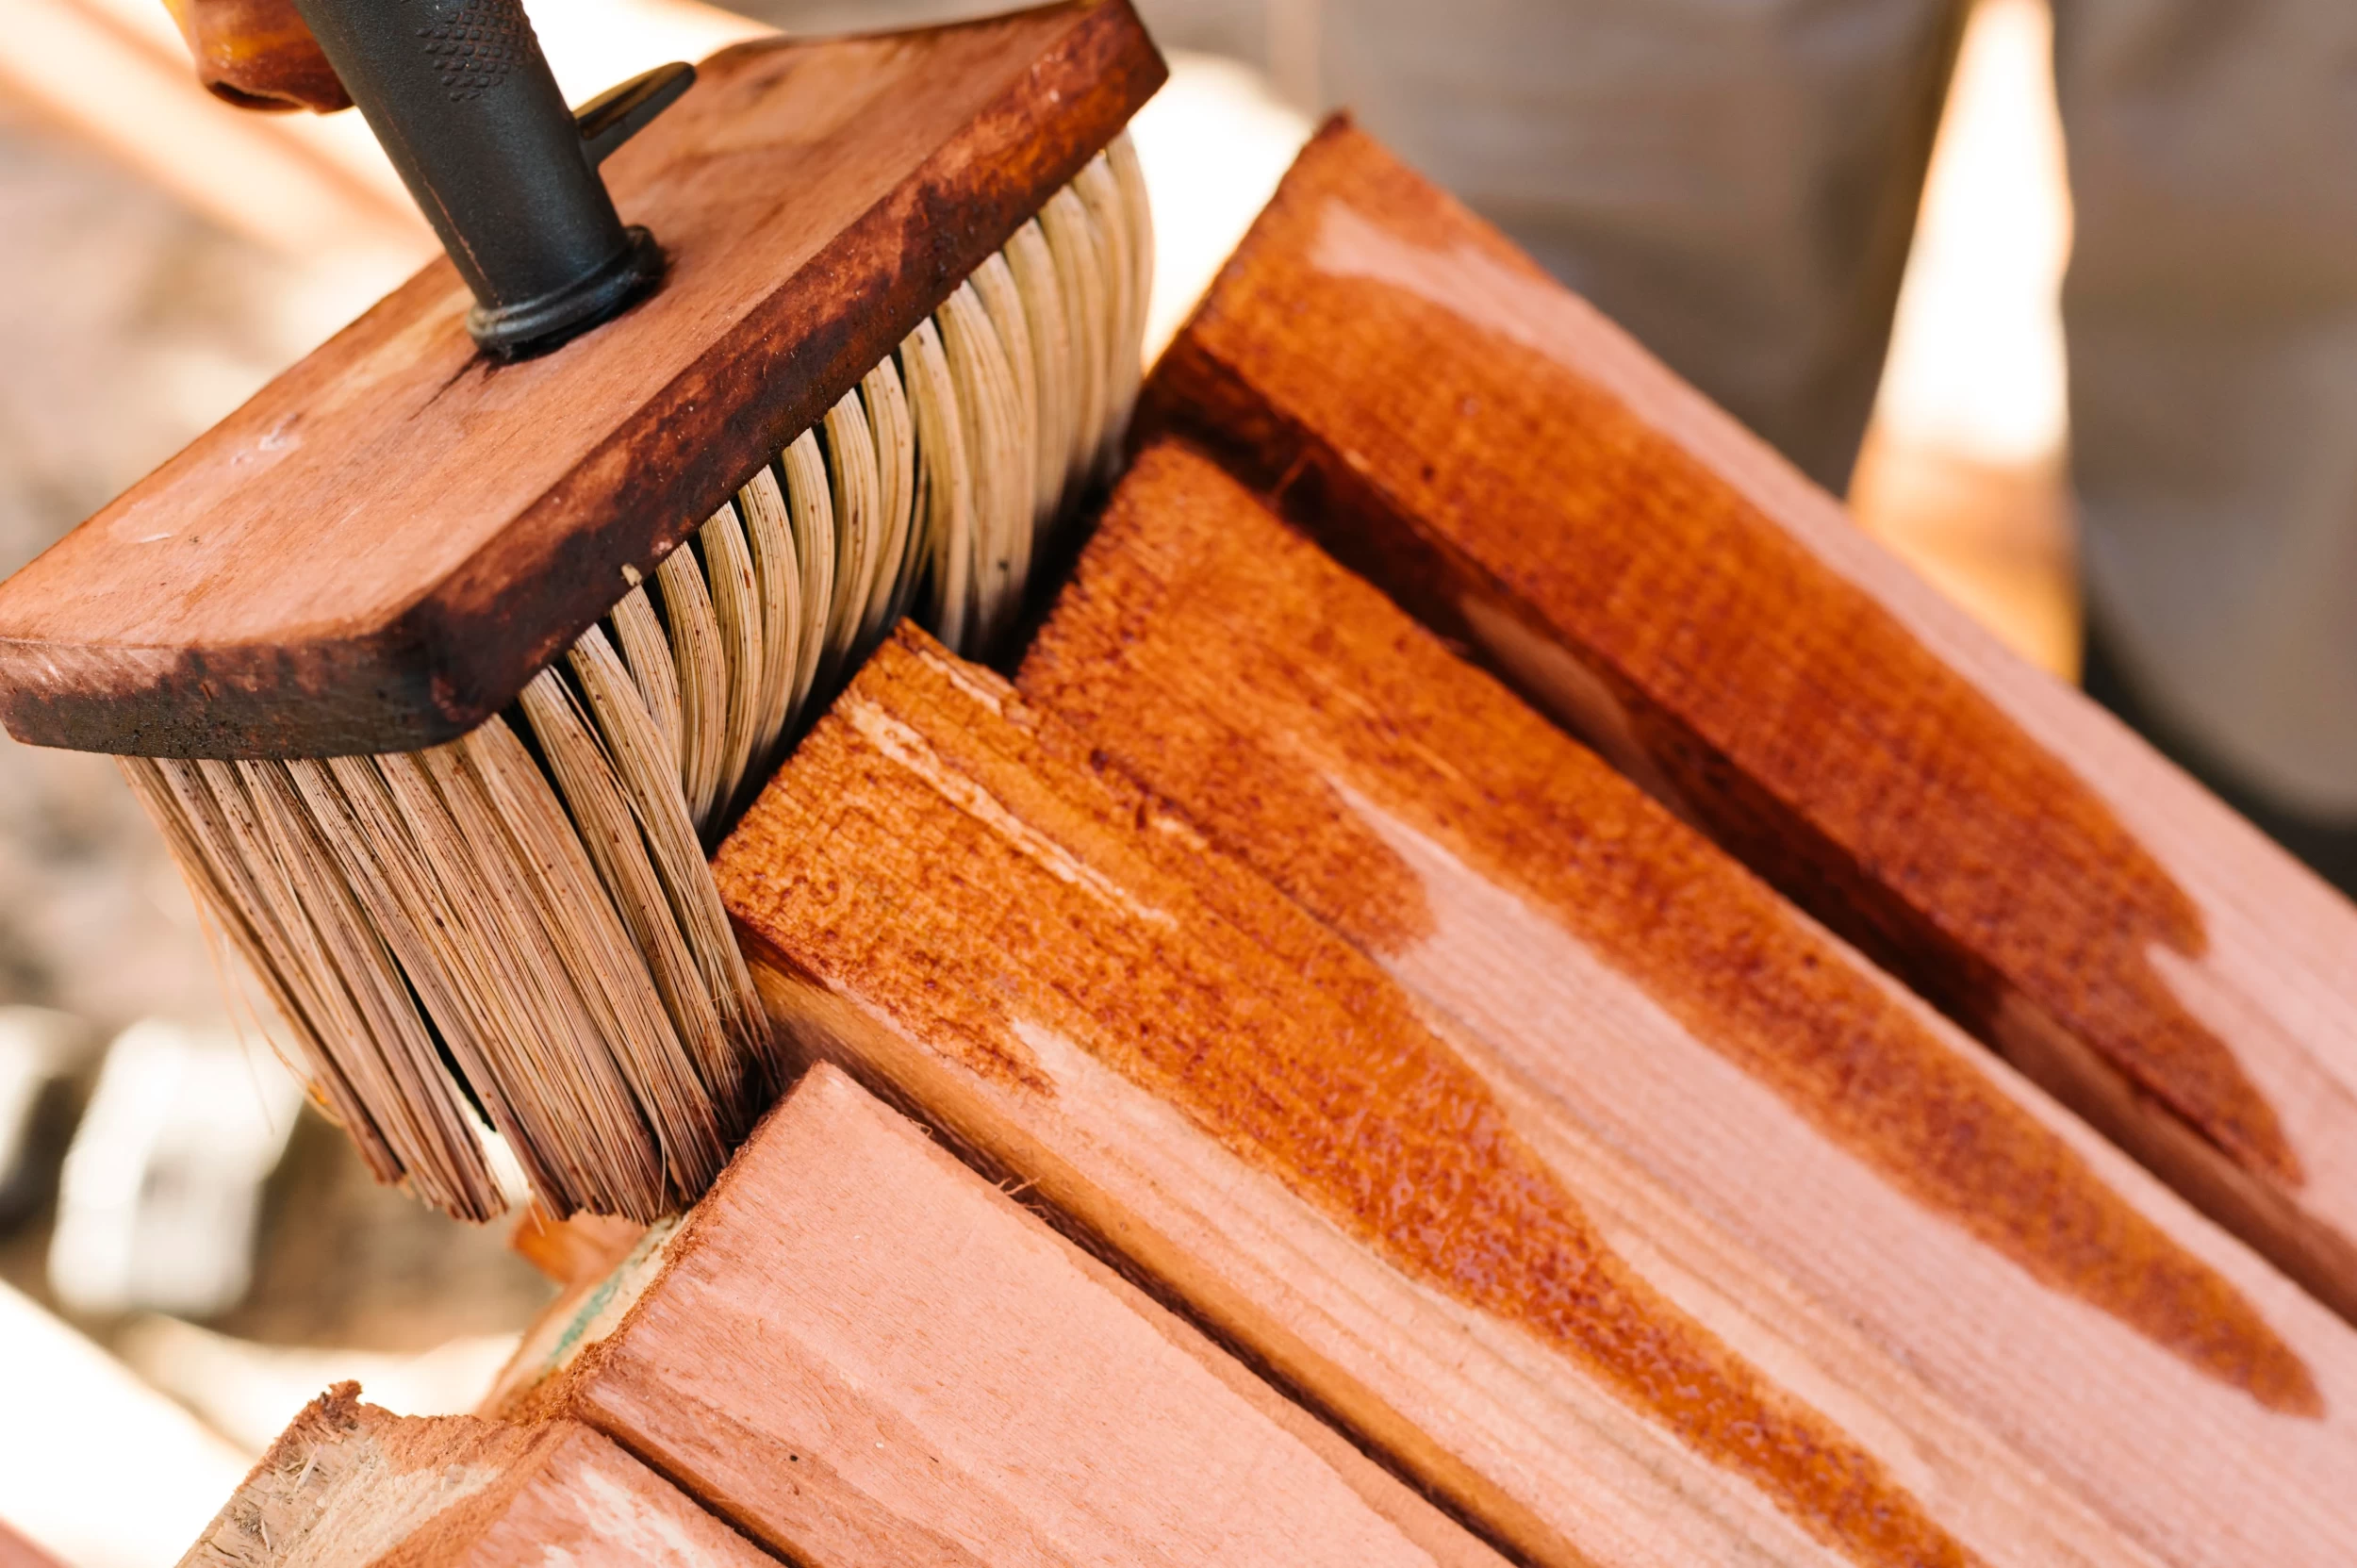
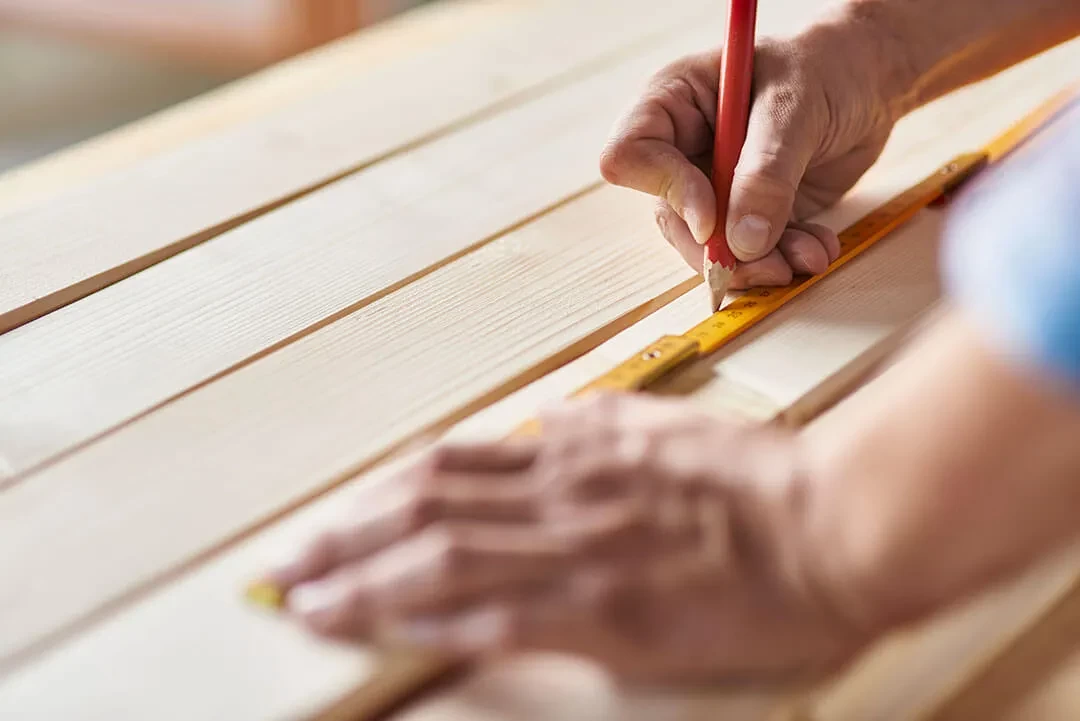
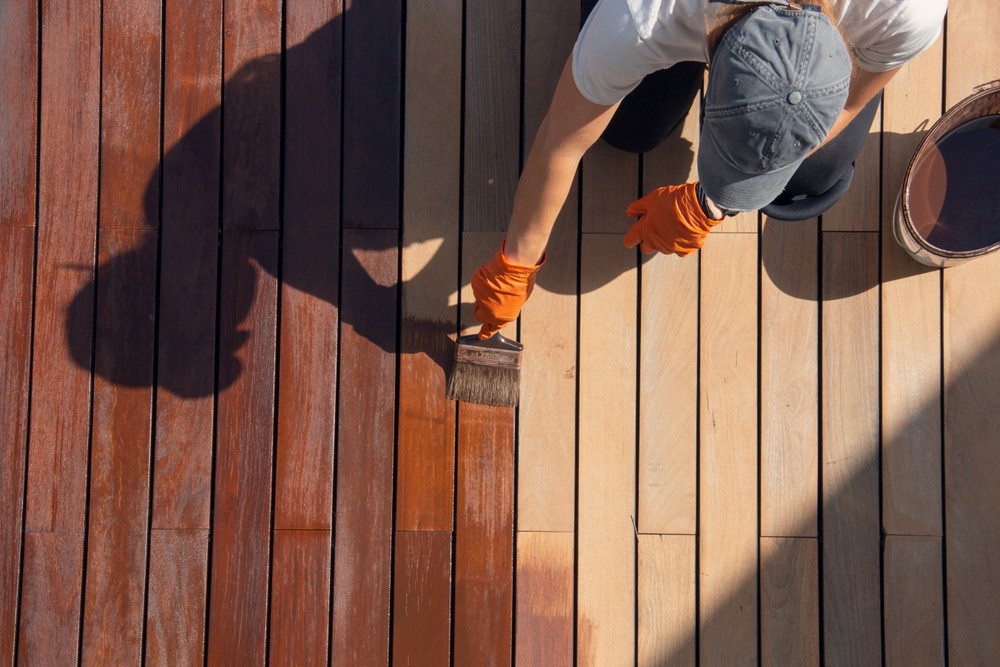
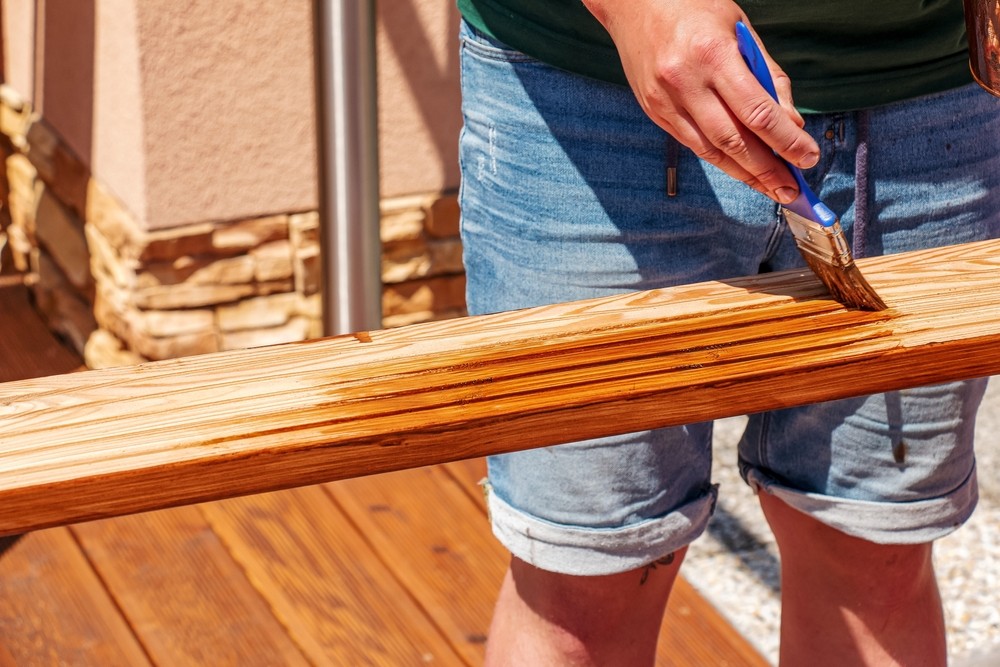
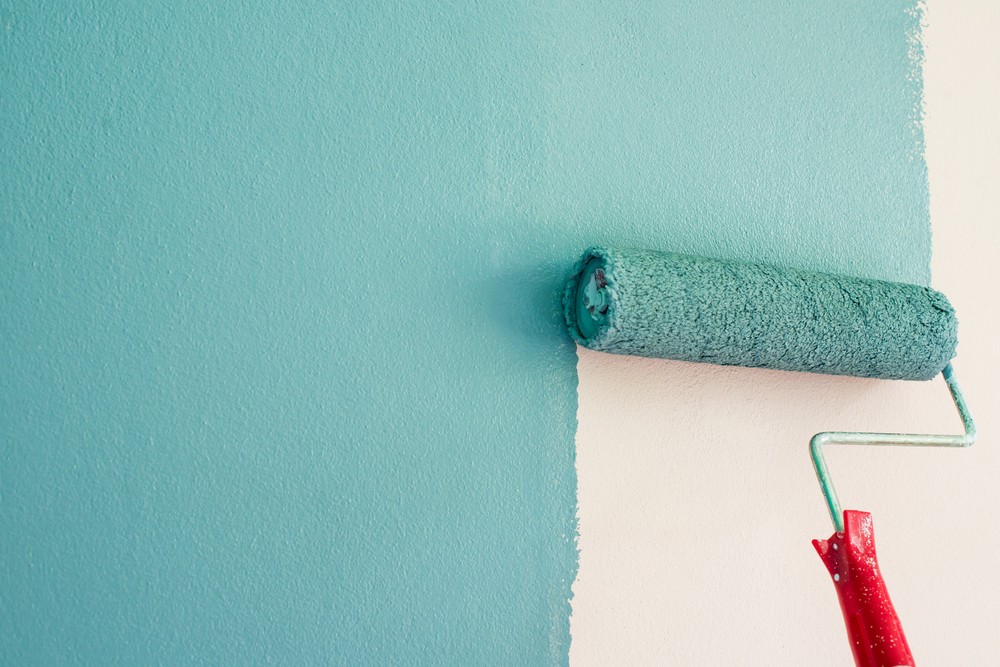
How to Apply Thin Coats of Stain?
Deck staining differs from regular painting practices. Stain materials flow into wood and create surface enhancement instead of masking it. Use small stain amounts to produce flat and effortless results on your deck surface. Mounding up the stain creates spots and weakens your final result. If your stain finish doesn't meet your expectations, wait for it to dry. Then, apply another coat. Thin coat applications eliminate surface defects, which make for smoother, professional results.
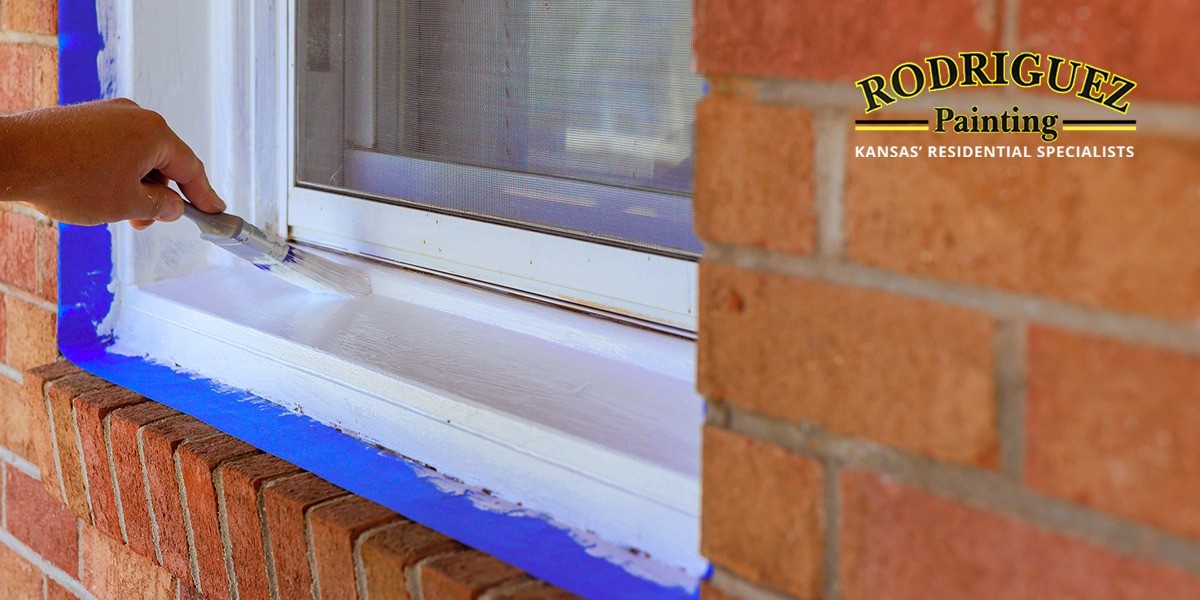
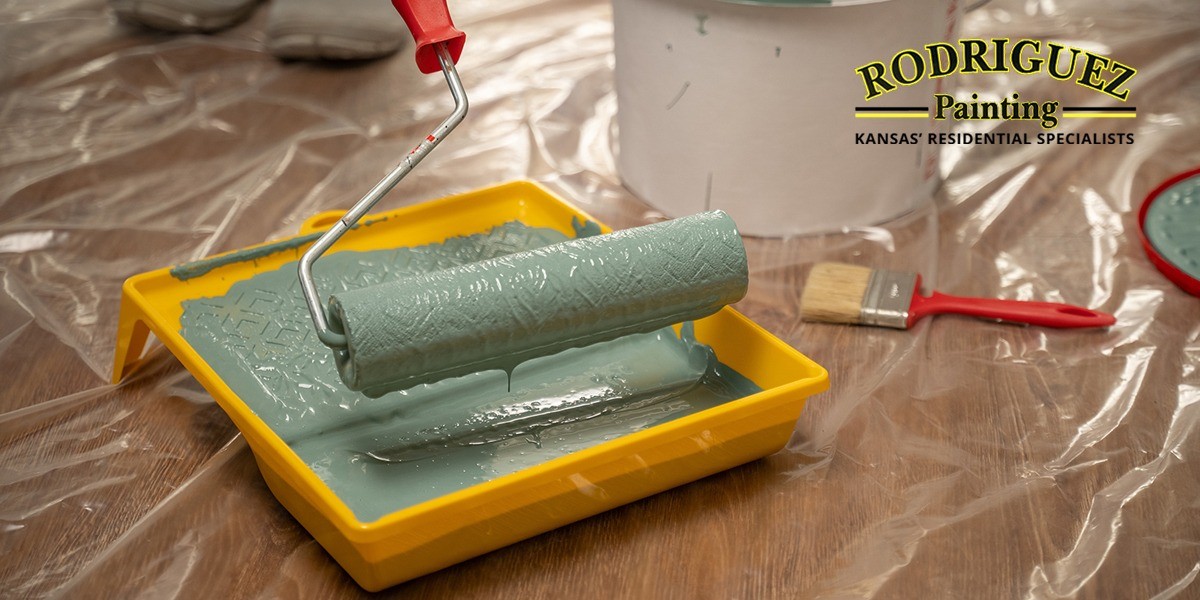
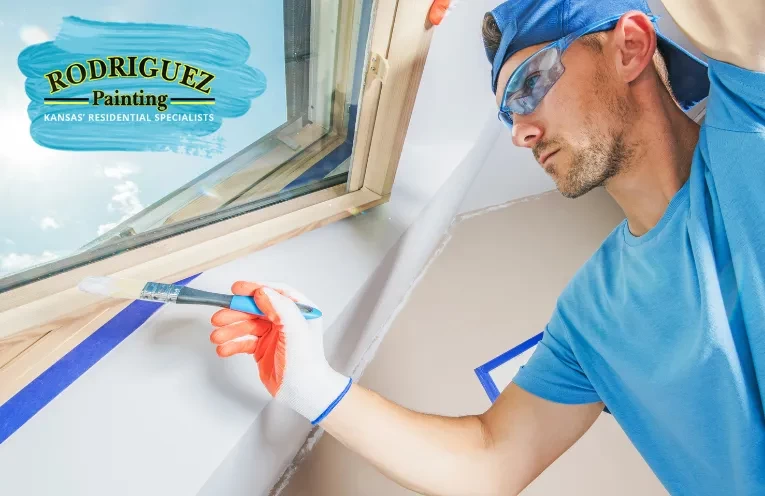
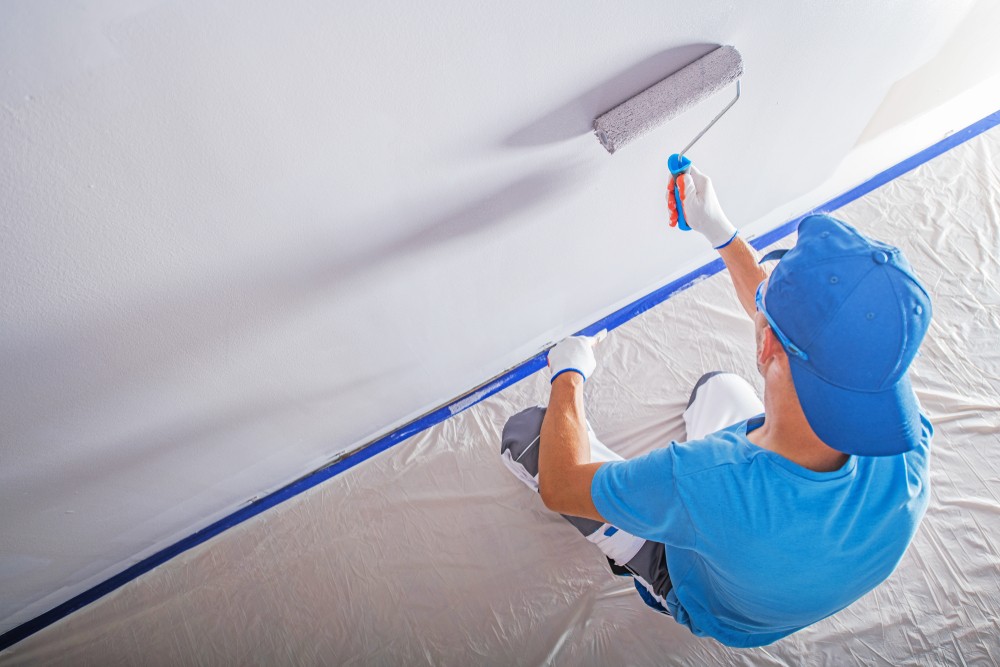
Choosing the Right Tools: Brushes and Rollers
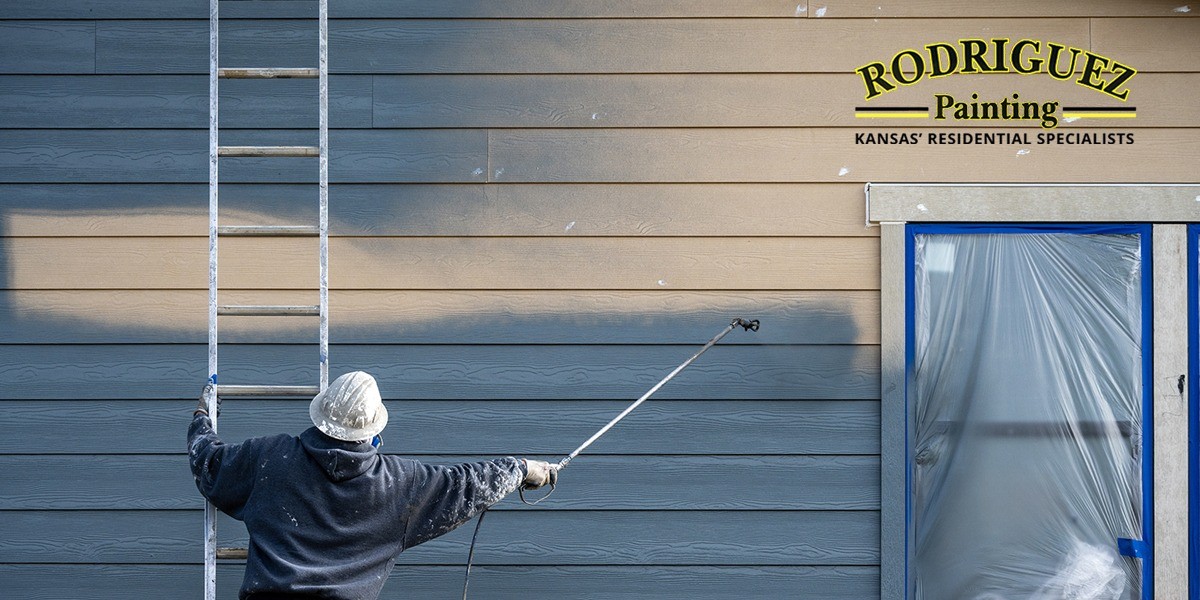
To excel at deck staining for Kansas City clients, you must pick the right tools. Use synthetic tools for water-based stains. Natural brushes lose their ability to apply products smoothly when they touch moisture. Get a roller with a short, thin nap for smoother application. The thin roller provides perfect coverage as it delivers an even application thickness. When using a paint sprayer on big decks, you need to gain experience first on leftover wood pieces. Then, try it on your main project.
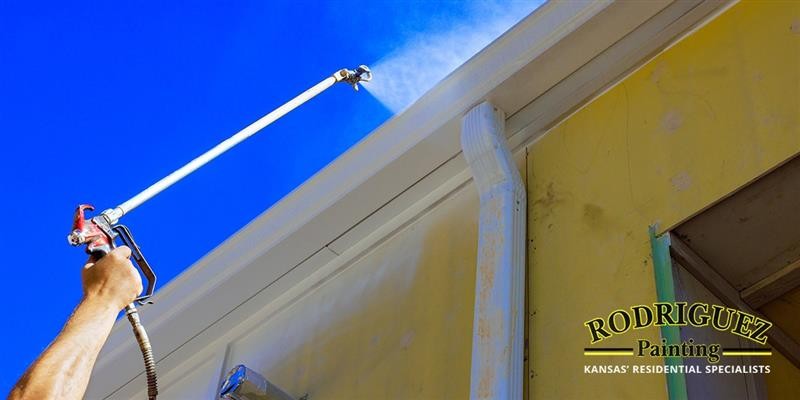
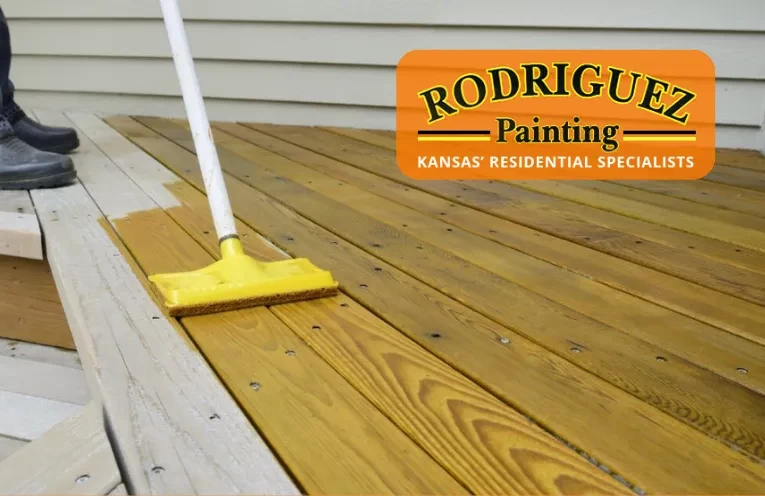
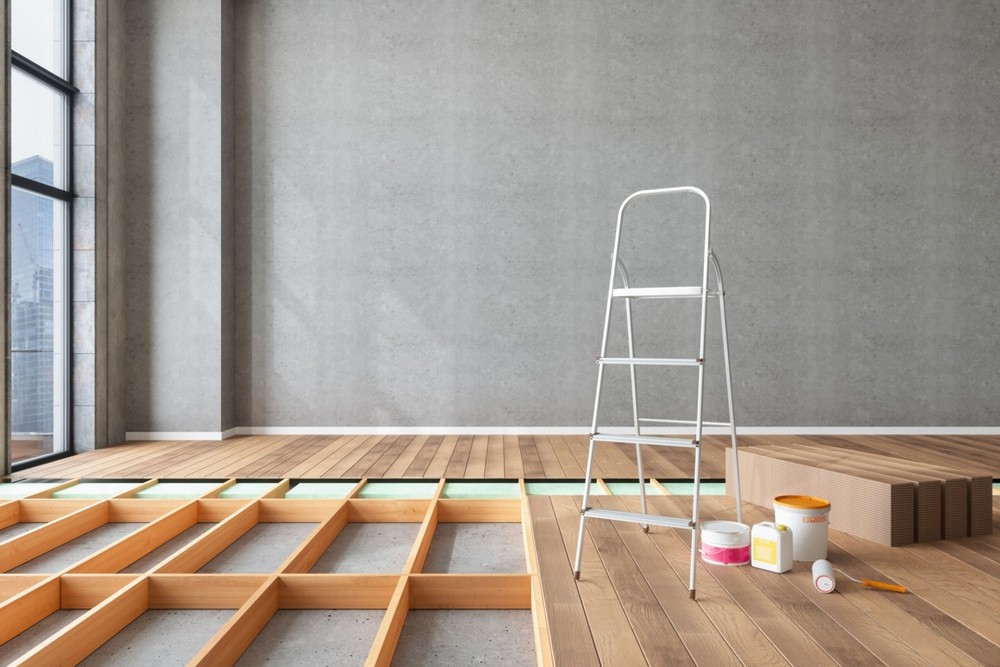
Prepping Your Deck with a Soft Wash
Before using deck stain, you must first clean your deck. A high-pressure power washer could damage your wood surface. It would then develop cracks and etches. A soft wash solution uses mild pressure with deck-specific cleaners. It cleans decks completely without damaging the wood surface. Leave your deck untouched for at least two days to let it dry enough for good stain absorption.
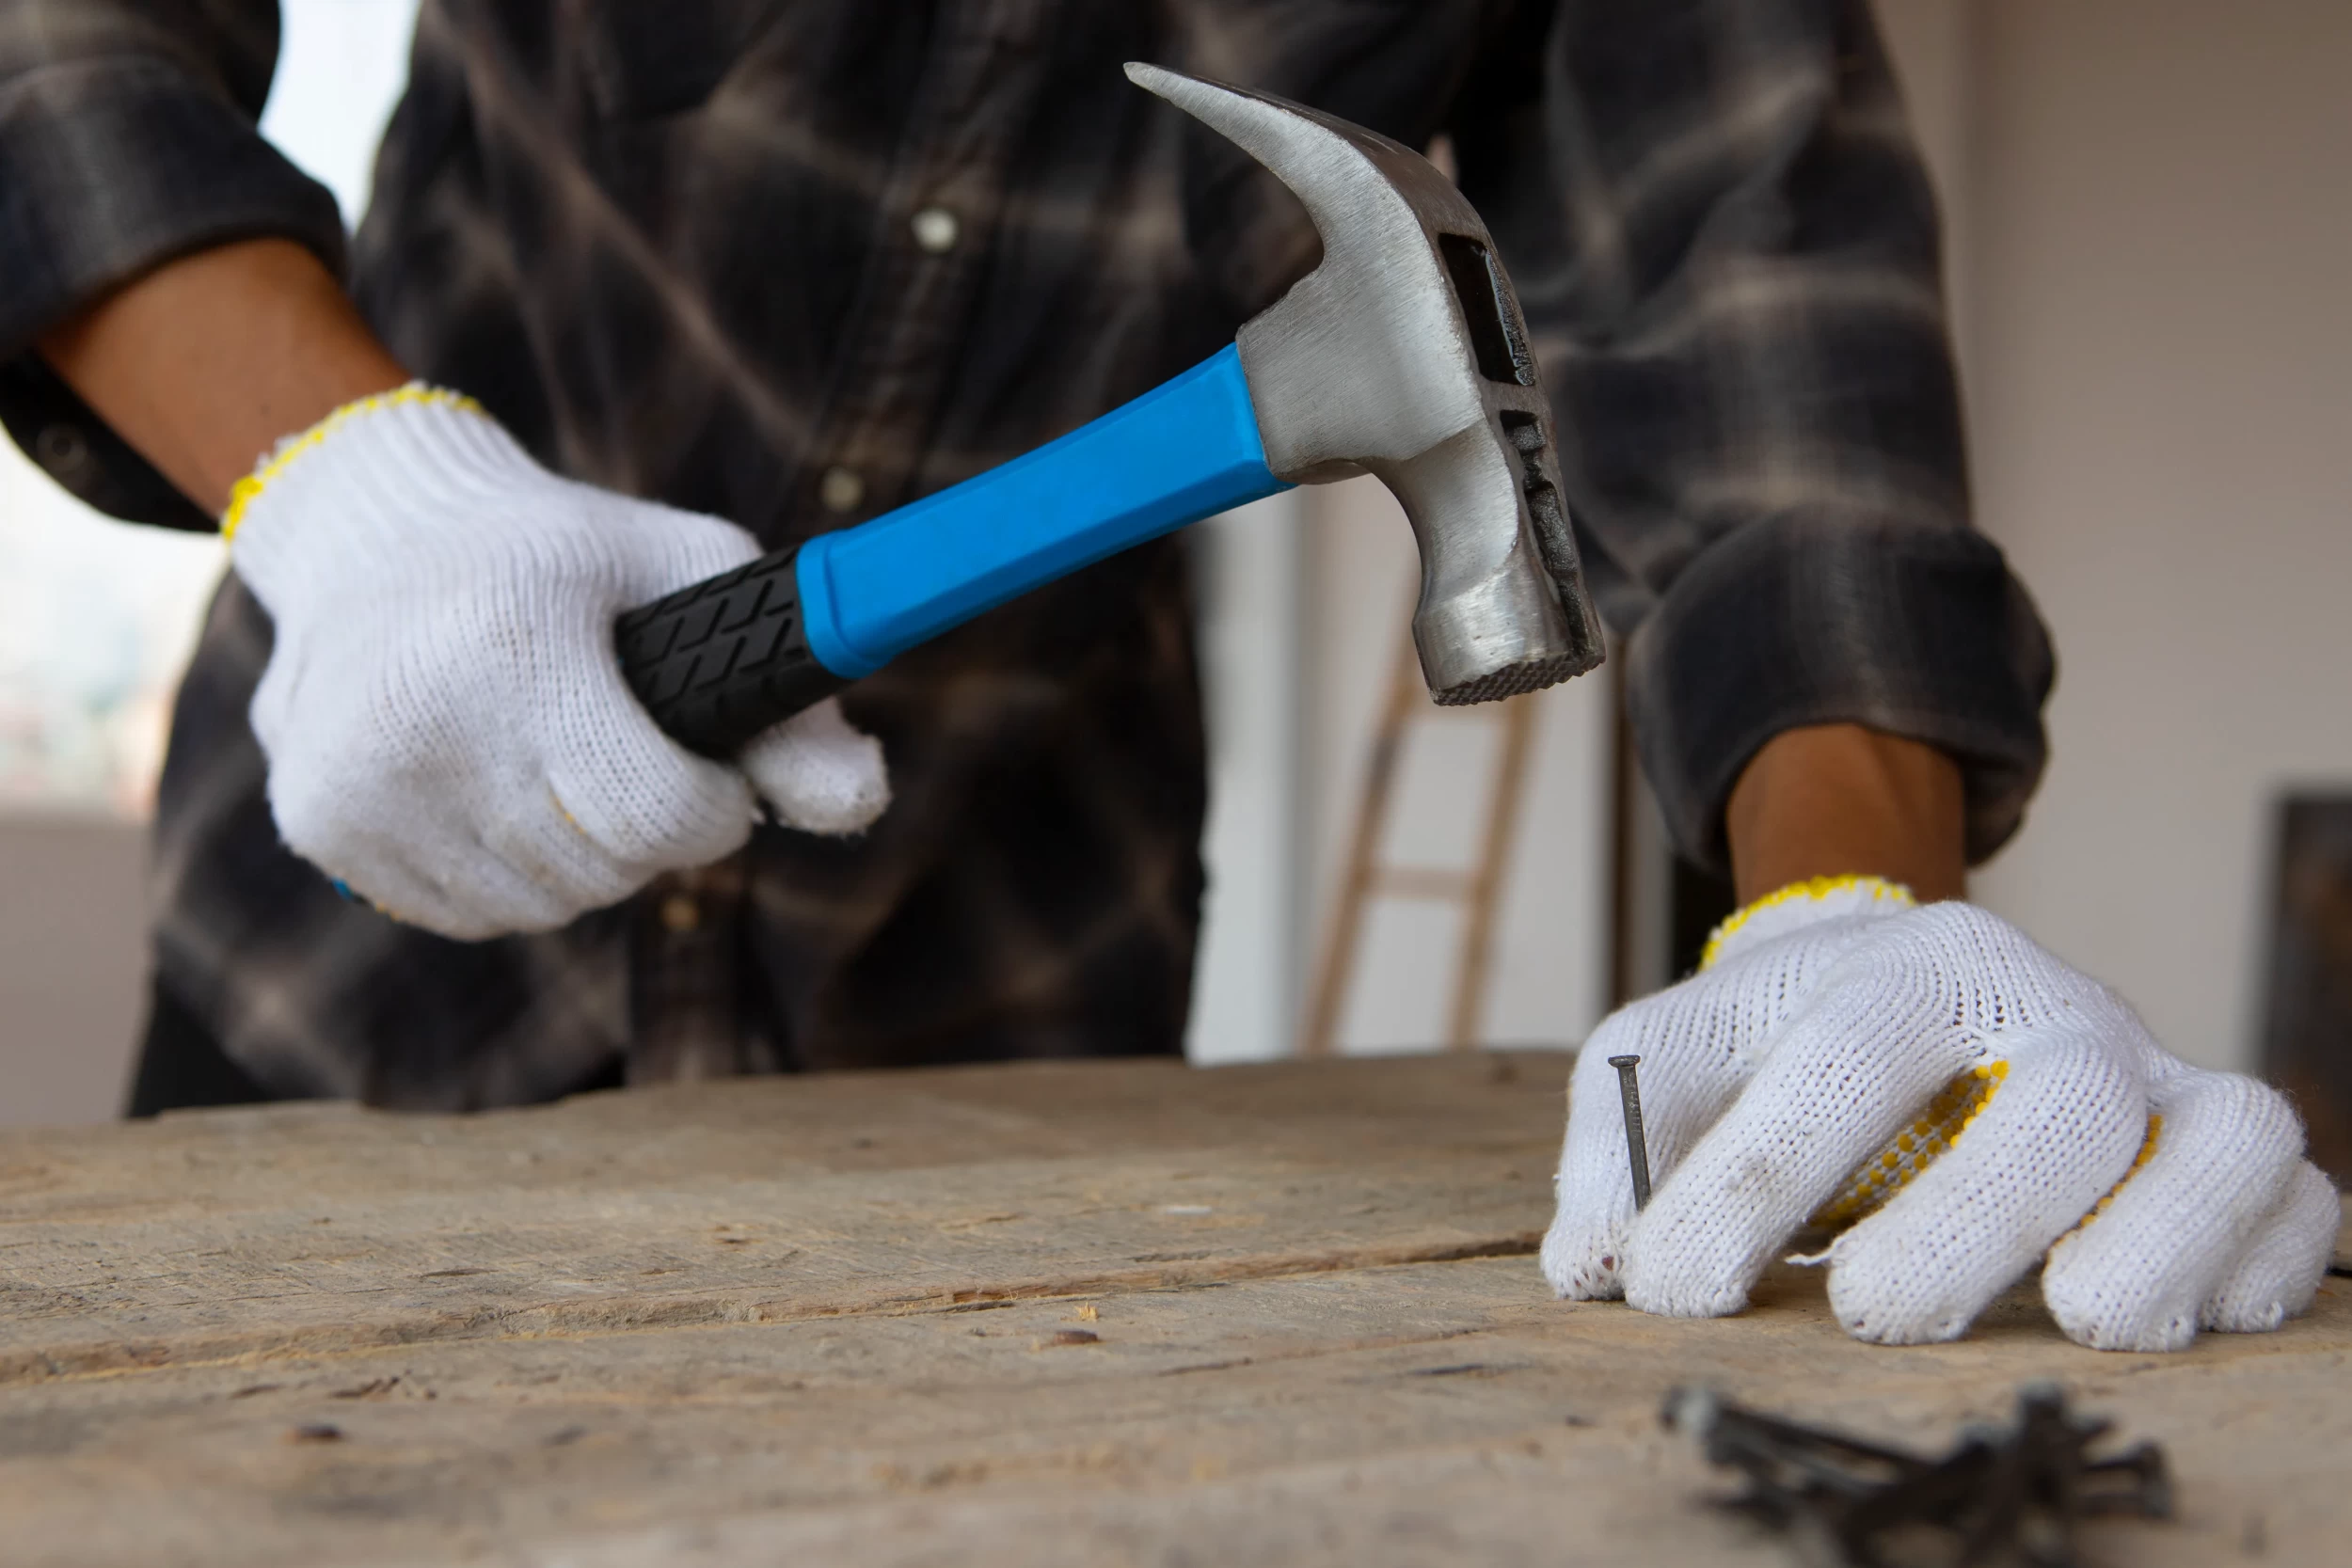
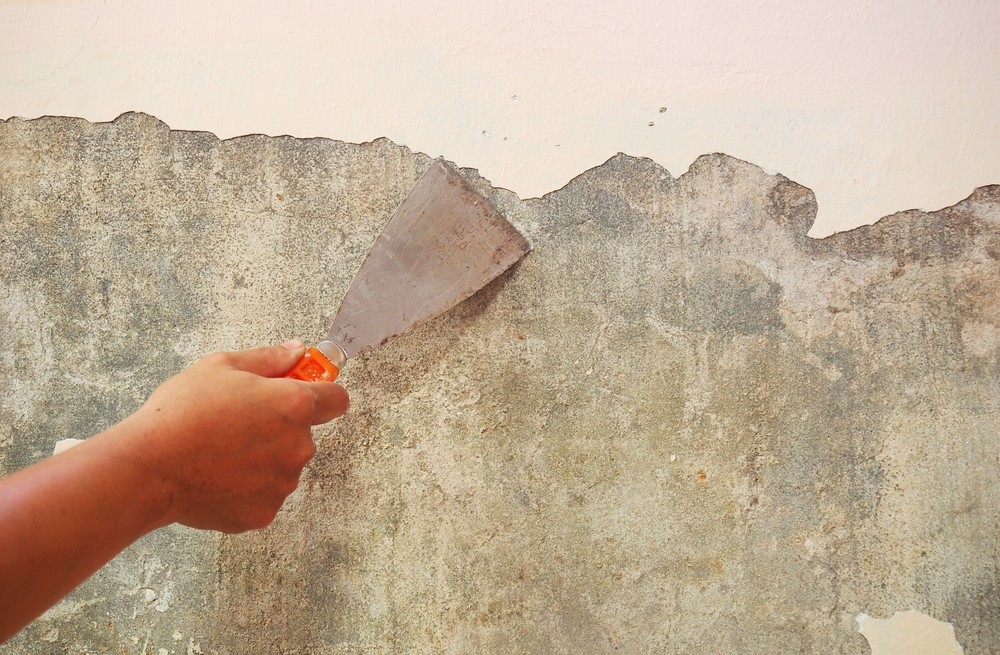
Repairing Imperfections on Your Deck
A wood stain application cannot cover minor surface blemishes on the deck. You must examine your deck's surface for faults. Repair them before staining. Apply a round filler over damaged areas and add putty to smooth out all ridges before you begin staining. Paralleling all uneven surfaces improves both stain absorption and final polish results. Proper prep work ensures a professional result with your paint and deck stain.
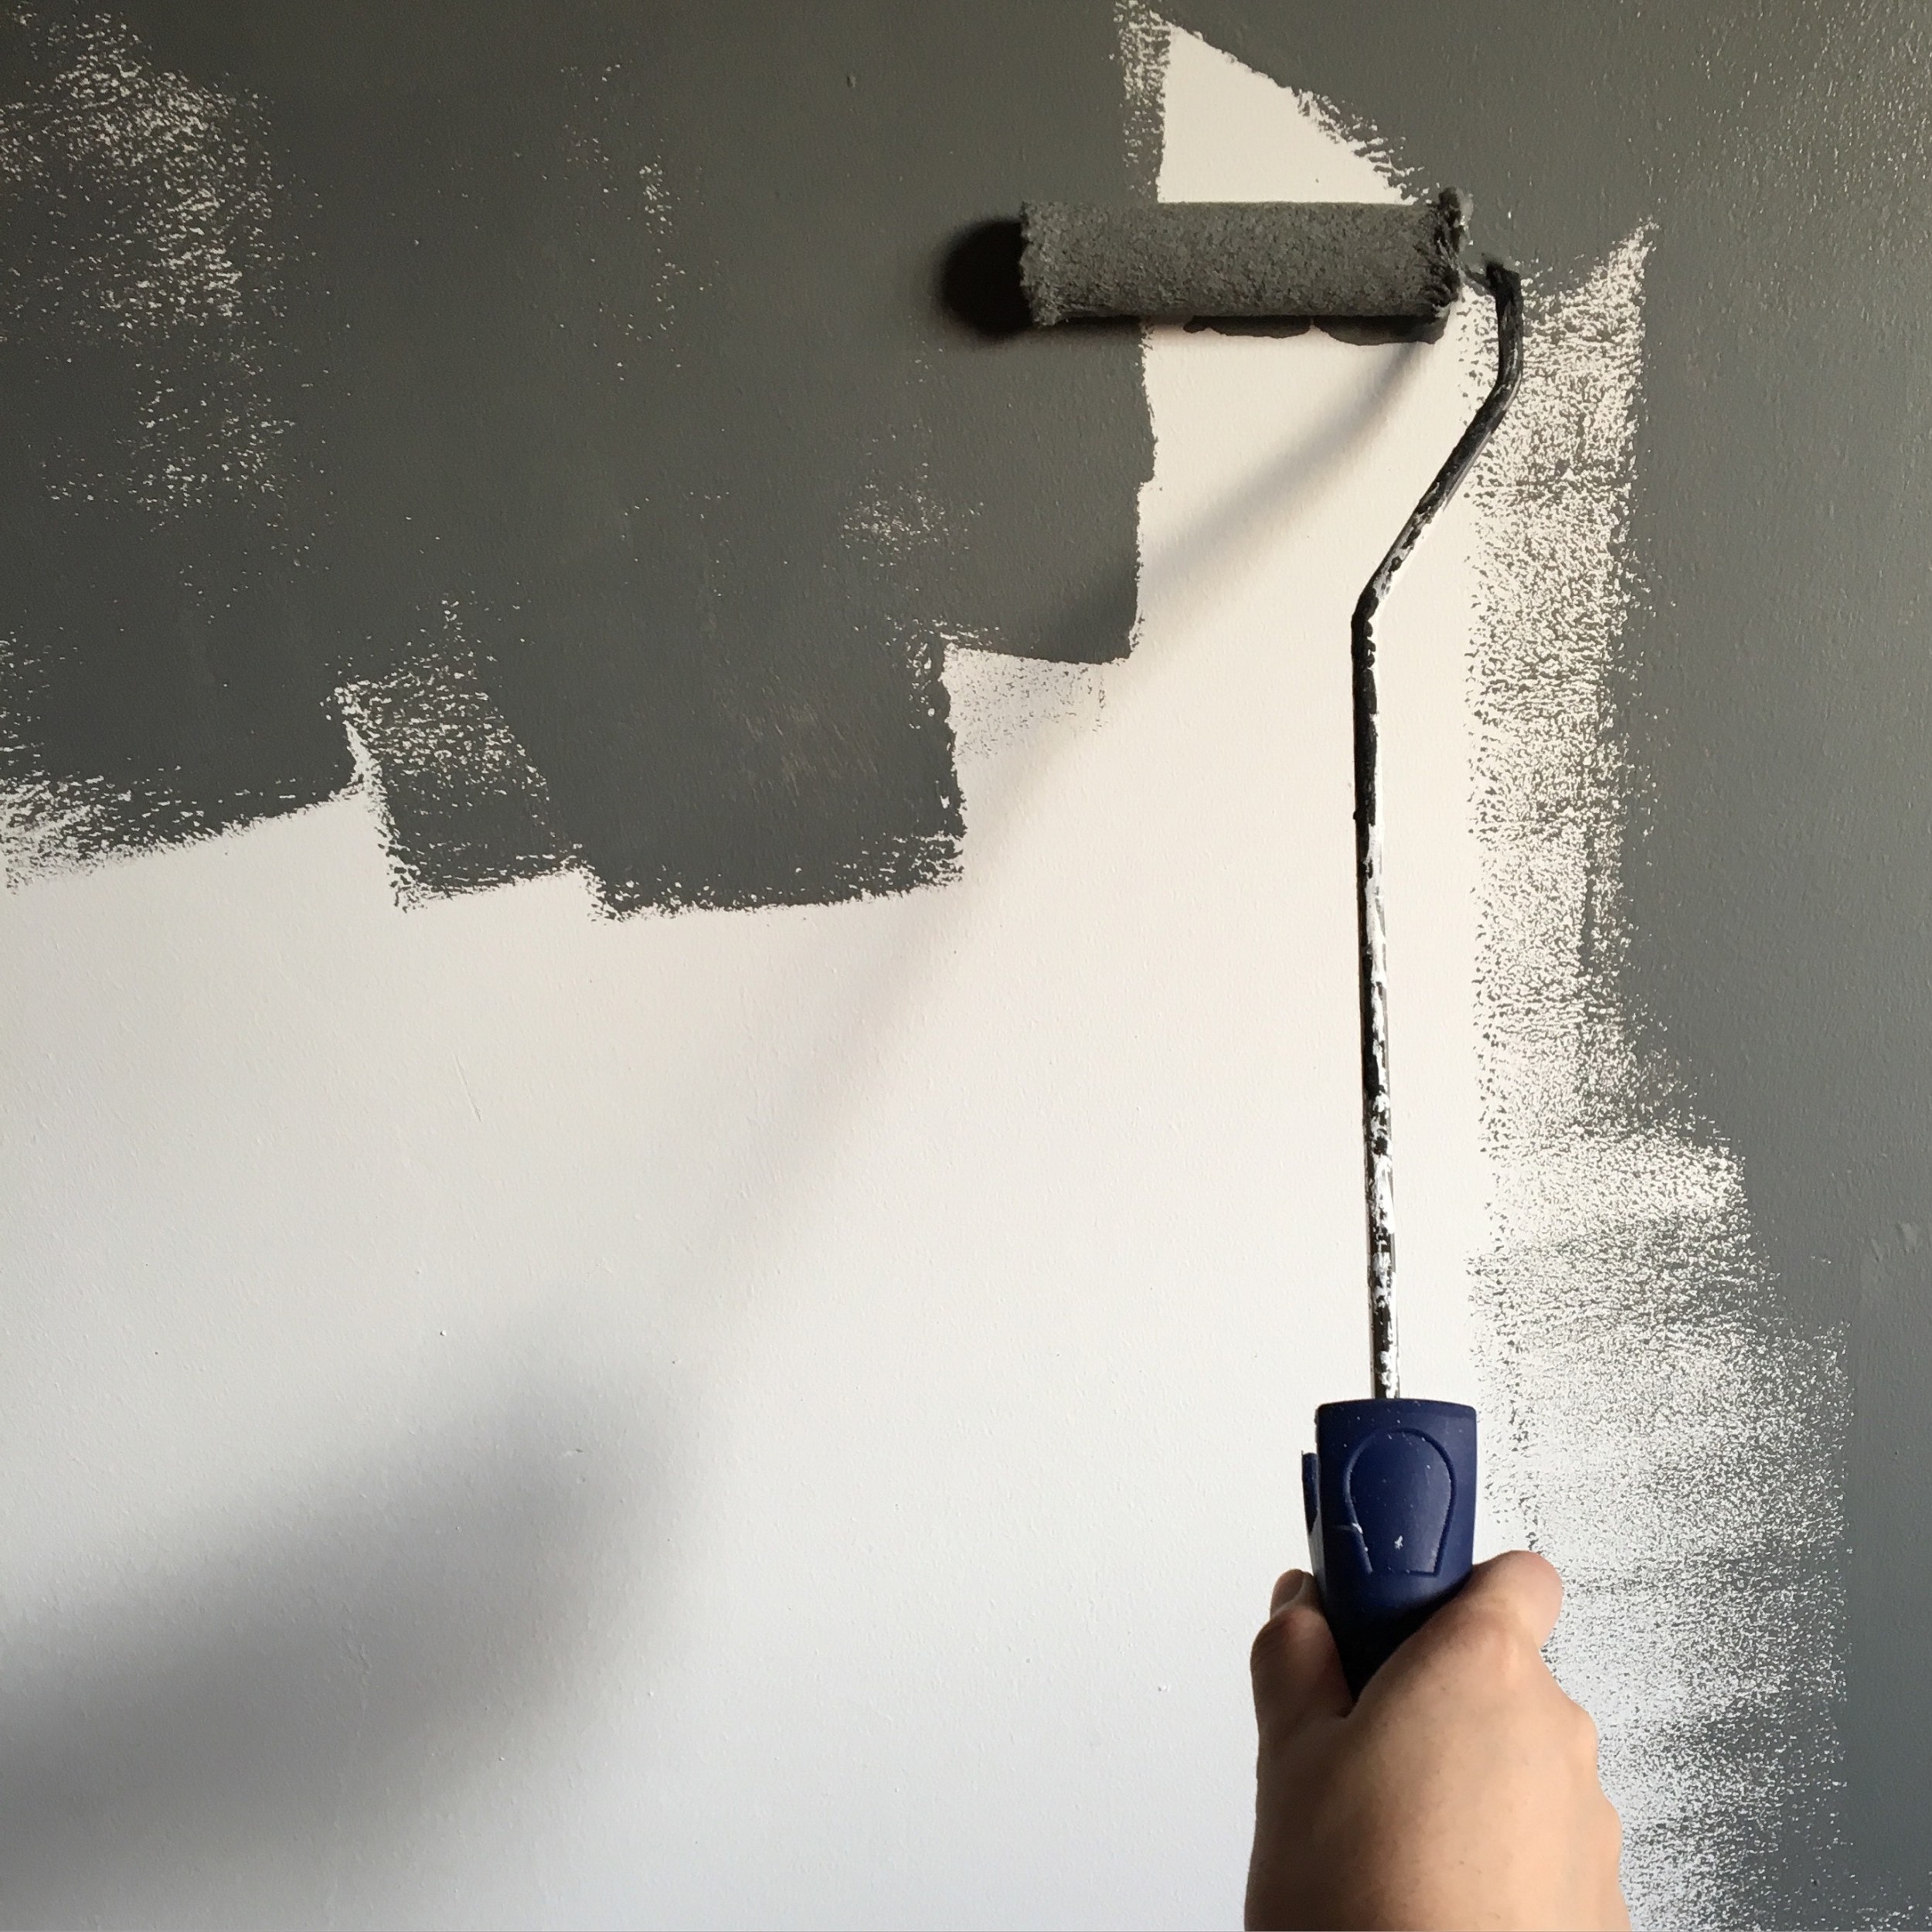
Planning Your Staining Path
Many deck owners damage their projects by staining without a proper path first. First, determine your starting and ending positions for the staining project. You should take care to cross only dry-painted spots as you move around the deck. To avoid stains, start at one end of the deck. Work to the other end. Leave room to exit without crossing wet areas.
Why Are Two Coats Better Than One?
You need to apply two proper coats to make your wood-staining deck project successful. The first coat of stain enters the wood. The second coat lets the stain absorb into the wood to create an even finish. The next coat of stain builds a strong barrier and extends the protective life of the wood surface. With two coats, you can reach a richer application depth for lighter deck stain choices. Taking these added steps pays off since you achieve better results.
Testing the Stain Before Full Application
Before staining your deck for the first time, measure the new stain against a hidden wood section. You will see the true stain color before applying it to decide if it matches your preferences. Test your stain in a discreet area. It lets you change the color before you finish the whole deck. This way, you can avoid a bad choice.
Choosing a Stain with Protective Sealant
A deck stain with sealing qualities will better protect your revenue. The staining process will protect your deck and save you some prep work. The best stains have sealants. They keep your deck looking good and prevent water damage. This lowers future maintenance costs.
Pros and Cons of DIY Deck Staining
When you protect your deck yourself, it helps you save money. You decide everything about this project. This includes your preferred tools and stain colors. This project needs both your skill and time. It will take a lot of effort. Inadequate knowledge about staining can cause uneven coating that ruins your deck's appearance.
|
Pros |
Cons |
|
Cost-effective solution |
Time-consuming process |
|
Complete control over color and finish |
Requires knowledge and skill |
|
Personal satisfaction after completing the project |
|
|
Ability to choose the stain and tools |
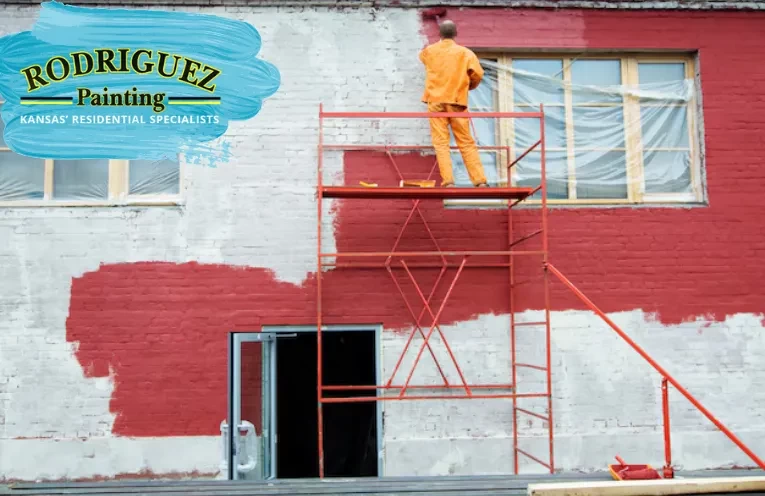
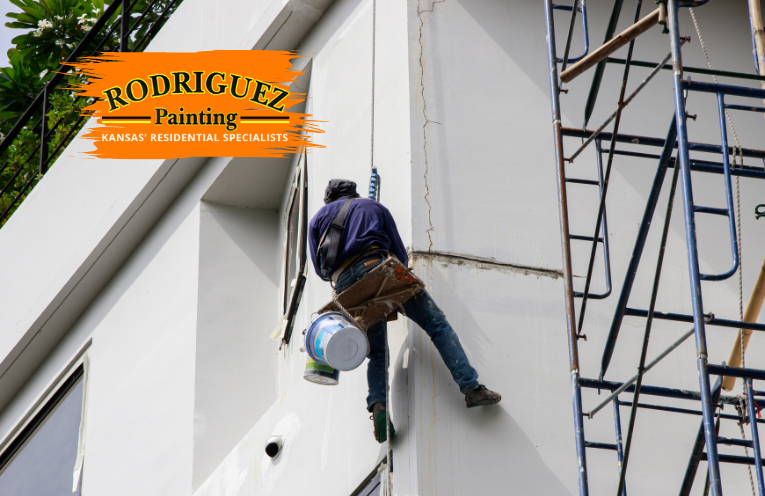
Hire Rodriguez Painting for Professional Deck Staining Services in Kansas City
Rodriguez Painting experts deliver outstanding results as your professional deck staining provider. We offer top painting and deck staining services in Kansas City. Our expert staff provides them. Contact us now to claim your free estimate. We'll keep your deck beautiful in all seasons.
Conclusion
Staining your deck in Kansas City is rewarding. But it needs careful prep and specific techniques for good results. These guidelines will help you stain your deck. It will last a long time. Hiring a deck staining services expert, Rodriguez Painting always yields better results. They deliver top-quality work and complete it with ease. Call today for a free deck staining estimate, and their team will care for your deck rejuvenation.
FAQs
How long should I wait after cleaning my deck before staining?
Your deck needs to become dry from cleaning before you start staining, which takes about 2 to 3 days. Other moisture can't reach the stain. The dry wood helps the stain stick.
Can I stain over an old stain on my deck?
Staining works well on top of existing stains when the old finish remains undamaged. You need to remove the damaged old stain from the wood surface before you put on fresh stain layers.
How many coats of stain should I apply to my deck?
Two coats of stain will give the best results on most wooden decks. The first coat lets the wood absorb the color. The second coat balances the surface and adds protection.
Can I use a paint sprayer to stain my deck?
You can use a paint sprayer for big deck areas to apply stain. To master spray techniques, practice on scrap wood before you work on your deck surface.
How do I fix mistakes if I don’t like the color after staining?
You can either apply another coat of stain or switch to a different stain. Use whichever you prefer. To achieve the desired color, you need to strip off dark stains before proceeding with a new stain.